Discounted Products
-
 Leo Creation 144 TC Cotton Double Jaipuri Prints Flat Bedsheet(Pack of 1, Blue, Gree, Red, Grey, Light Grey)
Original price was: ₹2,999.00.₹329.00Current price is: ₹329.00.
Leo Creation 144 TC Cotton Double Jaipuri Prints Flat Bedsheet(Pack of 1, Blue, Gree, Red, Grey, Light Grey)
Original price was: ₹2,999.00.₹329.00Current price is: ₹329.00.
-
 Home Garage 210 TC Cotton King Floral Fitted (Elastic) Bedsheet(Pack of 1, Grey)
Original price was: ₹999.00.₹299.00Current price is: ₹299.00.
Home Garage 210 TC Cotton King Floral Fitted (Elastic) Bedsheet(Pack of 1, Grey)
Original price was: ₹999.00.₹299.00Current price is: ₹299.00.
-
 Goodrik 140 TC Cotton Double 3D Printed Flat Bedsheet(Pack of 1, Brown)
Original price was: ₹499.00.₹229.00Current price is: ₹229.00.
Goodrik 140 TC Cotton Double 3D Printed Flat Bedsheet(Pack of 1, Brown)
Original price was: ₹499.00.₹229.00Current price is: ₹229.00.
-
 GLOBALSHOP 350 TC Microfiber Double Floral Flat Bedsheet(Pack of 1, Multicolor)
Original price was: ₹1,250.00.₹263.00Current price is: ₹263.00.
GLOBALSHOP 350 TC Microfiber Double Floral Flat Bedsheet(Pack of 1, Multicolor)
Original price was: ₹1,250.00.₹263.00Current price is: ₹263.00.
-
 RisingStar 250 TC Microfiber King Printed Fitted (Elastic) Bedsheet(Pack of 1, FITTED-ROUND-CIRCLES-PREMIUM)
Original price was: ₹2,299.00.₹299.00Current price is: ₹299.00.
RisingStar 250 TC Microfiber King Printed Fitted (Elastic) Bedsheet(Pack of 1, FITTED-ROUND-CIRCLES-PREMIUM)
Original price was: ₹2,299.00.₹299.00Current price is: ₹299.00.
-
 Home Garage 210 TC Cotton King Floral Fitted (Elastic) Bedsheet(Pack of 1, Fitted Black Green)
Original price was: ₹1,299.00.₹299.00Current price is: ₹299.00.
Home Garage 210 TC Cotton King Floral Fitted (Elastic) Bedsheet(Pack of 1, Fitted Black Green)
Original price was: ₹1,299.00.₹299.00Current price is: ₹299.00.
-
 Home Garage 180 TC Cotton King 3D Printed Flat Bedsheet(Pack of 1, White)
Original price was: ₹999.00.₹229.00Current price is: ₹229.00.
Home Garage 180 TC Cotton King 3D Printed Flat Bedsheet(Pack of 1, White)
Original price was: ₹999.00.₹229.00Current price is: ₹229.00.
-
 Home Sizzler 153 cm (5 ft) Polyester Room Darkening Window Curtain (Pack Of 2)(Floral, Maroon)
Original price was: ₹799.00.₹299.00Current price is: ₹299.00.
Home Sizzler 153 cm (5 ft) Polyester Room Darkening Window Curtain (Pack Of 2)(Floral, Maroon)
Original price was: ₹799.00.₹299.00Current price is: ₹299.00.
-
 Panipat Textile Hub 152.4 cm (5 ft) Polyester Window Curtain (Pack Of 2)(Solid, Aqua)
Original price was: ₹1,899.00.₹299.00Current price is: ₹299.00.
Panipat Textile Hub 152.4 cm (5 ft) Polyester Window Curtain (Pack Of 2)(Solid, Aqua)
Original price was: ₹1,899.00.₹299.00Current price is: ₹299.00.
-
 Home Sizzler 214 cm (7 ft) Polyester Semi Transparent Door Curtain (Pack Of 2)(Floral, Maroon)
Original price was: ₹1,199.00.₹399.00Current price is: ₹399.00.
Home Sizzler 214 cm (7 ft) Polyester Semi Transparent Door Curtain (Pack Of 2)(Floral, Maroon)
Original price was: ₹1,199.00.₹399.00Current price is: ₹399.00.
-
 Home Sizzler 153 cm (5 ft) Polyester Room Darkening Window Curtain (Pack Of 2)(Floral, Brown)
Original price was: ₹799.00.₹299.00Current price is: ₹299.00.
Home Sizzler 153 cm (5 ft) Polyester Room Darkening Window Curtain (Pack Of 2)(Floral, Brown)
Original price was: ₹799.00.₹299.00Current price is: ₹299.00.
-
 Stella Creations 214 cm (7 ft) Polyester Room Darkening Door Curtain (Pack Of 2)(Abstract, Brown)
Original price was: ₹1,299.00.₹449.00Current price is: ₹449.00.
Stella Creations 214 cm (7 ft) Polyester Room Darkening Door Curtain (Pack Of 2)(Abstract, Brown)
Original price was: ₹1,299.00.₹449.00Current price is: ₹449.00.
-
 Homefab India 152.5 cm (5 ft) Polyester Room Darkening Window Curtain (Pack Of 2)(Floral, Light Blue)
Original price was: ₹1,199.00.₹319.00Current price is: ₹319.00.
Homefab India 152.5 cm (5 ft) Polyester Room Darkening Window Curtain (Pack Of 2)(Floral, Light Blue)
Original price was: ₹1,199.00.₹319.00Current price is: ₹319.00.
-
 Urban Home 214 cm (7 ft) PVC Transparent Door Curtain Single Curtain(Solid, Off White)
Original price was: ₹699.00.₹203.00Current price is: ₹203.00.
Urban Home 214 cm (7 ft) PVC Transparent Door Curtain Single Curtain(Solid, Off White)
Original price was: ₹699.00.₹203.00Current price is: ₹203.00.
-
 Panipat Textile Hub 213 cm (7 ft) Polyester Door Curtain (Pack Of 2)(Solid, Brown)
Original price was: ₹1,199.00.₹349.00Current price is: ₹349.00.
Panipat Textile Hub 213 cm (7 ft) Polyester Door Curtain (Pack Of 2)(Solid, Brown)
Original price was: ₹1,199.00.₹349.00Current price is: ₹349.00.
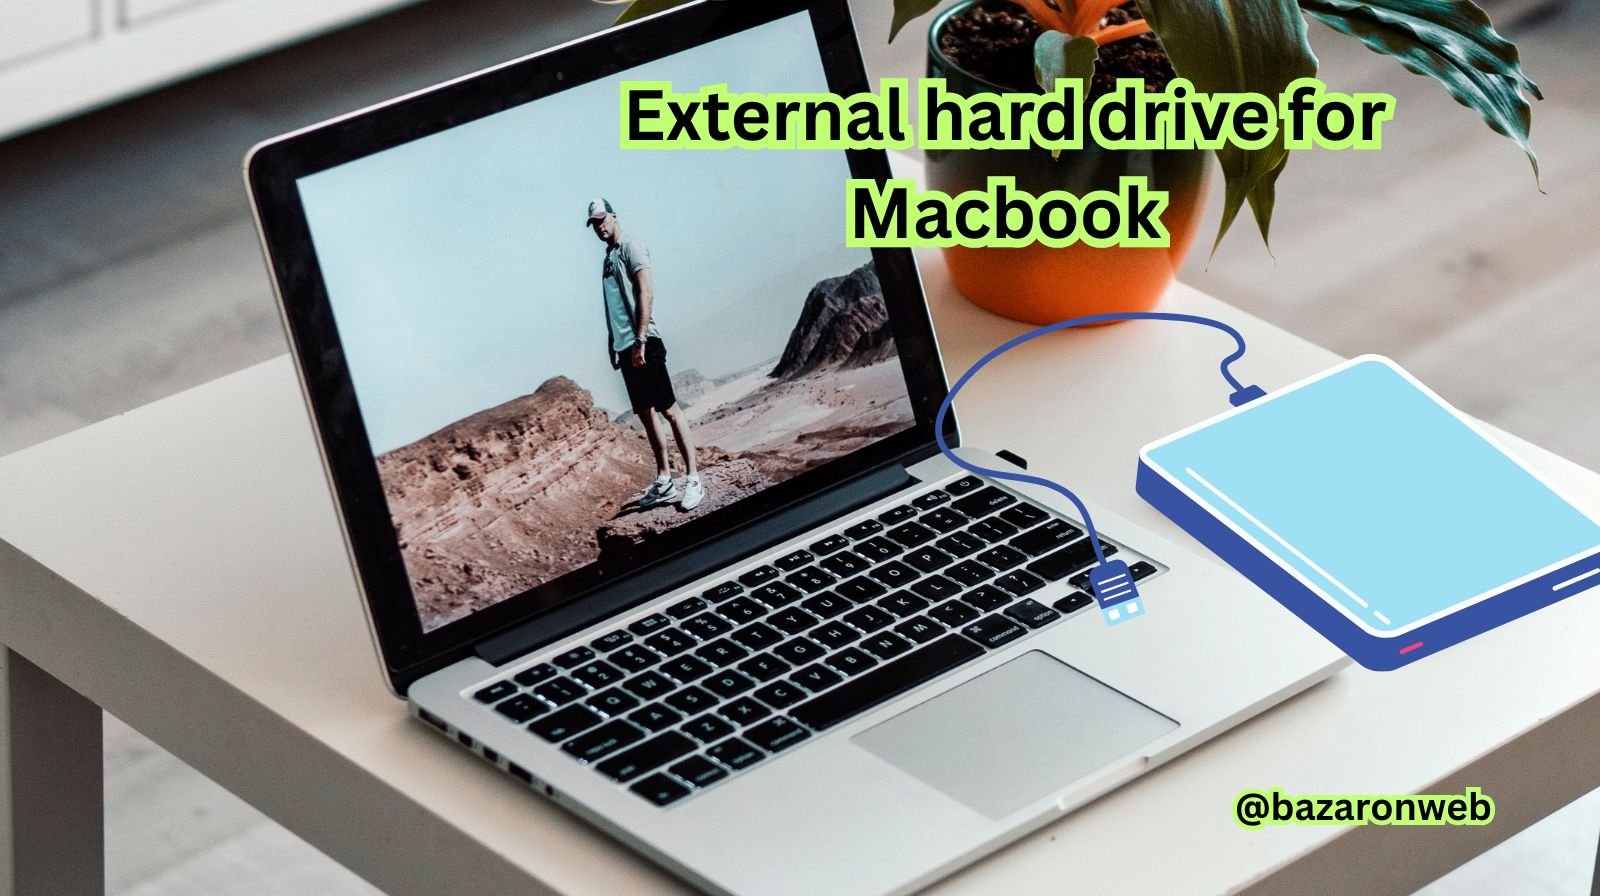
If you’ve ever run out of storage on your MacBook, you’re not alone. With photos, videos, apps, and documents piling up, even the most spacious drives can fill up quickly. Fortunately, connecting an external hard drive to your MacBook is an easy and reliable way to expand your storage, back up your data, and keep your system running smoothly.
In this detailed guide, I’ll walk you through everything you need to know about using an external hard drive with your MacBook — from choosing the right drive to formatting it, connecting it, and managing files like a pro.
1. Why You Might Need an External Hard Drive
Before we dive into the how-to, let’s understand why adding an external drive is worth it:
- Expand Storage: MacBooks often have limited internal SSDs. A hard drive gives you extra room for large files.
- Backup Solution: Time Machine backups ensure you never lose your files.
- Data Transfer: Great for moving data between devices.
- File Organization: Store media files, projects, and archives externally to keep your Mac running fast.
- Security: Sensitive files can be stored offline for added privacy.
2. Choosing the Right External Hard Drive
Not all drives are created equal. Here’s how to choose one that fits your needs and MacBook model.
a. Type of Drive
- HDD (Hard Disk Drive): Affordable and ideal for large backups but slower.
- SSD (Solid State Drive): Faster, lighter, and more durable — perfect for frequent file transfers.
b. Connection Port
MacBooks come with different port types depending on the model:
- USB-C/Thunderbolt 3 or 4 (newer models)
- USB-A (older MacBooks)
If your drive doesn’t match your MacBook’s ports, you can use a USB-C to USB-A adapter or hub.
c. Storage Capacity
- 500GB to 1TB – good for light users.
- 2TB to 4TB – ideal for media creators or backups.
- 5TB+ – for professionals dealing with large datasets or video editing.
d. Brand Recommendations
Some reliable options include:
- Seagate Backup Plus
- WD My Passport
- Samsung T7 SSD
- SanDisk Extreme SSD
- LaCie Rugged Drives (for creatives and travelers)
3. How to Connect the External Hard Drive
Let’s move to the actual connection process.
Step 1: Plug It In
Use the correct cable (USB-C or USB-A) to connect the drive to your MacBook. You’ll usually hear a small click sound or feel a vibration indicating it’s connected.
Step 2: Wait for Drive Detection
Once connected, your MacBook should automatically detect the external drive. You’ll see its icon appear on your desktop or under Finder > Locations.
If it doesn’t show up, don’t worry — we’ll cover troubleshooting steps shortly.
4. How to Format the External Hard Drive for Mac
Sometimes, a new external drive might not be formatted for macOS. Windows drives use NTFS, which macOS can read but not write to. To use your drive fully, format it properly.
⚠️ Important: Formatting erases all data on the drive. Backup anything important first.
Steps to Format:
- Open Disk Utility (use Spotlight search or find it in Applications > Utilities).
- Select your external drive from the left panel.
- Click Erase on the top menu.
- Choose the Format Type:
- APFS: Best for macOS High Sierra or newer.
- Mac OS Extended (Journaled): For older macOS versions.
- exFAT: Compatible with both Mac and Windows.
- Click Erase to confirm.
Once complete, the drive will be ready to use immediately.
5. Using External Hard Drive for Time Machine Backups
Apple’s Time Machine is a built-in backup tool that makes it effortless to secure your files.
To Set Up Time Machine:
- Connect your external drive.
- Go to System Settings > General > Time Machine.
- Click Add Backup Disk and select your external drive.
- Toggle Back Up Automatically if you want scheduled backups.
Time Machine will start its first backup — which may take some time — and then automatically update in the background.
6. Transferring and Managing Files
Once connected, using your external drive is as simple as managing files on your Mac:
- Drag and drop files from Finder to the external drive.
- Create folders on the external drive to stay organized.
- Rename or delete files as needed.
- If you use Photos or iMovie, you can store media libraries directly on your external drive to save internal space.
Tip: Keep a separate folder structure for “Backups,” “Projects,” and “Media Files” to maintain clarity.
7. How to Eject the Drive Safely
Never just unplug your hard drive! Doing so can cause data corruption.
To eject safely:
- Right-click on the drive icon on your desktop and select Eject.
- Or, click the Eject icon next to the drive name in Finder.
Wait for the icon to disappear before unplugging.
8. Troubleshooting Connection Issues
Sometimes, your MacBook may fail to recognize an external hard drive. Here’s what to do:
a. Check the Cable and Ports
Try a different USB cable or port. If you’re using an adapter, test it with another device.
b. Verify in Disk Utility
Open Disk Utility to see if your drive appears there but not in Finder. If it does, you might need to mount it manually.
c. Manually Mount the Drive
- Open Disk Utility.
- Select your external drive.
- Click Mount on the toolbar.
d. Reset NVRAM or SMC
If the drive still doesn’t appear, restarting your MacBook and resetting the NVRAM or SMC can sometimes help.
e. Check File System Compatibility
If the drive is formatted in NTFS, macOS won’t allow write access unless you use third-party tools like Paragon NTFS for Mac.
9. Using External Drives with iCloud and Cloud Services
If you’re an iCloud user, you can combine external storage with your cloud backups. For example:
- Store large, rarely used files on your external drive.
- Keep essential, frequently accessed files in iCloud Drive.
This balance helps optimize both performance and storage space.
You can also back up your external drive using cloud tools like Dropbox, Google Drive, or OneDrive for additional protection.
10. Best Practices for Long-Term Use
To make the most of your external hard drive and extend its lifespan:
- Avoid unplugging while in use.
- Use surge protection to prevent electrical damage.
- Eject before disconnecting.
- Label drives clearly if using multiple ones.
- Perform regular health checks with Disk Utility’s “First Aid.”
For SSDs, avoid filling them completely; keeping at least 10–15% free helps maintain performance.
11. Alternatives to External Hard Drives
If you prefer a more modern approach, consider these alternatives:
- Cloud Storage: iCloud, Google Drive, Dropbox.
- NAS (Network-Attached Storage): Perfect for multi-device backups.
- Flash Drives: Handy for quick, small file transfers.
Still, external hard drives remain the most reliable and cost-effective option for most users.
Conclusion
Connecting an external hard drive to your MacBook is one of the simplest yet smartest upgrades you can make. Whether you want to expand your storage, safeguard data with Time Machine, or organize large projects, the setup is quick and user-friendly.
From choosing the right drive type to formatting it for macOS and managing your files efficiently, you now have all the knowledge you need to make the most of your external storage solution.
So grab that external hard drive, plug it in, and give your MacBook the space it deserves — it’ll thank you with faster performance and peace of mind!
- Secure Frame Server Helper High CPU Usage: Causes, Fixes, and Complete Troubleshooting Guide

- How to Use MSRT Tool on Windows to Remove Malicious Programs Easily and Safely

- Different Ways to Clear Windows Update Cache in Windows 11 and Free Up Storage Space Easily
- How to Activate Tamper Protection in Windows 11 for Maximum Security

- How to Fix lsass.exe High CPU Usage on Windows 11 (Complete Troubleshooting Guide)

Products
-
![Apple Watch Ultra 3 [GPS + Cellular 49mm] Running & Multisport Smartwatch w/Rugged Titanium Case w/Black Titanium Milanese Loop - M. Satellite Communications, Advanced Health & Fitness Tracking](https://bazaronweb.com/retailstores/wp-content/uploads/2025/09/apple-watch-320x320.jpg) Apple Watch Ultra 3 [GPS + Cellular 49mm] Running & Multisport Smartwatch w/Rugged Titanium Case w/Black Titanium Milanese Loop - M. Satellite Communications, Advanced Health & Fitness Tracking
Apple Watch Ultra 3 [GPS + Cellular 49mm] Running & Multisport Smartwatch w/Rugged Titanium Case w/Black Titanium Milanese Loop - M. Satellite Communications, Advanced Health & Fitness Tracking
-
 Apple iPad mini (A17 Pro): Apple Intelligence, 8.3-inch Liquid Retina Display, 256GB, Wi-Fi 6E, 12MP Front/12MP Back Camera, Touch ID, All-Day Battery Life — Purple
-
 Apple AirPods Max Wireless Over-Ear Headphones, Active Noise Cancelling, Transparency Mode, Personalized Spatial Audio, Dolby Atmos, Bluetooth Headphones for iPhone – Space Gray
-
 Apple AirPods Pro 2 Wireless Earbuds, Active Noise Cancellation, Hearing Aid Feature, Bluetooth Headphones, Transparency, Personalized Spatial Audio, High-Fidelity Sound, H2 Chip, USB-C Charging
-
Leo Creation 144 TC Cotton Double Jaipuri Prints Flat Bedsheet(Pack of 1, Blue, Gree, Red, Grey, Light Grey)
Original price was: ₹2,999.00.₹329.00Current price is: ₹329.00.
Leave a Reply