Discounted Products
-
 Leo Creation 144 TC Cotton Double Jaipuri Prints Flat Bedsheet(Pack of 1, Blue, Gree, Red, Grey, Light Grey)
Original price was: ₹2,999.00.₹329.00Current price is: ₹329.00.
Leo Creation 144 TC Cotton Double Jaipuri Prints Flat Bedsheet(Pack of 1, Blue, Gree, Red, Grey, Light Grey)
Original price was: ₹2,999.00.₹329.00Current price is: ₹329.00.
-
 Home Garage 210 TC Cotton King Floral Fitted (Elastic) Bedsheet(Pack of 1, Grey)
Original price was: ₹999.00.₹299.00Current price is: ₹299.00.
Home Garage 210 TC Cotton King Floral Fitted (Elastic) Bedsheet(Pack of 1, Grey)
Original price was: ₹999.00.₹299.00Current price is: ₹299.00.
-
 Goodrik 140 TC Cotton Double 3D Printed Flat Bedsheet(Pack of 1, Brown)
Original price was: ₹499.00.₹229.00Current price is: ₹229.00.
Goodrik 140 TC Cotton Double 3D Printed Flat Bedsheet(Pack of 1, Brown)
Original price was: ₹499.00.₹229.00Current price is: ₹229.00.
-
 GLOBALSHOP 350 TC Microfiber Double Floral Flat Bedsheet(Pack of 1, Multicolor)
Original price was: ₹1,250.00.₹263.00Current price is: ₹263.00.
GLOBALSHOP 350 TC Microfiber Double Floral Flat Bedsheet(Pack of 1, Multicolor)
Original price was: ₹1,250.00.₹263.00Current price is: ₹263.00.
-
 RisingStar 250 TC Microfiber King Printed Fitted (Elastic) Bedsheet(Pack of 1, FITTED-ROUND-CIRCLES-PREMIUM)
Original price was: ₹2,299.00.₹299.00Current price is: ₹299.00.
RisingStar 250 TC Microfiber King Printed Fitted (Elastic) Bedsheet(Pack of 1, FITTED-ROUND-CIRCLES-PREMIUM)
Original price was: ₹2,299.00.₹299.00Current price is: ₹299.00.
-
 Home Garage 210 TC Cotton King Floral Fitted (Elastic) Bedsheet(Pack of 1, Fitted Black Green)
Original price was: ₹1,299.00.₹299.00Current price is: ₹299.00.
Home Garage 210 TC Cotton King Floral Fitted (Elastic) Bedsheet(Pack of 1, Fitted Black Green)
Original price was: ₹1,299.00.₹299.00Current price is: ₹299.00.
-
 Home Garage 180 TC Cotton King 3D Printed Flat Bedsheet(Pack of 1, White)
Original price was: ₹999.00.₹229.00Current price is: ₹229.00.
Home Garage 180 TC Cotton King 3D Printed Flat Bedsheet(Pack of 1, White)
Original price was: ₹999.00.₹229.00Current price is: ₹229.00.
-
 Home Sizzler 153 cm (5 ft) Polyester Room Darkening Window Curtain (Pack Of 2)(Floral, Maroon)
Original price was: ₹799.00.₹299.00Current price is: ₹299.00.
Home Sizzler 153 cm (5 ft) Polyester Room Darkening Window Curtain (Pack Of 2)(Floral, Maroon)
Original price was: ₹799.00.₹299.00Current price is: ₹299.00.
-
 Panipat Textile Hub 152.4 cm (5 ft) Polyester Window Curtain (Pack Of 2)(Solid, Aqua)
Original price was: ₹1,899.00.₹299.00Current price is: ₹299.00.
Panipat Textile Hub 152.4 cm (5 ft) Polyester Window Curtain (Pack Of 2)(Solid, Aqua)
Original price was: ₹1,899.00.₹299.00Current price is: ₹299.00.
-
 Home Sizzler 214 cm (7 ft) Polyester Semi Transparent Door Curtain (Pack Of 2)(Floral, Maroon)
Original price was: ₹1,199.00.₹399.00Current price is: ₹399.00.
Home Sizzler 214 cm (7 ft) Polyester Semi Transparent Door Curtain (Pack Of 2)(Floral, Maroon)
Original price was: ₹1,199.00.₹399.00Current price is: ₹399.00.
-
 Home Sizzler 153 cm (5 ft) Polyester Room Darkening Window Curtain (Pack Of 2)(Floral, Brown)
Original price was: ₹799.00.₹299.00Current price is: ₹299.00.
Home Sizzler 153 cm (5 ft) Polyester Room Darkening Window Curtain (Pack Of 2)(Floral, Brown)
Original price was: ₹799.00.₹299.00Current price is: ₹299.00.
-
 Stella Creations 214 cm (7 ft) Polyester Room Darkening Door Curtain (Pack Of 2)(Abstract, Brown)
Original price was: ₹1,299.00.₹449.00Current price is: ₹449.00.
Stella Creations 214 cm (7 ft) Polyester Room Darkening Door Curtain (Pack Of 2)(Abstract, Brown)
Original price was: ₹1,299.00.₹449.00Current price is: ₹449.00.
-
 Homefab India 152.5 cm (5 ft) Polyester Room Darkening Window Curtain (Pack Of 2)(Floral, Light Blue)
Original price was: ₹1,199.00.₹319.00Current price is: ₹319.00.
Homefab India 152.5 cm (5 ft) Polyester Room Darkening Window Curtain (Pack Of 2)(Floral, Light Blue)
Original price was: ₹1,199.00.₹319.00Current price is: ₹319.00.
-
 Urban Home 214 cm (7 ft) PVC Transparent Door Curtain Single Curtain(Solid, Off White)
Original price was: ₹699.00.₹203.00Current price is: ₹203.00.
Urban Home 214 cm (7 ft) PVC Transparent Door Curtain Single Curtain(Solid, Off White)
Original price was: ₹699.00.₹203.00Current price is: ₹203.00.
-
 Panipat Textile Hub 213 cm (7 ft) Polyester Door Curtain (Pack Of 2)(Solid, Brown)
Original price was: ₹1,199.00.₹349.00Current price is: ₹349.00.
Panipat Textile Hub 213 cm (7 ft) Polyester Door Curtain (Pack Of 2)(Solid, Brown)
Original price was: ₹1,199.00.₹349.00Current price is: ₹349.00.
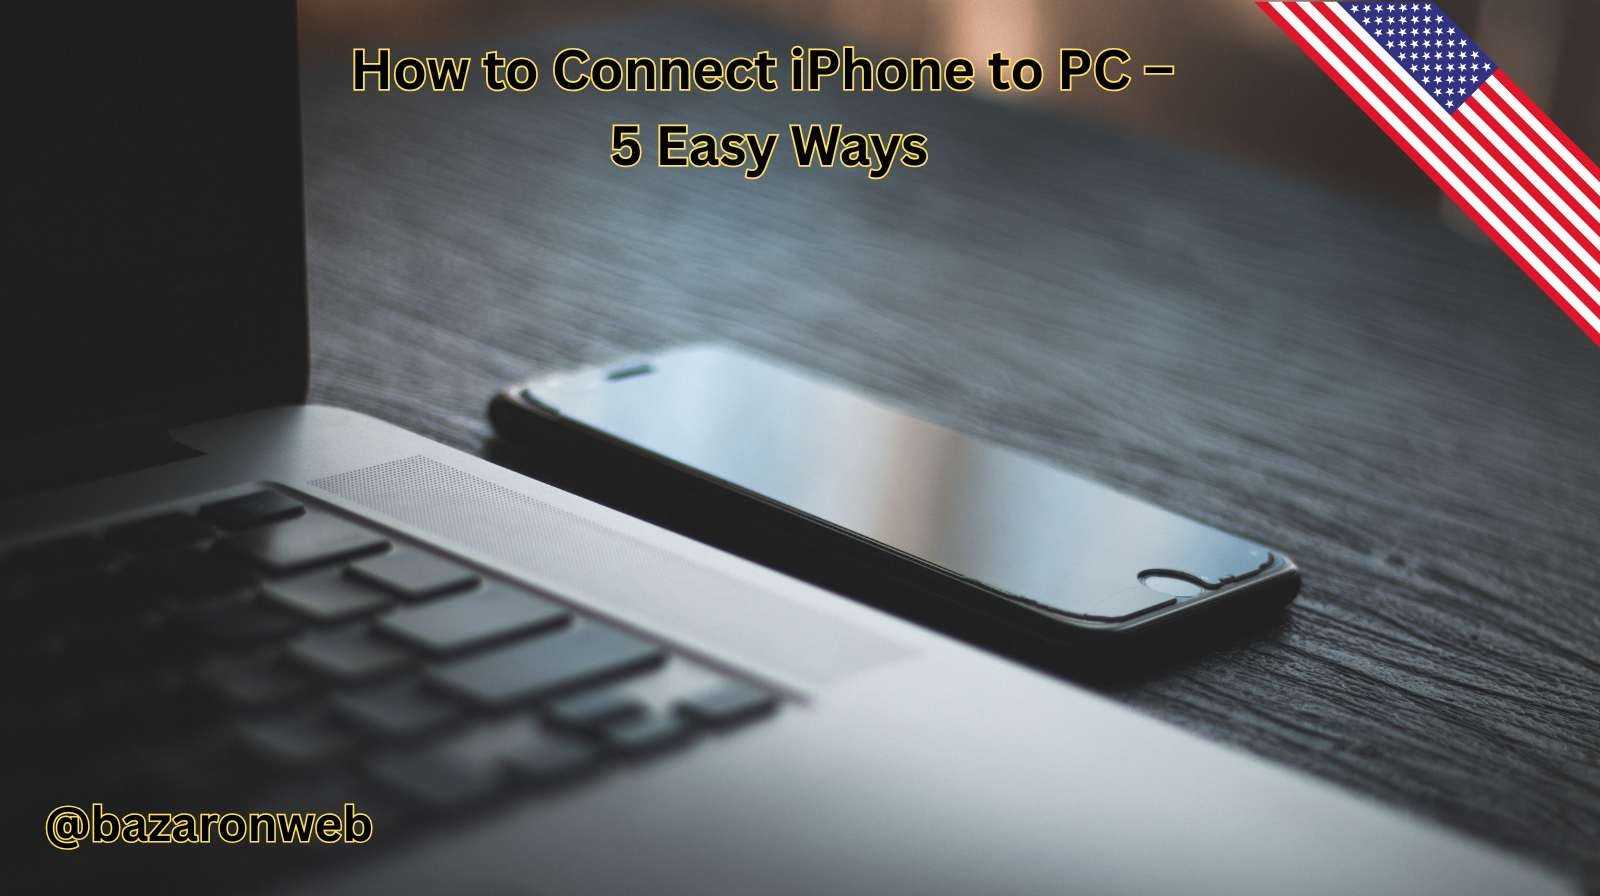
As someone who juggles between my iPhone for personal life and my Windows PC for work, I’ve often found myself needing a reliable way to connect the two. Whether I’m transferring family photos, backing up important files, or syncing music for my kids, the process of connecting an iPhone to a PC isn’t always straightforward. Over the years, I’ve experimented with different methods, and today I want to share the five most effective ways you can connect your iPhone to a Windows computer.
Each option has its own strengths, so depending on whether you prefer cables, wireless syncing, or cloud storage, there’s a solution here for you. Let’s dive into each method step by step.
1. Using a USB Cable with iTunes (Classic Method)
The most traditional way to connect an iPhone to a PC is through a USB lightning or USB-C cable (depending on your iPhone model) and iTunes. While many people feel iTunes is outdated, it still remains one of the most powerful tools for managing iPhones on Windows.
Steps:
- Download and install the latest version of iTunes from Apple’s website or the Microsoft Store.
- Connect your iPhone to your PC using the charging cable.
- Unlock your iPhone and select “Trust This Computer” if prompted.
- Open iTunes, and your device should appear in the top-left corner.
- From here, you can:
- Back up your device.
- Sync music, movies, and podcasts.
- Update or restore iOS software.
Pros:
- Reliable for backups and restores.
- Works offline once installed.
Cons:
- The interface feels outdated.
- Some file types (like documents or specific photos) require extra steps.
I use this method when I want a full backup before a big iOS update or when I’m organizing old music libraries.
2. File Explorer (Quick Drag-and-Drop)
If you only need to copy photos or videos from your iPhone to your PC, you don’t even need iTunes. Windows File Explorer recognizes your iPhone as a storage device once it’s plugged in.
Steps:
- Connect your iPhone with a USB cable.
- Unlock your phone and allow access to photos and videos.
- Open File Explorer and look for “Apple iPhone” under This PC.
- Navigate to the DCIM folder.
- Drag and drop photos or videos directly to your computer.
Pros:
- Extremely simple.
- No software installation required.
Cons:
- Only works for photos and videos.
- Doesn’t support other file types like notes, messages, or apps.
This method is my go-to whenever I come back from a family trip and need to quickly copy hundreds of vacation photos to my PC for editing.
3. iCloud for Windows (Wireless Sync)
Apple’s iCloud bridges the gap between iPhone and PC without needing cables. By installing iCloud for Windows, you can access your photos, documents, and even browser bookmarks seamlessly.
Steps:
- Download iCloud for Windows from the Microsoft Store or Apple’s site.
- Sign in with your Apple ID.
- Choose what to sync (Photos, iCloud Drive, Mail, Contacts, etc.).
- Once enabled, your files automatically appear in the iCloud folder on your PC.
Pros:
- Automatic wireless sync.
- Great for accessing documents, photos, and notes anywhere.
- Reduces the need for physical storage space.
Cons:
- Requires stable internet.
- Free plan offers only 5GB of storage (you may need to upgrade).
For me, this method is ideal for work documents and sharing school project files between my kids’ iPads and my PC without plugging in anything.
4. Third-Party Apps (EaseUS MobiMover, AnyTrans, etc.)
Sometimes, Apple’s built-in tools feel restrictive. That’s where third-party software comes in. Apps like EaseUS MobiMover, AnyTrans, and iMazing offer far more flexibility when connecting iPhones to PCs.
Features of These Apps:
- Transfer music, videos, photos, contacts, and even WhatsApp chats.
- Create and manage backups.
- Export messages and call history for safekeeping.
Steps (General):
- Download a third-party app like EaseUS MobiMover.
- Connect your iPhone to your PC.
- Launch the program and select the type of data you want to transfer.
- Complete the transfer with a single click.
Pros:
- Supports a wide range of file types.
- Cleaner, more modern interface than iTunes.
- Some offer wireless transfer.
Cons:
- Most apps are paid (though free versions exist with limits).
- Requires installation.
I often recommend this method to friends who want a simple, all-in-one solution for data transfers without dealing with iTunes.
5. Bluetooth or Wi-Fi File Sharing
While less common, you can also connect your iPhone to your PC via Bluetooth or Wi-Fi sharing apps. This is especially useful if you want to transfer smaller files without cables or apps.
Option A: Bluetooth
- Enable Bluetooth on both devices.
- Pair your iPhone with your PC.
- Send files (though this works mostly for small documents).
Option B: Wi-Fi Sharing Apps
Apps like SHAREit, Send Anywhere, or AirDroid allow wireless transfers between iPhone and PC on the same Wi-Fi network.
Pros:
- Convenient for small, quick transfers.
- No cables required.
Cons:
- Slower speeds compared to USB.
- Bluetooth is limited in file compatibility.
This is my emergency method when I just need to send a PDF from my iPhone to my work PC quickly.
Tips for a Smooth Connection
- Keep drivers updated: Ensure your Windows computer has the latest Apple Mobile Device drivers.
- Use quality cables: Cheap cables often fail to connect properly.
- Unlock your iPhone: Always unlock your iPhone before connecting.
- Trust prompts: Make sure to tap “Trust This Computer” on your iPhone when prompted.
- Check firewall/antivirus: Sometimes security settings block connections—temporarily disable them if needed.
Which Method Should You Choose?
- For backups & full control: Use iTunes.
- For quick photo transfers: Use File Explorer.
- For wireless sync: Go with iCloud for Windows.
- For maximum flexibility: Invest in third-party apps.
- For small, fast transfers: Try Bluetooth/Wi-Fi apps.
Final Thoughts
Connecting an iPhone to a PC doesn’t have to be frustrating. Once you understand the different methods, you can pick the one that best fits your lifestyle. Personally, I rely on iCloud for everyday document sharing, but I also keep iTunes installed for full-device backups. Meanwhile, File Explorer is my lifesaver whenever I need to quickly grab a batch of photos.
So whether you’re a parent like me trying to manage family memories, or a professional who needs to sync work files, these five methods cover everything you’ll need to connect your iPhone to your PC smoothly.
- How to Change the Default Audio Output Device on Windows 11

- How to Fix Taskbar and Settings Not Working After a Windows 11 Update

- How to Fix Microsoft Store Logging You Out Randomly on Windows 11

- How to Fix Volume Shadow Copy Service Errors in Windows (Complete Troubleshooting Guide)

- How to Fix Game Lag After a Windows Update (10 Proven Solutions)

Products
-
![Apple Watch Ultra 3 [GPS + Cellular 49mm] Running & Multisport Smartwatch w/Rugged Titanium Case w/Black Titanium Milanese Loop - M. Satellite Communications, Advanced Health & Fitness Tracking](https://bazaronweb.com/retailstores/wp-content/uploads/2025/09/apple-watch-320x320.jpg) Apple Watch Ultra 3 [GPS + Cellular 49mm] Running & Multisport Smartwatch w/Rugged Titanium Case w/Black Titanium Milanese Loop - M. Satellite Communications, Advanced Health & Fitness Tracking
Apple Watch Ultra 3 [GPS + Cellular 49mm] Running & Multisport Smartwatch w/Rugged Titanium Case w/Black Titanium Milanese Loop - M. Satellite Communications, Advanced Health & Fitness Tracking
-
 Apple iPad mini (A17 Pro): Apple Intelligence, 8.3-inch Liquid Retina Display, 256GB, Wi-Fi 6E, 12MP Front/12MP Back Camera, Touch ID, All-Day Battery Life — Purple
-
 Apple AirPods Max Wireless Over-Ear Headphones, Active Noise Cancelling, Transparency Mode, Personalized Spatial Audio, Dolby Atmos, Bluetooth Headphones for iPhone – Space Gray
-
 Apple AirPods Pro 2 Wireless Earbuds, Active Noise Cancellation, Hearing Aid Feature, Bluetooth Headphones, Transparency, Personalized Spatial Audio, High-Fidelity Sound, H2 Chip, USB-C Charging
-
Leo Creation 144 TC Cotton Double Jaipuri Prints Flat Bedsheet(Pack of 1, Blue, Gree, Red, Grey, Light Grey)
Original price was: ₹2,999.00.₹329.00Current price is: ₹329.00.
Leave a Reply