Category
Popular Articles
- AI (14)
- Android (41)
- App Suggest (13)
- Apple (25)
- Apple TV (2)
- Bluetooth (3)
- Cars (2)
- ChatGpt (1)
- Chrome (2)
- Did you know? (1)
- E-Commerce News (1)
- Ecommerce Websites business (7)
- Electronics Shopping (5)
- Fashion Tips (3)
- Gaming (5)
- Google Gemini (3)
- Hair Care Tips (2)
- How to (13)
- iCloud (1)
- Infotainment System (1)
- Iphone (112)
- Job Posting (1)
- Lifestyle (3)
- Mac (22)
- Mobile Games (1)
- Netflix (1)
- Online Shopping Websites (2)
- Personal Finance Management (3)
- Product Reviews (3)
- Roku TV (4)
- Samsung (10)
- Shopping Tips (10)
- Spotify (1)
- Tech (118)
- VPN (2)
- Windows 11 (24)
- Zero Waste (3)
Discounted Products
-
 Leo Creation 144 TC Cotton Double Jaipuri Prints Flat Bedsheet(Pack of 1, Blue, Gree, Red, Grey, Light Grey)
₹2,999.00Original price was: ₹2,999.00.₹329.00Current price is: ₹329.00. -
 Home Garage 210 TC Cotton King Floral Fitted (Elastic) Bedsheet(Pack of 1, Grey)
₹999.00Original price was: ₹999.00.₹299.00Current price is: ₹299.00. -
 Goodrik 140 TC Cotton Double 3D Printed Flat Bedsheet(Pack of 1, Brown)
₹499.00Original price was: ₹499.00.₹229.00Current price is: ₹229.00. -
 GLOBALSHOP 350 TC Microfiber Double Floral Flat Bedsheet(Pack of 1, Multicolor)
₹1,250.00Original price was: ₹1,250.00.₹263.00Current price is: ₹263.00. -
 RisingStar 250 TC Microfiber King Printed Fitted (Elastic) Bedsheet(Pack of 1, FITTED-ROUND-CIRCLES-PREMIUM)
₹2,299.00Original price was: ₹2,299.00.₹299.00Current price is: ₹299.00. -
 Home Garage 210 TC Cotton King Floral Fitted (Elastic) Bedsheet(Pack of 1, Fitted Black Green)
₹1,299.00Original price was: ₹1,299.00.₹299.00Current price is: ₹299.00. -
 Home Garage 180 TC Cotton King 3D Printed Flat Bedsheet(Pack of 1, White)
₹999.00Original price was: ₹999.00.₹229.00Current price is: ₹229.00. -
 Home Sizzler 153 cm (5 ft) Polyester Room Darkening Window Curtain (Pack Of 2)(Floral, Maroon)
₹799.00Original price was: ₹799.00.₹299.00Current price is: ₹299.00. -
 Panipat Textile Hub 152.4 cm (5 ft) Polyester Window Curtain (Pack Of 2)(Solid, Aqua)
₹1,899.00Original price was: ₹1,899.00.₹299.00Current price is: ₹299.00. -
 Home Sizzler 214 cm (7 ft) Polyester Semi Transparent Door Curtain (Pack Of 2)(Floral, Maroon)
₹1,199.00Original price was: ₹1,199.00.₹399.00Current price is: ₹399.00. -
 Home Sizzler 153 cm (5 ft) Polyester Room Darkening Window Curtain (Pack Of 2)(Floral, Brown)
₹799.00Original price was: ₹799.00.₹299.00Current price is: ₹299.00. -
 Stella Creations 214 cm (7 ft) Polyester Room Darkening Door Curtain (Pack Of 2)(Abstract, Brown)
₹1,299.00Original price was: ₹1,299.00.₹449.00Current price is: ₹449.00. -
 Homefab India 152.5 cm (5 ft) Polyester Room Darkening Window Curtain (Pack Of 2)(Floral, Light Blue)
₹1,199.00Original price was: ₹1,199.00.₹319.00Current price is: ₹319.00. -
 Urban Home 214 cm (7 ft) PVC Transparent Door Curtain Single Curtain(Solid, Off White)
₹699.00Original price was: ₹699.00.₹203.00Current price is: ₹203.00. -
 Panipat Textile Hub 213 cm (7 ft) Polyester Door Curtain (Pack Of 2)(Solid, Brown)
₹1,199.00Original price was: ₹1,199.00.₹349.00Current price is: ₹349.00.
Affiliate Links
Promotion
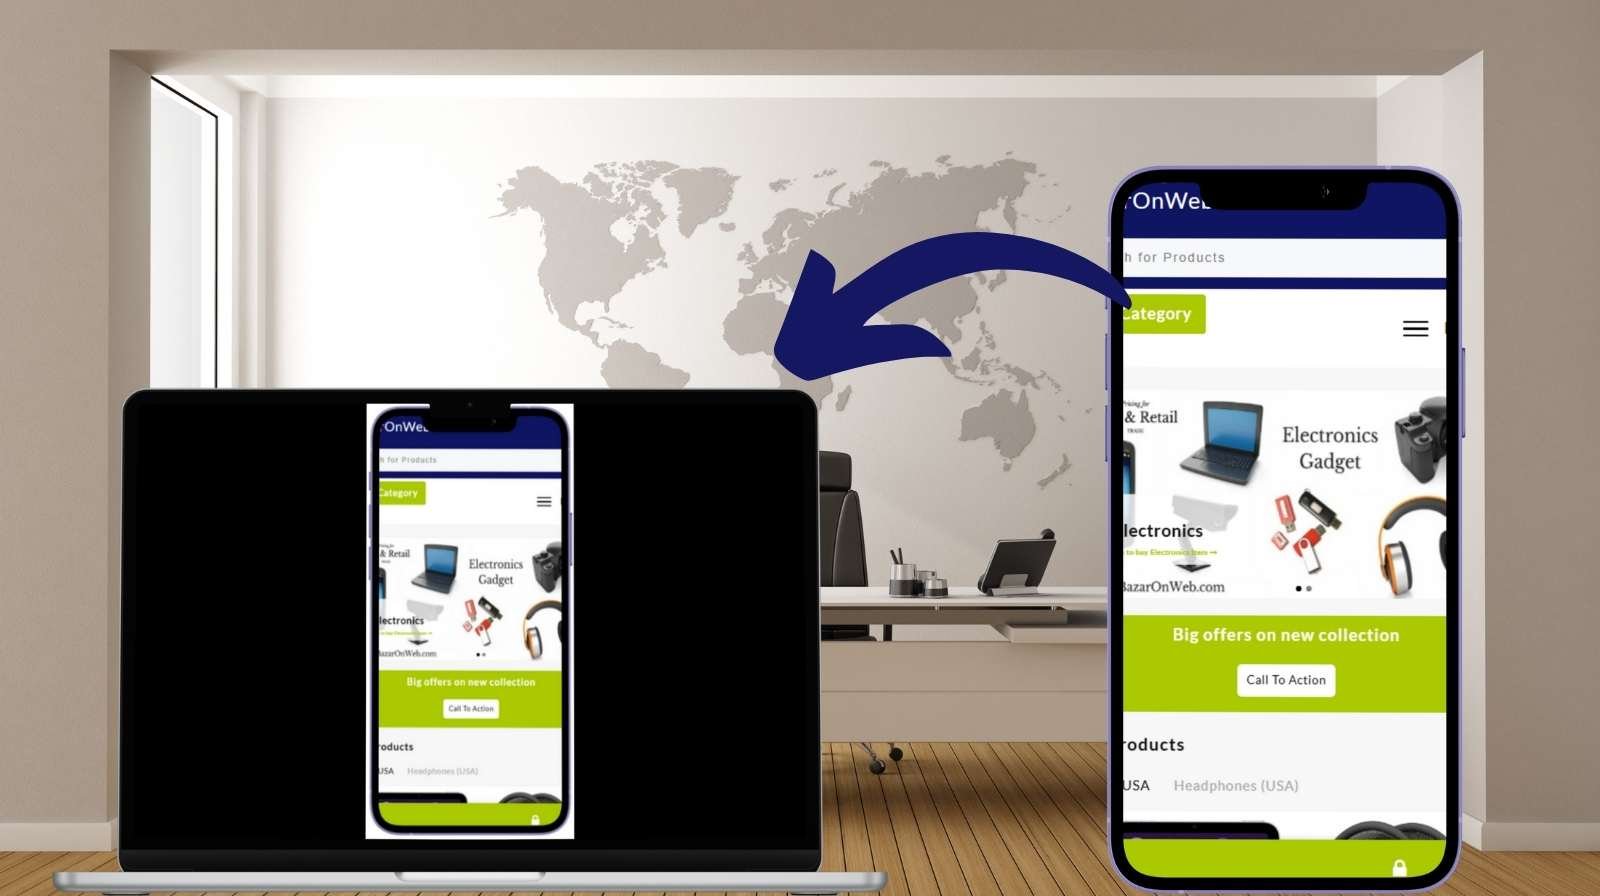
Hi friends — Jessica here! I use my iPhone for everything (work emails, family photos, groceries, you name it), so being able to view—or in some cases actually control—my phone from my computer is a total life saver. Whether you want to run an app from a bigger screen, record a how-to video, or help a family member remotely, here are the realistic ways to do it on Mac and PC, and when each method makes sense.
Quick overview — what’s possible
- Mac (best experience): Newer macOS versions let you mirror and control an iPhone directly (real keyboard & mouse control). If you don’t need control, QuickTime and AirPlay let you mirror and record the screen.
- Accessibility method (Mac & iPhone): Apple’s Switch Control can let a Mac control a connected iPhone — it’s an accessibility feature that works well for hands-on control.
- Windows (and Mac alternatives): Third-party apps (ApowerMirror, Reflector, AirServer, etc.) let you mirror a screen and sometimes enable limited control — setup varies and usually needs extra steps like enabling AssistiveTouch.
Method 1 — iPhone Mirroring & Control on Mac (macOS Sequoia + iOS 18)
This is the smoothest, most Apple-native way to control your iPhone from a Mac if you have the needed OS versions and hardware.
Requirements (summary): iPhone running iOS 18+, Mac with macOS Sequoia (or later) on Apple silicon or T2 Macs, both devices signed into the same Apple ID with two-factor authentication, Wi-Fi and Bluetooth on. Once set up, you can interact with the iPhone using your Mac’s keyboard and trackpad/mouse.
Steps:
- Update both devices: iPhone to iOS 18+, Mac to macOS Sequoia (or newer).
- Sign into the same Apple ID on both and confirm two-factor authentication is active.
- On the Mac, open the iPhone Mirroring app (or use Control Center → Screen Mirroring on iPhone and select your Mac).
- Authenticate when prompted (Face ID, Touch ID, or Mac password).
- Once mirrored, you can click apps, type with your Mac keyboard, use shortcuts (Cmd + 1 to go home, etc.), and even drag and drop in supported flows.
When to use: best for daily productivity, demos, and content creation because it’s secure and provides real interactivity.
Method 2 — QuickTime (Mac) — mirror and record (display only)
If you only need to see and record your iPhone screen (not control it), QuickTime Player is simple and reliable.
Steps:
- Connect your iPhone to your Mac with a Lightning/USB-C cable and tap Trust if prompted.
- Open QuickTime Player → File → New Movie Recording.
- Click the small arrow next to the record button and choose your iPhone as the camera source.
- You’ll see and can record the iPhone screen. (Source: Apple Support)
When to use: screencasts, tutorials, or saving quick recordings.
Method 3 — Switch Control (Accessibility) — control iPhone from Mac
Switch Control is an accessibility tool that can be used to operate one Apple device from another over the same Wi-Fi network or via USB. It’s great when you need precise control for accessibility or remote assistance.
Basic steps:
- On your iPhone: Settings → Accessibility → Switch Control → turn it on.
- On your Mac: Apple menu → System Settings → Accessibility → Switch Control → enable it.
- Use the Switch Control home panel on your Mac, choose Devices, then select the iPhone to control.
- Navigate the iPhone UI using the Switch Control scanning and your keyboard/mouse.
When to use: accessibility needs or when native remote control is required without third-party apps.
Method 4 — Third-party mirroring & (limited) control — Windows or Mac
If you’re on Windows, or your Mac lacks the latest OS, use apps like ApowerMirror, Reflector, AirServer, or AnyDesk. These allow screen mirroring and sometimes limited control, but you’ll usually need to enable AssistiveTouch or follow app-specific prompts for “control” functionality. ApowerMirror has a documented flow for enabling control via AssistiveTouch.
Typical setup:
- Install the companion app on your PC/Mac and the iPhone app (if required).
- Connect both devices to the same Wi-Fi network (or use USB where supported).
- On the iPhone: enable Screen Mirroring or follow the app’s pairing steps, and enable AssistiveTouch if the app asks.
- Use the desktop app to mirror and, if supported, simulate taps or keyboard input.
Limitations: iOS restrictions mean remote control is often clunkier than Android — expect to enable extra accessibility features and accept partial control in many setups.
Troubleshooting & tips
- Keep OS/software updated. Many features require the latest iOS/macOS or app versions.
- Trust the computer when connecting via cable (tap “Trust” on iPhone).
- Use a good cable for QuickTime or USB mirroring.
- Enable Bluetooth + Wi-Fi for Apple’s native features (and be on the same network).
- Watch battery & privacy: mirroring sends screen content to your computer; be mindful of sensitive notifications.
Final thoughts
If you’re on a modern Mac with updated OSes, the iPhone Mirroring + control experience is the cleanest and most integrated option. QuickTime is great for recording, Switch Control is a reliable accessibility-based control method, and third-party apps fill the gap for Windows users. Pick the method that matches your needs—screen recording, full control, or quick mirroring—and you’ll be amazed at how much smoother everyday tasks become when your iPhone and computer actually work together.
Written by Bazaronweb
Latest Tech Articles
- How to Use Gemini AI Chatbot on iPhone: Complete Step-by-Step Guide for Beginners & Power Users

- How to Use Photo Cutout on iPhone: Remove Backgrounds, Create Stickers & Share Like a Pro
- How to Transfer Files from iPhone to Windows Easily: 3 Proven Methods That Actually Work (2026 Guide)

- How to Close All Open Apps on iPhone at Once: The Truth About App Management in iOS (2026 Guide)

- How to Extract and Copy Text from an Image on iPhone: The Easiest Way to Turn Photos into Editable Text

Products
-
![Apple Watch Ultra 3 [GPS + Cellular 49mm] Running & Multisport Smartwatch w/Rugged Titanium Case w/Black Titanium Milanese Loop - M. Satellite Communications, Advanced Health & Fitness Tracking](https://bazaronweb.com/retailstores/wp-content/uploads/2025/09/apple-watch-320x320.jpg) Apple Watch Ultra 3 [GPS + Cellular 49mm] Running & Multisport Smartwatch w/Rugged Titanium Case w/Black Titanium Milanese Loop - M. Satellite Communications, Advanced Health & Fitness Tracking
Apple Watch Ultra 3 [GPS + Cellular 49mm] Running & Multisport Smartwatch w/Rugged Titanium Case w/Black Titanium Milanese Loop - M. Satellite Communications, Advanced Health & Fitness Tracking
-
 Apple iPad mini (A17 Pro): Apple Intelligence, 8.3-inch Liquid Retina Display, 256GB, Wi-Fi 6E, 12MP Front/12MP Back Camera, Touch ID, All-Day Battery Life — Purple
-
 Apple AirPods Max Wireless Over-Ear Headphones, Active Noise Cancelling, Transparency Mode, Personalized Spatial Audio, Dolby Atmos, Bluetooth Headphones for iPhone – Space Gray
-
 Apple AirPods Pro 2 Wireless Earbuds, Active Noise Cancellation, Hearing Aid Feature, Bluetooth Headphones, Transparency, Personalized Spatial Audio, High-Fidelity Sound, H2 Chip, USB-C Charging
-
 Leo Creation 144 TC Cotton Double Jaipuri Prints Flat Bedsheet(Pack of 1, Blue, Gree, Red, Grey, Light Grey)
₹2,999.00Original price was: ₹2,999.00.₹329.00Current price is: ₹329.00.
Leave a Reply