Category
Popular Articles
- AI (17)
- Android (44)
- App Suggest (13)
- Apple (33)
- Apple TV (4)
- Bluetooth (3)
- Cars (2)
- ChatGpt (1)
- Chrome (2)
- Did you know? (1)
- E-Commerce News (1)
- Ecommerce Websites business (7)
- Electronics Shopping (5)
- Fashion Tips (3)
- Gaming (5)
- Google Gemini (3)
- Hair Care Tips (2)
- How to (13)
- iCloud (1)
- Infotainment System (1)
- Iphone (125)
- Job Posting (1)
- Lifestyle (3)
- Mac (22)
- Mobile Games (1)
- Netflix (1)
- Online Shopping Websites (2)
- Personal Finance Management (3)
- Product Reviews (3)
- Roku TV (4)
- Samsung (10)
- Shopping Tips (13)
- Spotify (1)
- Tech (143)
- VPN (2)
- Windows 11 (30)
- Zero Waste (3)
Discounted Products
-
 Leo Creation 144 TC Cotton Double Jaipuri Prints Flat Bedsheet(Pack of 1, Blue, Gree, Red, Grey, Light Grey)
₹2,999.00Original price was: ₹2,999.00.₹329.00Current price is: ₹329.00. -
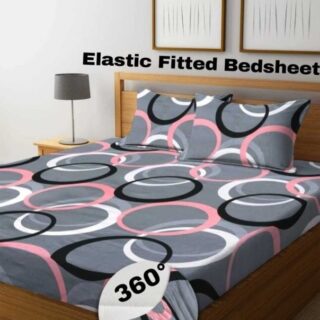 Home Garage 210 TC Cotton King Floral Fitted (Elastic) Bedsheet(Pack of 1, Grey)
₹999.00Original price was: ₹999.00.₹299.00Current price is: ₹299.00. -
 Goodrik 140 TC Cotton Double 3D Printed Flat Bedsheet(Pack of 1, Brown)
₹499.00Original price was: ₹499.00.₹229.00Current price is: ₹229.00. -
 GLOBALSHOP 350 TC Microfiber Double Floral Flat Bedsheet(Pack of 1, Multicolor)
₹1,250.00Original price was: ₹1,250.00.₹263.00Current price is: ₹263.00. -
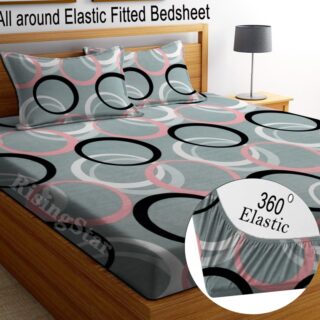 RisingStar 250 TC Microfiber King Printed Fitted (Elastic) Bedsheet(Pack of 1, FITTED-ROUND-CIRCLES-PREMIUM)
₹2,299.00Original price was: ₹2,299.00.₹299.00Current price is: ₹299.00. -
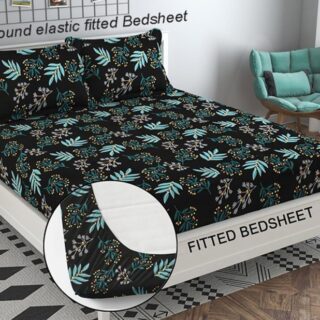 Home Garage 210 TC Cotton King Floral Fitted (Elastic) Bedsheet(Pack of 1, Fitted Black Green)
₹1,299.00Original price was: ₹1,299.00.₹299.00Current price is: ₹299.00. -
 Home Garage 180 TC Cotton King 3D Printed Flat Bedsheet(Pack of 1, White)
₹999.00Original price was: ₹999.00.₹229.00Current price is: ₹229.00. -
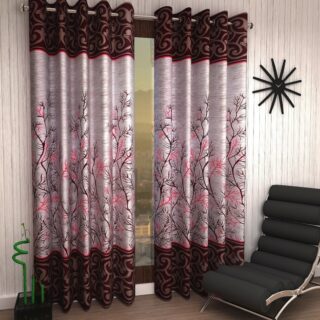 Home Sizzler 153 cm (5 ft) Polyester Room Darkening Window Curtain (Pack Of 2)(Floral, Maroon)
₹799.00Original price was: ₹799.00.₹299.00Current price is: ₹299.00. -
 Panipat Textile Hub 152.4 cm (5 ft) Polyester Window Curtain (Pack Of 2)(Solid, Aqua)
₹1,899.00Original price was: ₹1,899.00.₹299.00Current price is: ₹299.00. -
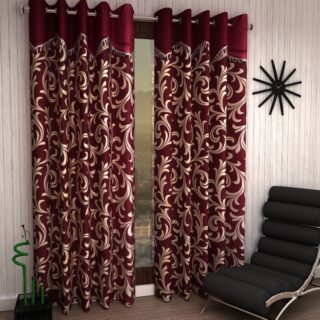 Home Sizzler 214 cm (7 ft) Polyester Semi Transparent Door Curtain (Pack Of 2)(Floral, Maroon)
₹1,199.00Original price was: ₹1,199.00.₹399.00Current price is: ₹399.00. -
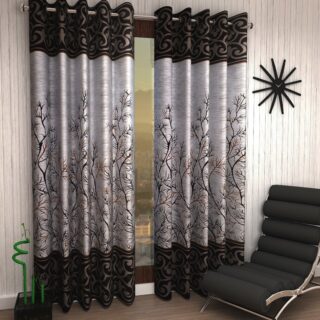 Home Sizzler 153 cm (5 ft) Polyester Room Darkening Window Curtain (Pack Of 2)(Floral, Brown)
₹799.00Original price was: ₹799.00.₹299.00Current price is: ₹299.00. -
 Stella Creations 214 cm (7 ft) Polyester Room Darkening Door Curtain (Pack Of 2)(Abstract, Brown)
₹1,299.00Original price was: ₹1,299.00.₹449.00Current price is: ₹449.00. -
 Homefab India 152.5 cm (5 ft) Polyester Room Darkening Window Curtain (Pack Of 2)(Floral, Light Blue)
₹1,199.00Original price was: ₹1,199.00.₹319.00Current price is: ₹319.00. -
 Urban Home 214 cm (7 ft) PVC Transparent Door Curtain Single Curtain(Solid, Off White)
₹699.00Original price was: ₹699.00.₹203.00Current price is: ₹203.00. -
 Panipat Textile Hub 213 cm (7 ft) Polyester Door Curtain (Pack Of 2)(Solid, Brown)
₹1,199.00Original price was: ₹1,199.00.₹349.00Current price is: ₹349.00.
Affiliate Links
Promotion
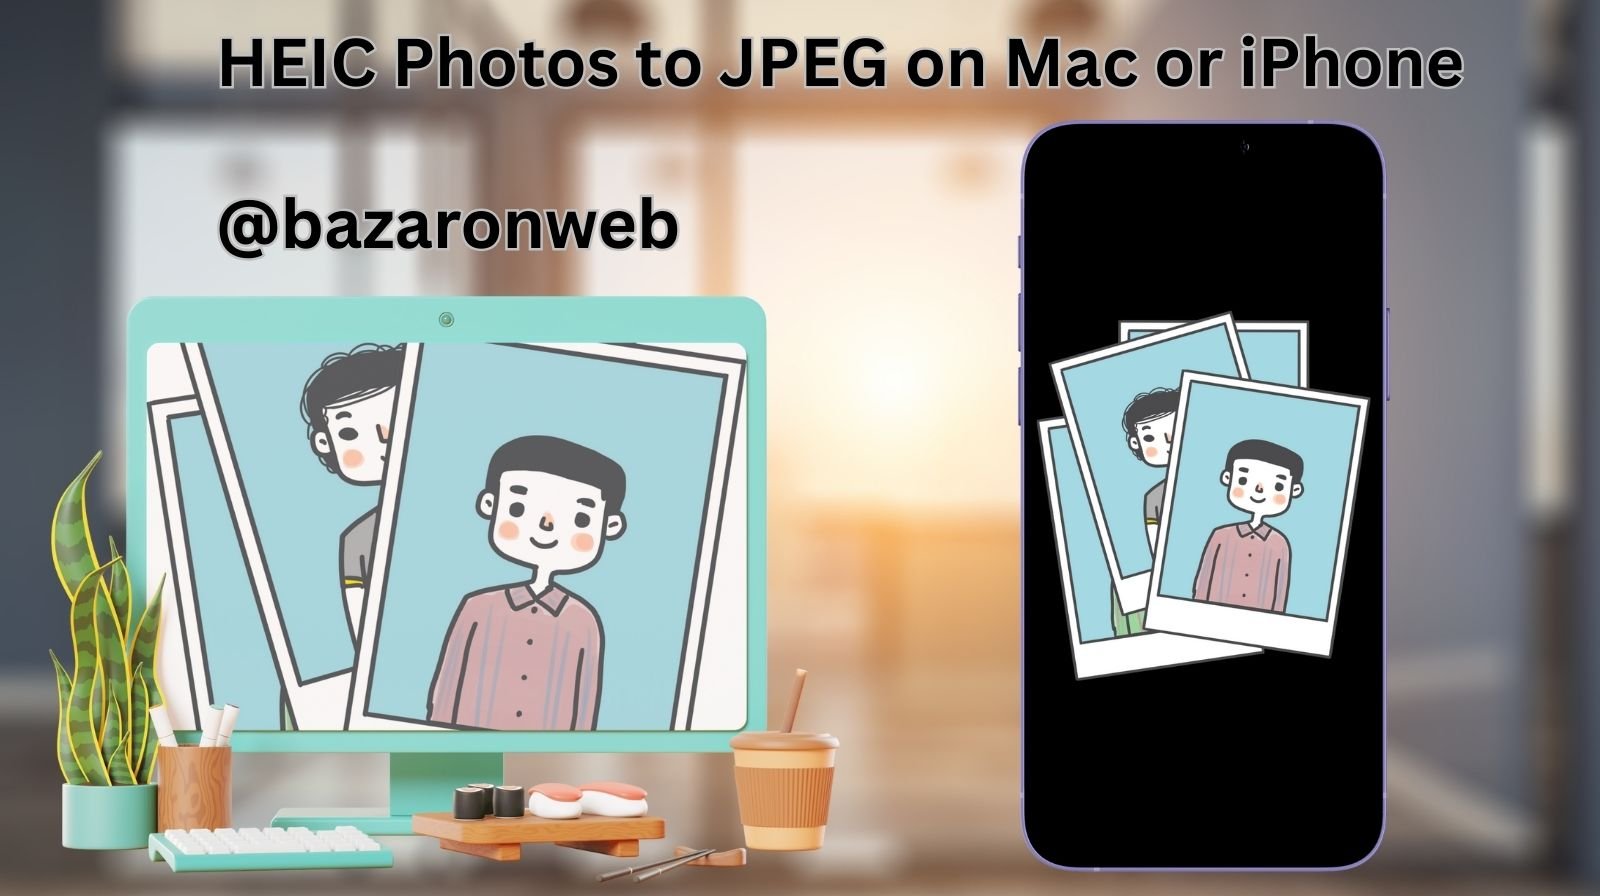
Apple introduced the HEIC (High-Efficiency Image Container) format as a space-saving way to store photos without compromising quality. While HEIC is fantastic for reducing file sizes, it isn’t always compatible with every device, app, or platform. That’s why many users still prefer the widely supported JPEG format.
If you’ve ever tried to upload a HEIC photo to a website, send it to a friend with an Android phone, or edit it in software that doesn’t recognize the format, you’ve probably realized the need to convert HEIC files to JPEG.
In this guide, I’ll walk you through how to convert HEIC photos to JPEG on both Mac and iPhone, with step-by-step instructions and helpful tips.
Why Convert HEIC to JPEG?
Before we dive into the process, let’s quickly look at why you may need to convert your images:
- Compatibility: JPEG is universally supported across all devices, apps, and browsers.
- Editing: Many third-party editing tools work better with JPEG than HEIC.
- Sharing: JPEG ensures your friends and colleagues can open your photos without format issues.
- Printing: Printing services often prefer JPEGs.
How to Convert HEIC to JPEG on iPhone
Apple makes it fairly simple to change your photo format directly from your iPhone. Here are a few ways to do it:
1. Change Camera Settings to Save as JPEG Automatically
If you don’t want to deal with conversions later, you can set your iPhone to capture photos in JPEG instead of HEIC.
Steps:
- Open Settings.
- Scroll down and tap Camera.
- Select Formats.
- Choose Most Compatible instead of High Efficiency.
Now, every new photo you take will automatically save as JPEG.
2. Use the Files App to Convert Photos
You can quickly convert a HEIC photo into JPEG using the built-in Files app.
Steps:
- Open the Photos app and select the HEIC photo you want to convert.
- Tap the Share button and choose Save to Files.
- Go to the Files app, locate the saved photo, and share it via Mail or Messages — it will automatically convert to JPEG in most cases.
3. Export from the Photos App
Another way to get JPEGs is to export them directly from the Photos app.
Steps:
- Open the Photos app.
- Select the HEIC photo.
- Tap Share > Mail.
- When sending, the iPhone converts the photo to JPEG automatically.
4. Use a Third-Party App
There are several free apps on the App Store, like HEIC to JPEG or iMazing HEIC Converter, that allow bulk conversion.
Best for: When you need to convert multiple photos at once.
How to Convert HEIC to JPEG on Mac
Mac users also have several built-in and third-party options.
1. Use the Preview App (Built-in)
The simplest way to convert HEIC to JPEG on Mac is through Preview.
Steps:
- Right-click your HEIC photo and choose Open With > Preview.
- Once opened, click File > Export.
- In the format drop-down menu, select JPEG.
- Adjust quality settings if needed and click Save.
2. Use the Photos App on Mac
If your images are already in the Photos app:
Steps:
- Open the Photos app on your Mac.
- Select the photo(s) you want to convert.
- Go to File > Export > Export [X] Photos.
- Choose JPEG as the format and click Export.
3. Use Automator for Bulk Conversion
If you have hundreds of HEIC photos, using Automator is a time-saver.
Steps:
- Open Automator from Applications.
- Create a new Quick Action.
- Add the action Change Type of Images and select JPEG.
- Save the workflow.
- Now, you can right-click any HEIC file, go to Quick Actions, and select your conversion workflow.
4. Online Tools
If you don’t want to install anything, you can use free websites like heictojpg.com or cloudconvert.com to convert HEIC to JPEG.
Note: Be cautious with personal or sensitive photos when using online tools.
5. Use Third-Party Software
Apps like iMazing HEIC Converter or Pixillion Image Converter give you more flexibility, such as batch conversions and size adjustments.
Tips for Managing HEIC and JPEG
- Storage vs Compatibility: HEIC files save space, but JPEGs are easier to use. Keep both when possible.
- Backups: Always back up your originals in iCloud, Google Photos, or an external drive before converting.
- Batch Conversions: For large collections, Automator on Mac or third-party apps are your best bet.
Final Thoughts
HEIC is an efficient format, but JPEG remains the universal standard. Thankfully, both iPhone and Mac make it easy to convert your photos when you need to. Whether you change your camera settings to save as JPEG, use the Photos or Preview apps, or rely on third-party tools, you’ll always have a way to make your images more compatible.
So, the next time you run into a website or service that rejects your HEIC files, you’ll know exactly how to convert them to JPEG quickly and easily.
Written by Bazaronweb
Latest Tech Articles
- How to Free Up Storage on Windows 11 Without Deleting Important Files

- How to Fix iPhone Battery Drain Overnight Without Using Any Third-Party Apps
- How to Enable Vehicle Motion Cues on iPhone to Reduce Motion Sickness While Traveling

- How to Create a Guest Account in Windows 11 Home (Step-by-Step Guide for Shared PCs)

- How to Stop Random USB Connect and Disconnect Sounds in Windows (Complete Fix Guide)

Products
-
![Apple Watch Ultra 3 [GPS + Cellular 49mm] Running & Multisport Smartwatch w/Rugged Titanium Case w/Black Titanium Milanese Loop - M. Satellite Communications, Advanced Health & Fitness Tracking](https://bazaronweb.com/retailstores/wp-content/uploads/2025/09/apple-watch-320x320.jpg) Apple Watch Ultra 3 [GPS + Cellular 49mm] Running & Multisport Smartwatch w/Rugged Titanium Case w/Black Titanium Milanese Loop - M. Satellite Communications, Advanced Health & Fitness Tracking
Apple Watch Ultra 3 [GPS + Cellular 49mm] Running & Multisport Smartwatch w/Rugged Titanium Case w/Black Titanium Milanese Loop - M. Satellite Communications, Advanced Health & Fitness Tracking
-
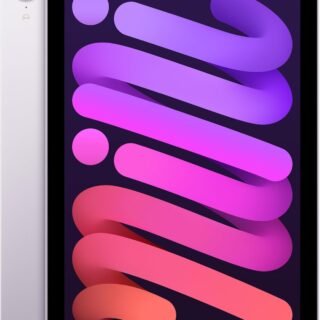 Apple iPad mini (A17 Pro): Apple Intelligence, 8.3-inch Liquid Retina Display, 256GB, Wi-Fi 6E, 12MP Front/12MP Back Camera, Touch ID, All-Day Battery Life — Purple
-
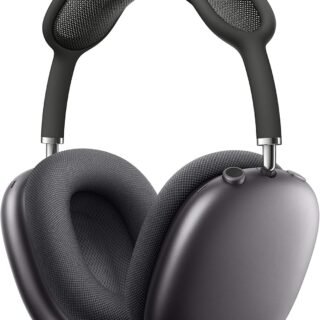 Apple AirPods Max Wireless Over-Ear Headphones, Active Noise Cancelling, Transparency Mode, Personalized Spatial Audio, Dolby Atmos, Bluetooth Headphones for iPhone – Space Gray
-
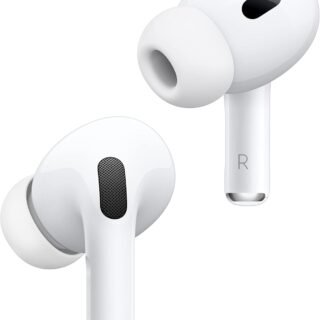 Apple AirPods Pro 2 Wireless Earbuds, Active Noise Cancellation, Hearing Aid Feature, Bluetooth Headphones, Transparency, Personalized Spatial Audio, High-Fidelity Sound, H2 Chip, USB-C Charging
-
 Leo Creation 144 TC Cotton Double Jaipuri Prints Flat Bedsheet(Pack of 1, Blue, Gree, Red, Grey, Light Grey)
₹2,999.00Original price was: ₹2,999.00.₹329.00Current price is: ₹329.00.
Leave a Reply