Discounted Products
-
 Leo Creation 144 TC Cotton Double Jaipuri Prints Flat Bedsheet(Pack of 1, Blue, Gree, Red, Grey, Light Grey)
Original price was: ₹2,999.00.₹329.00Current price is: ₹329.00.
Leo Creation 144 TC Cotton Double Jaipuri Prints Flat Bedsheet(Pack of 1, Blue, Gree, Red, Grey, Light Grey)
Original price was: ₹2,999.00.₹329.00Current price is: ₹329.00.
-
 Home Garage 210 TC Cotton King Floral Fitted (Elastic) Bedsheet(Pack of 1, Grey)
Original price was: ₹999.00.₹299.00Current price is: ₹299.00.
Home Garage 210 TC Cotton King Floral Fitted (Elastic) Bedsheet(Pack of 1, Grey)
Original price was: ₹999.00.₹299.00Current price is: ₹299.00.
-
 Goodrik 140 TC Cotton Double 3D Printed Flat Bedsheet(Pack of 1, Brown)
Original price was: ₹499.00.₹229.00Current price is: ₹229.00.
Goodrik 140 TC Cotton Double 3D Printed Flat Bedsheet(Pack of 1, Brown)
Original price was: ₹499.00.₹229.00Current price is: ₹229.00.
-
 GLOBALSHOP 350 TC Microfiber Double Floral Flat Bedsheet(Pack of 1, Multicolor)
Original price was: ₹1,250.00.₹263.00Current price is: ₹263.00.
GLOBALSHOP 350 TC Microfiber Double Floral Flat Bedsheet(Pack of 1, Multicolor)
Original price was: ₹1,250.00.₹263.00Current price is: ₹263.00.
-
 RisingStar 250 TC Microfiber King Printed Fitted (Elastic) Bedsheet(Pack of 1, FITTED-ROUND-CIRCLES-PREMIUM)
Original price was: ₹2,299.00.₹299.00Current price is: ₹299.00.
RisingStar 250 TC Microfiber King Printed Fitted (Elastic) Bedsheet(Pack of 1, FITTED-ROUND-CIRCLES-PREMIUM)
Original price was: ₹2,299.00.₹299.00Current price is: ₹299.00.
-
 Home Garage 210 TC Cotton King Floral Fitted (Elastic) Bedsheet(Pack of 1, Fitted Black Green)
Original price was: ₹1,299.00.₹299.00Current price is: ₹299.00.
Home Garage 210 TC Cotton King Floral Fitted (Elastic) Bedsheet(Pack of 1, Fitted Black Green)
Original price was: ₹1,299.00.₹299.00Current price is: ₹299.00.
-
 Home Garage 180 TC Cotton King 3D Printed Flat Bedsheet(Pack of 1, White)
Original price was: ₹999.00.₹229.00Current price is: ₹229.00.
Home Garage 180 TC Cotton King 3D Printed Flat Bedsheet(Pack of 1, White)
Original price was: ₹999.00.₹229.00Current price is: ₹229.00.
-
 Home Sizzler 153 cm (5 ft) Polyester Room Darkening Window Curtain (Pack Of 2)(Floral, Maroon)
Original price was: ₹799.00.₹299.00Current price is: ₹299.00.
Home Sizzler 153 cm (5 ft) Polyester Room Darkening Window Curtain (Pack Of 2)(Floral, Maroon)
Original price was: ₹799.00.₹299.00Current price is: ₹299.00.
-
 Panipat Textile Hub 152.4 cm (5 ft) Polyester Window Curtain (Pack Of 2)(Solid, Aqua)
Original price was: ₹1,899.00.₹299.00Current price is: ₹299.00.
Panipat Textile Hub 152.4 cm (5 ft) Polyester Window Curtain (Pack Of 2)(Solid, Aqua)
Original price was: ₹1,899.00.₹299.00Current price is: ₹299.00.
-
 Home Sizzler 214 cm (7 ft) Polyester Semi Transparent Door Curtain (Pack Of 2)(Floral, Maroon)
Original price was: ₹1,199.00.₹399.00Current price is: ₹399.00.
Home Sizzler 214 cm (7 ft) Polyester Semi Transparent Door Curtain (Pack Of 2)(Floral, Maroon)
Original price was: ₹1,199.00.₹399.00Current price is: ₹399.00.
-
 Home Sizzler 153 cm (5 ft) Polyester Room Darkening Window Curtain (Pack Of 2)(Floral, Brown)
Original price was: ₹799.00.₹299.00Current price is: ₹299.00.
Home Sizzler 153 cm (5 ft) Polyester Room Darkening Window Curtain (Pack Of 2)(Floral, Brown)
Original price was: ₹799.00.₹299.00Current price is: ₹299.00.
-
 Stella Creations 214 cm (7 ft) Polyester Room Darkening Door Curtain (Pack Of 2)(Abstract, Brown)
Original price was: ₹1,299.00.₹449.00Current price is: ₹449.00.
Stella Creations 214 cm (7 ft) Polyester Room Darkening Door Curtain (Pack Of 2)(Abstract, Brown)
Original price was: ₹1,299.00.₹449.00Current price is: ₹449.00.
-
 Homefab India 152.5 cm (5 ft) Polyester Room Darkening Window Curtain (Pack Of 2)(Floral, Light Blue)
Original price was: ₹1,199.00.₹319.00Current price is: ₹319.00.
Homefab India 152.5 cm (5 ft) Polyester Room Darkening Window Curtain (Pack Of 2)(Floral, Light Blue)
Original price was: ₹1,199.00.₹319.00Current price is: ₹319.00.
-
 Urban Home 214 cm (7 ft) PVC Transparent Door Curtain Single Curtain(Solid, Off White)
Original price was: ₹699.00.₹203.00Current price is: ₹203.00.
Urban Home 214 cm (7 ft) PVC Transparent Door Curtain Single Curtain(Solid, Off White)
Original price was: ₹699.00.₹203.00Current price is: ₹203.00.
-
 Panipat Textile Hub 213 cm (7 ft) Polyester Door Curtain (Pack Of 2)(Solid, Brown)
Original price was: ₹1,199.00.₹349.00Current price is: ₹349.00.
Panipat Textile Hub 213 cm (7 ft) Polyester Door Curtain (Pack Of 2)(Solid, Brown)
Original price was: ₹1,199.00.₹349.00Current price is: ₹349.00.
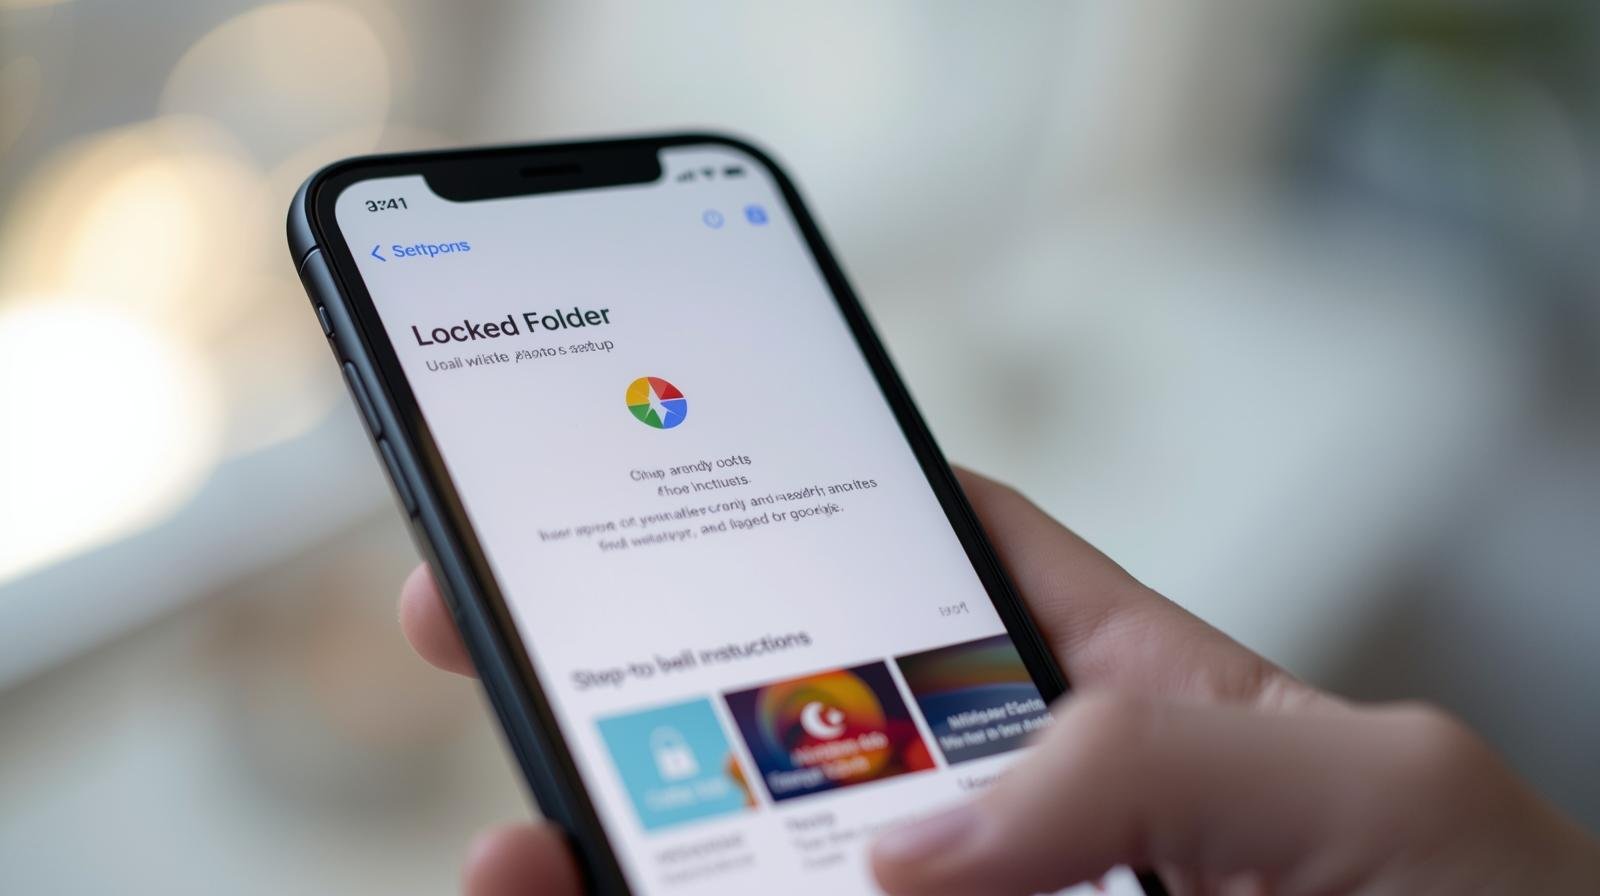
As a mom who takes hundreds of photos every month—everything from my kids’ school projects to our weekend hikes—I really value privacy and security when it comes to my phone’s gallery. While most of my pictures are the kind I love to share, there are always some personal files that I’d rather keep tucked away. That’s where the Locked Folder feature in Google Photos comes in handy.
Originally launched on Android, this feature is now available for iPhone users too. It allows you to store sensitive photos and videos in a secure space inside Google Photos that’s protected by your phone’s Face ID, Touch ID, or passcode. In other words, it’s a private vault right inside the app.
Today, I’ll walk you through what the Locked Folder is, how to enable it on your iPhone, and some practical tips for using it.
What is the Locked Folder in Google Photos?
The Locked Folder is a protected space within the Google Photos app where you can store photos or videos you don’t want appearing in your main gallery.
Key features include:
- Extra security: Content inside the Locked Folder is accessible only with Face ID, Touch ID, or your iPhone’s passcode.
- Hidden from other apps: Items stored in the Locked Folder won’t appear in albums, shared collections, or third-party apps that have access to your gallery.
- Local storage only: On iPhone, items in the Locked Folder are stored locally, meaning they aren’t backed up to the cloud for extra privacy.
This makes it especially useful for keeping documents, IDs, or even personal family photos out of the main gallery view.
Why Use a Locked Folder?
I can think of a dozen reasons why I use this feature. Here are a few common ones:
- Protecting kids’ information: I sometimes take photos of school forms or medical records for quick access. Keeping them in the Locked Folder adds a layer of security.
- Personal privacy: Whether it’s screenshots of important emails or pictures I don’t want accidentally shared, the Locked Folder helps keep things private.
- Organizational convenience: It separates my “always-shareable” photos from my sensitive ones, making my gallery less cluttered.
How to Enable Locked Folder in Google Photos on iPhone
Here’s a step-by-step guide:
- Update the app: Make sure you have the latest version of Google Photos from the App Store.
- Open Google Photos: Launch the app on your iPhone.
- Go to Library > Utilities: Scroll down until you see the option for Locked Folder.
- Set it up: The app will prompt you to confirm access using Face ID, Touch ID, or your passcode.
- Start adding items: Once the Locked Folder is enabled, you can move photos or videos into it.
That’s it—you now have a private, secure space in your gallery.
How to Move Photos or Videos into Locked Folder
Adding content is very simple:
- Select the photo or video you want to move.
- Tap the three-dot menu at the top right.
- Choose Move to Locked Folder.
- Confirm with Face ID, Touch ID, or passcode.
The item is then moved out of your main gallery and stored securely.
How to Access Locked Folder
To view items inside the folder:
- Go to Library > Utilities > Locked Folder in Google Photos.
- Unlock with Face ID, Touch ID, or passcode.
- Your hidden content will appear.
Important Things to Know
Before you start using the Locked Folder, keep these points in mind:
- Not backed up: Anything you move into the Locked Folder won’t be saved to your Google Photos cloud backup. If you delete the app or reset your iPhone, those items are gone.
- Local storage only: The content stays on your device. It won’t sync across multiple devices.
- Sharing limits: You can’t directly share items from the Locked Folder. You’ll need to move them out first.
- Screenshots: For extra privacy, iOS may block screenshots while inside the Locked Folder.
When I Use Locked Folder Personally
Here’s how I’ve found it helpful in daily life:
- Travel documents: When we went camping last summer, I stored scanned copies of our IDs and tickets in the Locked Folder for quick but secure access.
- Medical files: With kids, there’s always a need for records or prescriptions. I snap a photo and tuck it away safely.
- Gift surprises: I also hide photos of birthday presents or DIY projects for my husband so the kids don’t accidentally stumble on them in the gallery.
Best Practices for Using Locked Folder
- Back up separately: Since the Locked Folder doesn’t sync to the cloud, consider a secure cloud or encrypted drive for backups.
- Label wisely: Don’t leave sensitive content in albums or with obvious names before moving it.
- Keep app updated: Google Photos updates regularly for security patches. Always stay up-to-date.
- Combine with other tools: If you need even more security, consider pairing this feature with apps like 1Password for document storage.
Alternatives to Google Photos Locked Folder
While Google Photos is great, some users prefer other solutions:
- Apple’s Hidden Album + Face ID: Built into the iPhone’s Photos app.
- Third-party vault apps: Apps like Keepsafe or Private Photo Vault provide similar locked spaces.
- Cloud storage with encryption: Services like Dropbox or OneDrive allow password-protected folders.
Final Thoughts
The Locked Folder in Google Photos is one of those small but powerful features that makes managing personal content so much easier. As a mom, I don’t just think about privacy for myself but also about protecting my kids’ information. Having a simple, secure space inside the app I already use is incredibly convenient.
Whether you want to hide sensitive documents, protect family memories, or just keep your gallery clutter-free, the Locked Folder is a must-try feature. With just a few taps, you can add another layer of security to your digital life.
- 7 Best Methods to Fix “Undoing Changes Made to Your PC” Error (Complete Guide)

- How to Turn On Spam Blocker on Android: Stop Unwanted Calls and Messages Easily
- Can’t View Comments on YouTube Shorts? 6 Ways to Fix It (Complete Guide)

- How to Block Users From Installing Programs in Windows 11 Complete Step-by-Step Guide for Better Security

- How to Fix Chrome Automatically Deleting Downloaded Files (Complete Step-by-Step Guide)
Products
-
![Apple Watch Ultra 3 [GPS + Cellular 49mm] Running & Multisport Smartwatch w/Rugged Titanium Case w/Black Titanium Milanese Loop - M. Satellite Communications, Advanced Health & Fitness Tracking](https://bazaronweb.com/retailstores/wp-content/uploads/2025/09/apple-watch-320x320.jpg) Apple Watch Ultra 3 [GPS + Cellular 49mm] Running & Multisport Smartwatch w/Rugged Titanium Case w/Black Titanium Milanese Loop - M. Satellite Communications, Advanced Health & Fitness Tracking
Apple Watch Ultra 3 [GPS + Cellular 49mm] Running & Multisport Smartwatch w/Rugged Titanium Case w/Black Titanium Milanese Loop - M. Satellite Communications, Advanced Health & Fitness Tracking
-
 Apple iPad mini (A17 Pro): Apple Intelligence, 8.3-inch Liquid Retina Display, 256GB, Wi-Fi 6E, 12MP Front/12MP Back Camera, Touch ID, All-Day Battery Life — Purple
-
 Apple AirPods Max Wireless Over-Ear Headphones, Active Noise Cancelling, Transparency Mode, Personalized Spatial Audio, Dolby Atmos, Bluetooth Headphones for iPhone – Space Gray
-
 Apple AirPods Pro 2 Wireless Earbuds, Active Noise Cancellation, Hearing Aid Feature, Bluetooth Headphones, Transparency, Personalized Spatial Audio, High-Fidelity Sound, H2 Chip, USB-C Charging
-
Leo Creation 144 TC Cotton Double Jaipuri Prints Flat Bedsheet(Pack of 1, Blue, Gree, Red, Grey, Light Grey)
Original price was: ₹2,999.00.₹329.00Current price is: ₹329.00.
Leave a Reply