Category
Popular Articles
- AI (17)
- Android (44)
- App Suggest (13)
- Apple (33)
- Apple TV (4)
- Bluetooth (3)
- Cars (2)
- ChatGpt (1)
- Chrome (2)
- Did you know? (1)
- E-Commerce News (1)
- Ecommerce Websites business (7)
- Electronics Shopping (5)
- Fashion Tips (3)
- Gaming (5)
- Google Gemini (3)
- Hair Care Tips (2)
- How to (13)
- iCloud (1)
- Infotainment System (1)
- Iphone (125)
- Job Posting (1)
- Lifestyle (3)
- Mac (22)
- Mobile Games (1)
- Netflix (1)
- Online Shopping Websites (2)
- Personal Finance Management (3)
- Product Reviews (3)
- Roku TV (4)
- Samsung (10)
- Shopping Tips (13)
- Spotify (1)
- Tech (143)
- VPN (2)
- Windows 11 (30)
- Zero Waste (3)
Discounted Products
-
 Leo Creation 144 TC Cotton Double Jaipuri Prints Flat Bedsheet(Pack of 1, Blue, Gree, Red, Grey, Light Grey)
₹2,999.00Original price was: ₹2,999.00.₹329.00Current price is: ₹329.00. -
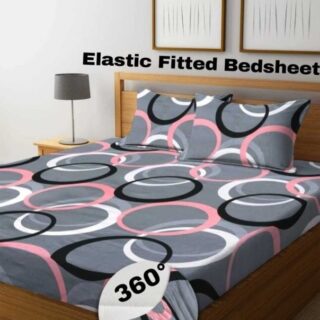 Home Garage 210 TC Cotton King Floral Fitted (Elastic) Bedsheet(Pack of 1, Grey)
₹999.00Original price was: ₹999.00.₹299.00Current price is: ₹299.00. -
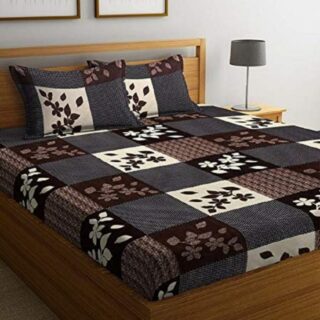 Goodrik 140 TC Cotton Double 3D Printed Flat Bedsheet(Pack of 1, Brown)
₹499.00Original price was: ₹499.00.₹229.00Current price is: ₹229.00. -
 GLOBALSHOP 350 TC Microfiber Double Floral Flat Bedsheet(Pack of 1, Multicolor)
₹1,250.00Original price was: ₹1,250.00.₹263.00Current price is: ₹263.00. -
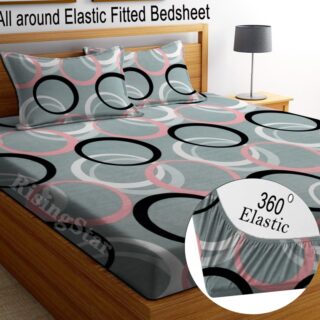 RisingStar 250 TC Microfiber King Printed Fitted (Elastic) Bedsheet(Pack of 1, FITTED-ROUND-CIRCLES-PREMIUM)
₹2,299.00Original price was: ₹2,299.00.₹299.00Current price is: ₹299.00. -
 Home Garage 210 TC Cotton King Floral Fitted (Elastic) Bedsheet(Pack of 1, Fitted Black Green)
₹1,299.00Original price was: ₹1,299.00.₹299.00Current price is: ₹299.00. -
 Home Garage 180 TC Cotton King 3D Printed Flat Bedsheet(Pack of 1, White)
₹999.00Original price was: ₹999.00.₹229.00Current price is: ₹229.00. -
 Home Sizzler 153 cm (5 ft) Polyester Room Darkening Window Curtain (Pack Of 2)(Floral, Maroon)
₹799.00Original price was: ₹799.00.₹299.00Current price is: ₹299.00. -
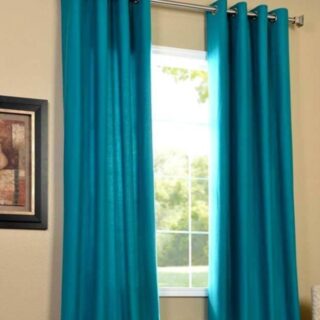 Panipat Textile Hub 152.4 cm (5 ft) Polyester Window Curtain (Pack Of 2)(Solid, Aqua)
₹1,899.00Original price was: ₹1,899.00.₹299.00Current price is: ₹299.00. -
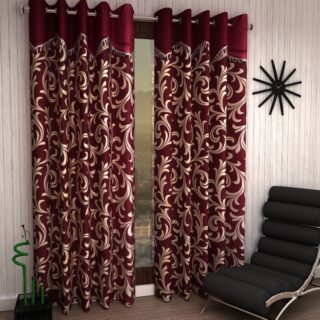 Home Sizzler 214 cm (7 ft) Polyester Semi Transparent Door Curtain (Pack Of 2)(Floral, Maroon)
₹1,199.00Original price was: ₹1,199.00.₹399.00Current price is: ₹399.00. -
 Home Sizzler 153 cm (5 ft) Polyester Room Darkening Window Curtain (Pack Of 2)(Floral, Brown)
₹799.00Original price was: ₹799.00.₹299.00Current price is: ₹299.00. -
 Stella Creations 214 cm (7 ft) Polyester Room Darkening Door Curtain (Pack Of 2)(Abstract, Brown)
₹1,299.00Original price was: ₹1,299.00.₹449.00Current price is: ₹449.00. -
 Homefab India 152.5 cm (5 ft) Polyester Room Darkening Window Curtain (Pack Of 2)(Floral, Light Blue)
₹1,199.00Original price was: ₹1,199.00.₹319.00Current price is: ₹319.00. -
 Urban Home 214 cm (7 ft) PVC Transparent Door Curtain Single Curtain(Solid, Off White)
₹699.00Original price was: ₹699.00.₹203.00Current price is: ₹203.00. -
 Panipat Textile Hub 213 cm (7 ft) Polyester Door Curtain (Pack Of 2)(Solid, Brown)
₹1,199.00Original price was: ₹1,199.00.₹349.00Current price is: ₹349.00.
Affiliate Links
Promotion

Hi friends, Jessica here! Like many of you, I spend a lot of time on video calls — for work meetings, catching up with family, or even helping my kids with their online classes. But let’s be honest: most built-in laptop webcams are grainy, poorly lit, and just don’t cut it in 2025. The good news? If you already own an iPhone, you have a high-quality webcam sitting right in your pocket.
Apple and third-party apps make it surprisingly easy to use your iPhone as a webcam for your laptop, PC, or Mac. Let me walk you through everything you need to know.
Why Use Your iPhone as a Webcam?
Before diving into the “how,” let’s talk about the “why.”
- Superior Camera Quality: Even older iPhones beat most laptop webcams.
- Better Lighting & Focus: Portrait Mode blurs backgrounds for a professional look.
- Flexibility: You can mount your iPhone at different angles, unlike a fixed laptop camera.
- Cost Savings: Instead of buying a $100+ external webcam, you can repurpose your iPhone.
For me, it was a game-changer during remote work meetings. My coworkers instantly noticed how crisp and clear my video looked compared to my laptop camera.
Method 1: Using Continuity Camera (Mac Only)
If you’re on a Mac running macOS Ventura or later and have an iPhone running iOS 16 or later, you don’t need extra apps — Apple built this feature right in.
Steps to Use Continuity Camera:
- Update Software: Make sure your Mac is on Ventura (or newer) and your iPhone is on iOS 16+.
- Enable Continuity Camera: On your iPhone, go to Settings > General > AirPlay & Handoff and toggle Continuity Camera Webcam on.
- Connect Your iPhone: Place it near your Mac — it can connect wirelessly or via USB.
- Select iPhone as Webcam: Open Zoom, Teams, or FaceTime, then choose your iPhone from the video input options.
Bonus Features:
- Center Stage: Keeps you in frame even if you move.
- Studio Light: Brightens your face and dims the background.
- Desk View: Shows your desk area (great for demos).
As a mom, I love Desk View when I’m helping my kids with school projects and need to show something on paper.
Method 2: Using Apps for Windows & Mac
If you’re on a Windows laptop or desktop, or you want more control, third-party apps are your best bet. Here are some popular ones:
1. EpocCam (by Elgato)
- Works on both Windows and Mac.
- Free version available (with watermarks).
- Paid version unlocks HD, audio, and more controls.
- Simply install the app on your iPhone and drivers on your PC/Mac, then connect via Wi-Fi or USB.
2. iVCam
- Windows-only, but offers smooth streaming.
- Supports Full HD and even 4K quality.
- Lets you adjust brightness, focus, and zoom directly.
3. Reincubate Camo
- High-quality video with advanced controls.
- Works on both Windows and Mac.
- Free and Pro plans (Pro unlocks 4K, green screen, overlays).
I’ve tried Camo for a few work calls — the sharpness is incredible, and it feels almost like having a DSLR hooked up.
Method 3: Using QuickTime (Mac Only, Wired)
This is a little old-school but reliable.
- Plug your iPhone into your Mac with a USB cable.
- Open QuickTime Player.
- Click File > New Movie Recording.
- Select your iPhone from the drop-down menu next to the record button.
While it’s not as polished as Continuity Camera, it works in a pinch.
Tips for the Best Webcam Setup
Once you have your iPhone working as a webcam, here are some pro tips I’ve learned:
- Mount Your iPhone Properly
A tripod or phone mount clipped to your laptop helps keep the angle flattering. I use a simple clip-on mount that holds my iPhone above my MacBook screen. - Lighting Matters
Sit facing a window or use a ring light. Even the best iPhone camera looks dull in bad lighting. - Use Rear Camera for Best Quality
The back camera is sharper than the front. Apps like Camo let you use it while still previewing the image on your screen. - Stabilize Your Connection
Wired (USB) connections are usually smoother and have less lag than Wi-Fi. - Keep Battery in Mind
Video streaming drains your iPhone fast — plug it in during long meetings.
Common Problems and Fixes
- iPhone Not Detected: Check if Wi-Fi is on or try a different USB cable.
- Laggy Video: Switch from Wi-Fi to USB for a stable feed.
- Blurry Image: Tap your iPhone screen to refocus or clean the lens.
- App Keeps Disconnecting: Make sure both devices are on the same network (for wireless setups).
Is It Worth It vs. Buying a Webcam?
From my perspective, yes — absolutely. External webcams can be good, but they still can’t match the crispness and smart features of the iPhone camera. Plus, this way, I save money and use what I already have.
If you’re on Mac, Continuity Camera makes the process effortless. If you’re on Windows, third-party apps take a little setup but deliver professional results.
Final Thoughts
Using your iPhone as a webcam is one of those “why didn’t I do this sooner?” tricks. Whether you’re working from home, attending virtual classes, or catching up with grandparents on Zoom, the difference in video quality is night and day.
As a mom and a professional, I’ve found it helps me look more polished in meetings without buying extra gadgets. And honestly, having one less device to keep track of is always a win in my book.
So, dust off that tripod, download an app (if needed), and give your iPhone a new role — your ultimate webcam.
Written by Bazaronweb
Latest Tech Articles
- How to Free Up Storage on Windows 11 Without Deleting Important Files

- How to Fix iPhone Battery Drain Overnight Without Using Any Third-Party Apps
- How to Enable Vehicle Motion Cues on iPhone to Reduce Motion Sickness While Traveling

- How to Create a Guest Account in Windows 11 Home (Step-by-Step Guide for Shared PCs)

- How to Stop Random USB Connect and Disconnect Sounds in Windows (Complete Fix Guide)

Products
-
![Apple Watch Ultra 3 [GPS + Cellular 49mm] Running & Multisport Smartwatch w/Rugged Titanium Case w/Black Titanium Milanese Loop - M. Satellite Communications, Advanced Health & Fitness Tracking](https://bazaronweb.com/retailstores/wp-content/uploads/2025/09/apple-watch-320x320.jpg) Apple Watch Ultra 3 [GPS + Cellular 49mm] Running & Multisport Smartwatch w/Rugged Titanium Case w/Black Titanium Milanese Loop - M. Satellite Communications, Advanced Health & Fitness Tracking
Apple Watch Ultra 3 [GPS + Cellular 49mm] Running & Multisport Smartwatch w/Rugged Titanium Case w/Black Titanium Milanese Loop - M. Satellite Communications, Advanced Health & Fitness Tracking
-
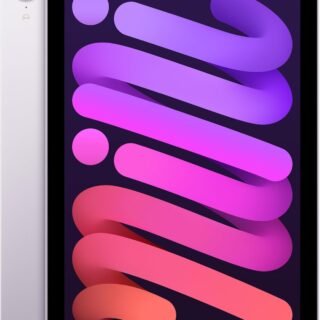 Apple iPad mini (A17 Pro): Apple Intelligence, 8.3-inch Liquid Retina Display, 256GB, Wi-Fi 6E, 12MP Front/12MP Back Camera, Touch ID, All-Day Battery Life — Purple
-
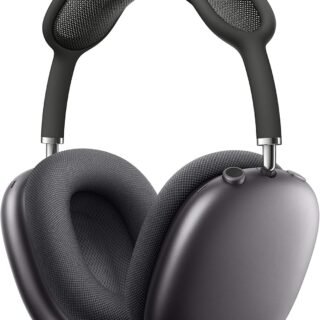 Apple AirPods Max Wireless Over-Ear Headphones, Active Noise Cancelling, Transparency Mode, Personalized Spatial Audio, Dolby Atmos, Bluetooth Headphones for iPhone – Space Gray
-
 Apple AirPods Pro 2 Wireless Earbuds, Active Noise Cancellation, Hearing Aid Feature, Bluetooth Headphones, Transparency, Personalized Spatial Audio, High-Fidelity Sound, H2 Chip, USB-C Charging
-
 Leo Creation 144 TC Cotton Double Jaipuri Prints Flat Bedsheet(Pack of 1, Blue, Gree, Red, Grey, Light Grey)
₹2,999.00Original price was: ₹2,999.00.₹329.00Current price is: ₹329.00.
Leave a Reply