Discounted Products
-
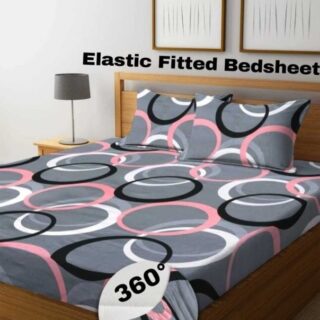 Home Garage 210 TC Cotton King Floral Fitted (Elastic) Bedsheet(Pack of 1, Grey)
Original price was: ₹999.00.₹299.00Current price is: ₹299.00.
Home Garage 210 TC Cotton King Floral Fitted (Elastic) Bedsheet(Pack of 1, Grey)
Original price was: ₹999.00.₹299.00Current price is: ₹299.00.
-
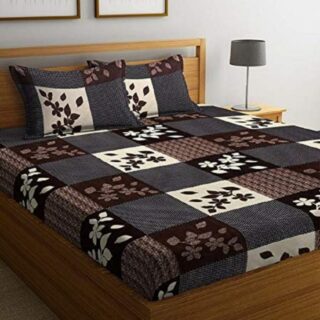 Goodrik 140 TC Cotton Double 3D Printed Flat Bedsheet(Pack of 1, Brown)
Original price was: ₹499.00.₹229.00Current price is: ₹229.00.
Goodrik 140 TC Cotton Double 3D Printed Flat Bedsheet(Pack of 1, Brown)
Original price was: ₹499.00.₹229.00Current price is: ₹229.00.
-
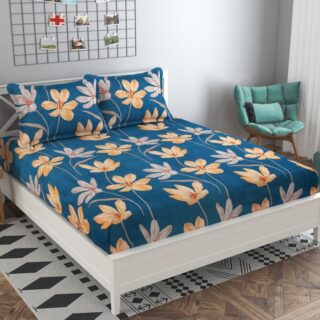 GLOBALSHOP 350 TC Microfiber Double Floral Flat Bedsheet(Pack of 1, Multicolor)
Original price was: ₹1,250.00.₹263.00Current price is: ₹263.00.
GLOBALSHOP 350 TC Microfiber Double Floral Flat Bedsheet(Pack of 1, Multicolor)
Original price was: ₹1,250.00.₹263.00Current price is: ₹263.00.
-
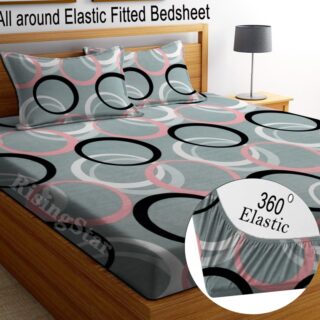 RisingStar 250 TC Microfiber King Printed Fitted (Elastic) Bedsheet(Pack of 1, FITTED-ROUND-CIRCLES-PREMIUM)
Original price was: ₹2,299.00.₹299.00Current price is: ₹299.00.
RisingStar 250 TC Microfiber King Printed Fitted (Elastic) Bedsheet(Pack of 1, FITTED-ROUND-CIRCLES-PREMIUM)
Original price was: ₹2,299.00.₹299.00Current price is: ₹299.00.
-
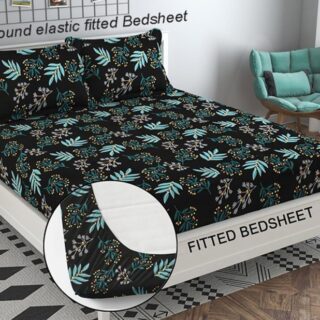 Home Garage 210 TC Cotton King Floral Fitted (Elastic) Bedsheet(Pack of 1, Fitted Black Green)
Original price was: ₹1,299.00.₹299.00Current price is: ₹299.00.
Home Garage 210 TC Cotton King Floral Fitted (Elastic) Bedsheet(Pack of 1, Fitted Black Green)
Original price was: ₹1,299.00.₹299.00Current price is: ₹299.00.
-
 Home Garage 180 TC Cotton King 3D Printed Flat Bedsheet(Pack of 1, White)
Original price was: ₹999.00.₹229.00Current price is: ₹229.00.
Home Garage 180 TC Cotton King 3D Printed Flat Bedsheet(Pack of 1, White)
Original price was: ₹999.00.₹229.00Current price is: ₹229.00.
-
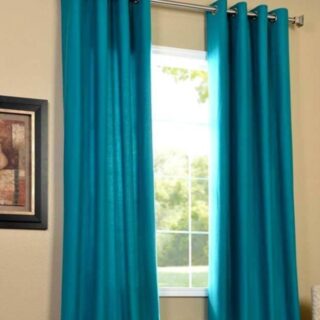 Panipat Textile Hub 152.4 cm (5 ft) Polyester Window Curtain (Pack Of 2)(Solid, Aqua)
Original price was: ₹1,899.00.₹299.00Current price is: ₹299.00.
Panipat Textile Hub 152.4 cm (5 ft) Polyester Window Curtain (Pack Of 2)(Solid, Aqua)
Original price was: ₹1,899.00.₹299.00Current price is: ₹299.00.
-
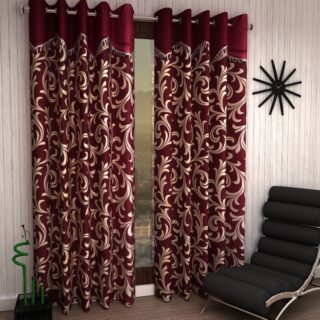 Home Sizzler 214 cm (7 ft) Polyester Semi Transparent Door Curtain (Pack Of 2)(Floral, Maroon)
Original price was: ₹1,199.00.₹399.00Current price is: ₹399.00.
Home Sizzler 214 cm (7 ft) Polyester Semi Transparent Door Curtain (Pack Of 2)(Floral, Maroon)
Original price was: ₹1,199.00.₹399.00Current price is: ₹399.00.
-
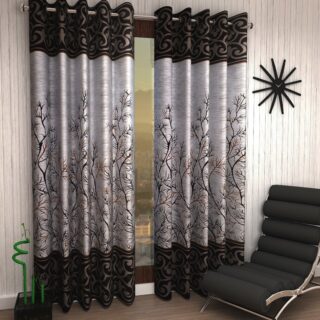 Home Sizzler 153 cm (5 ft) Polyester Room Darkening Window Curtain (Pack Of 2)(Floral, Brown)
Original price was: ₹799.00.₹299.00Current price is: ₹299.00.
Home Sizzler 153 cm (5 ft) Polyester Room Darkening Window Curtain (Pack Of 2)(Floral, Brown)
Original price was: ₹799.00.₹299.00Current price is: ₹299.00.
-
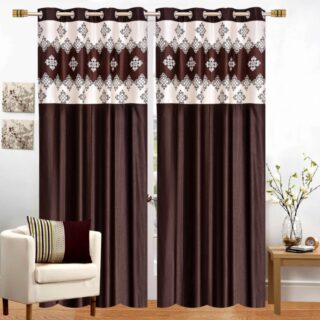 Stella Creations 214 cm (7 ft) Polyester Room Darkening Door Curtain (Pack Of 2)(Abstract, Brown)
Original price was: ₹1,299.00.₹449.00Current price is: ₹449.00.
Stella Creations 214 cm (7 ft) Polyester Room Darkening Door Curtain (Pack Of 2)(Abstract, Brown)
Original price was: ₹1,299.00.₹449.00Current price is: ₹449.00.
-
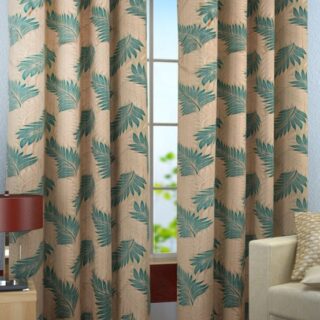 Homefab India 152.5 cm (5 ft) Polyester Room Darkening Window Curtain (Pack Of 2)(Floral, Light Blue)
Original price was: ₹1,199.00.₹319.00Current price is: ₹319.00.
Homefab India 152.5 cm (5 ft) Polyester Room Darkening Window Curtain (Pack Of 2)(Floral, Light Blue)
Original price was: ₹1,199.00.₹319.00Current price is: ₹319.00.
-
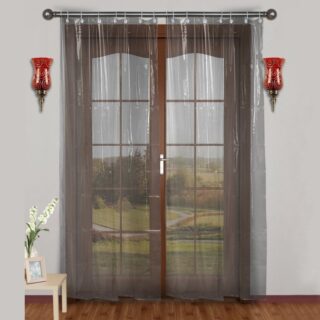 Urban Home 214 cm (7 ft) PVC Transparent Door Curtain Single Curtain(Solid, Off White)
Original price was: ₹699.00.₹203.00Current price is: ₹203.00.
Urban Home 214 cm (7 ft) PVC Transparent Door Curtain Single Curtain(Solid, Off White)
Original price was: ₹699.00.₹203.00Current price is: ₹203.00.
-
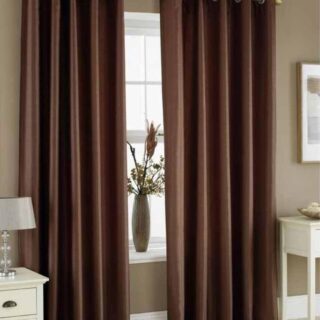 Panipat Textile Hub 213 cm (7 ft) Polyester Door Curtain (Pack Of 2)(Solid, Brown)
Original price was: ₹1,199.00.₹349.00Current price is: ₹349.00.
Panipat Textile Hub 213 cm (7 ft) Polyester Door Curtain (Pack Of 2)(Solid, Brown)
Original price was: ₹1,199.00.₹349.00Current price is: ₹349.00.
-
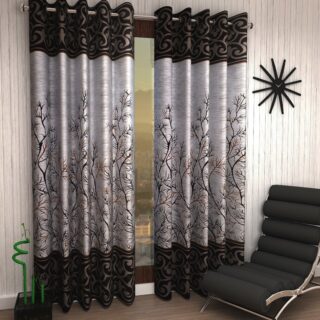 Home Sizzler 214 cm (7 ft) Polyester Semi Transparent Door Curtain (Pack Of 2)(Floral, Brown)
Original price was: ₹999.00.₹349.00Current price is: ₹349.00.
Home Sizzler 214 cm (7 ft) Polyester Semi Transparent Door Curtain (Pack Of 2)(Floral, Brown)
Original price was: ₹999.00.₹349.00Current price is: ₹349.00.
-
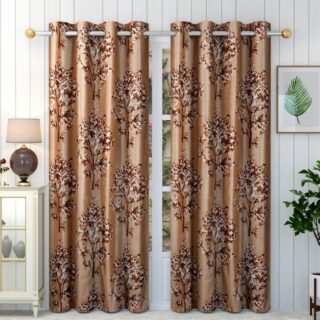 Panipat Textile Hub 213 cm (7 ft) Polyester Semi Transparent Door Curtain (Pack Of 2)(Floral, Brown)
Original price was: ₹899.00.₹299.00Current price is: ₹299.00.
Panipat Textile Hub 213 cm (7 ft) Polyester Semi Transparent Door Curtain (Pack Of 2)(Floral, Brown)
Original price was: ₹899.00.₹299.00Current price is: ₹299.00.
I’ve always appreciated the convenience of automatic brightness on my iPhone—the screen intelligently adjusts to different lighting conditions without me thinking about it. However, I’ve also noticed times when the automatic brightness feels intrusive, like when the screen dims unexpectedly during video calls or brightens annoyingly while reading at night. After discovering that many iPhone users share my frustration and that disabling automatic brightness is straightforward, I realized this feature deserves explanation beyond the simple settings adjustment. Understanding why Apple included automatic brightness, what it does, how it affects battery life and user experience, and exactly how to customize or disable it helps you make informed decisions about your iPhone’s display behavior rather than simply following habit or default settings.
In this comprehensive guide, I’ll explain what automatic brightness does, why you might want to disable it, how to turn it off, what alternatives exist for controlling your display, and how to optimize your screen settings for your specific preferences. I’ll walk you through multiple methods for adjusting brightness control from simple settings changes to more sophisticated customization. Whether you find automatic brightness helpful or frustrating, this guide helps you take complete control of your iPhone’s display behavior and optimize it for your specific needs and preferences. Understanding these settings transforms your iPhone from following Apple’s defaults to functioning exactly how you want it to.
1. Understanding Automatic Brightness: How It Works and Why Apple Included It
Automatic brightness, also called Auto-Brightness or Adaptive Brightness depending on iPhone version, is a feature that adjusts your screen brightness automatically based on ambient light conditions detected through your iPhone’s ambient light sensor. The light sensor, typically located near the top of the iPhone, continuously measures surrounding light levels. When you’re in bright sunlight, the feature increases brightness for visibility. When you’re in dim environments, it decreases brightness to reduce eye strain and conserve battery. This automatic adjustment happens continuously and seamlessly without requiring any action from you.
Apple included this feature for excellent reasons. Automatic brightness improves visibility in varying light conditions without requiring constant manual adjustment—you don’t need to continuously fiddle with brightness settings as you move between indoor and outdoor environments or as lighting conditions change throughout the day. Additionally, automatic brightness conserves battery life by reducing brightness in dim environments where maximum brightness isn’t needed. Maximum screen brightness consumes significant battery power, so reducing brightness when unnecessary extends battery life noticeably. Furthermore, automatic brightness reduces eye strain by preventing overly bright screens in dark environments, which causes discomfort and sleep disruption from excessive blue light exposure. For most users, these benefits justify automatic brightness being enabled by default. However, some users find automatic brightness unpredictable, frustrating, or interfering with specific activities, making disabling it appropriate for their preferences.
2. Why You Might Want to Disable Automatic Brightness
While automatic brightness provides genuine benefits, several legitimate reasons explain why users choose to disable it. The most common complaint is that automatic brightness sometimes misjudges lighting conditions, causing the screen to dim unexpectedly during important moments or brighten at inopportune times. For example, during video calls, slight changes in lighting might dim your screen, affecting how others perceive you. While watching movies in dim environments, you might want consistent brightness despite changing scenes. While reading at night, you might want the screen dimmer than automatic brightness decides.
Additionally, automatic brightness sometimes responds too slowly to rapid environmental changes, causing temporary over-brightness or under-brightness before adjusting. Some users find this behavior distracting rather than helpful. Furthermore, users with specific visual needs—such as those with certain types of color blindness or light sensitivity—might want manual control rather than automatic adjustment. Additionally, if you’re focused on specific tasks—photography, video editing, or content creation—automatic brightness might interfere by adjusting screen brightness based on your creative content rather than your environment. Finally, some users simply prefer manual control and find the psychological comfort of controlling brightness themselves outweighs the convenience of automatic adjustment. Understanding these reasons helps you identify whether disabling automatic brightness aligns with your specific needs.
3. How Automatic Brightness Affects Battery Life and Performance
Understanding how automatic brightness impacts battery life helps you make informed decisions about whether enabling or disabling it serves your priorities. Automatic brightness reduces battery consumption by decreasing brightness in dim environments where full brightness isn’t necessary. Screen brightness is one of the largest battery consumers on iPhones—maximum brightness easily drains 15-25% more battery per hour than dimmer brightness levels. In dimly lit environments, reducing brightness from maximum to moderate levels significantly extends battery life without meaningfully affecting usability.
However, the battery savings depend on your typical environment and usage patterns. Users spending time outdoors in bright sunlight actually use less battery with automatic brightness than they would manually setting maximum brightness (which outdoor visibility requires). Conversely, users in consistently bright indoor environments might not see battery benefits from automatic brightness since they’d manually maintain high brightness anyway. Users in dim environments see the most battery savings because automatic brightness reduces unnecessary screen brightness. Additionally, modern iPhones optimize battery consumption regardless of brightness settings through various efficiency features, so automatic brightness’s actual battery impact is modest compared to earlier iPhone models. While disabling automatic brightness increases battery consumption slightly, the difference is usually 2-5% per day rather than dramatic impact. For users prioritizing battery life, automatic brightness helps. For users willing to accept modest battery impact for display control, disabling it is reasonable.
4. Disabling Automatic Brightness: Step-by-Step Instructions
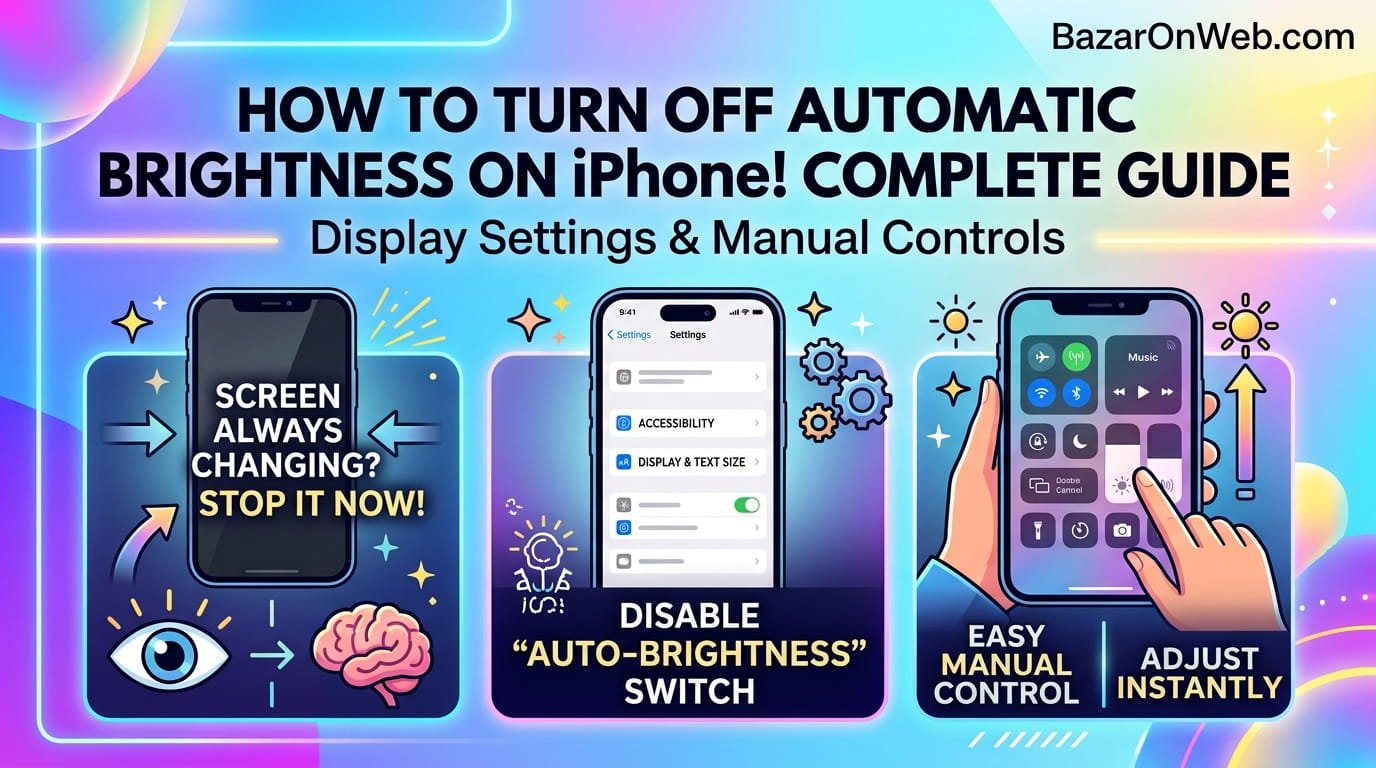
Turning off automatic brightness on your iPhone is straightforward and takes less than a minute through Settings. Open Settings on your iPhone by tapping the Settings icon on your home screen. Scroll down and look for “Display & Brightness” (on iOS 17 and later) or “Brightness and Text Size” (on earlier iOS versions)—exact naming varies by iPhone version. Tap the Display & Brightness option to open display settings.
Within Display & Brightness settings, you’ll see an option for “Auto-Brightness” or “Automatic Brightness” depending on your iPhone version. This appears as a toggle switch. Currently, if the toggle is green (ON), automatic brightness is enabled. Tap the toggle to turn it off—it becomes gray (OFF), and automatic brightness is now disabled. After disabling, you’ll see a brightness slider appear, allowing manual brightness adjustment. You can immediately test this by adjusting the slider to see how brightness changes in response to your input. After disabling automatic brightness, your iPhone maintains whatever brightness level you set manually until you adjust it again. The setting persists across restarts and continues until you re-enable automatic brightness. This simple process takes seconds but fundamentally changes how your display behaves.
5. Alternative Brightness Control Methods: Beyond Simple On/Off
Beyond completely disabling automatic brightness, iOS provides alternative brightness control methods offering middle-ground solutions between full automation and complete manual control. Reduce White Point is an accessibility feature reducing display brightness while also shifting colors to reduce blue light exposure, valuable for users with light sensitivity or nighttime viewing. Enable this through Settings > Accessibility > Display & Text Size > Reduce White Point. This feature works independently of automatic brightness and can be enabled even if automatic brightness is on.
Additionally, Night Shift (available in Settings > Display & Brightness > Night Shift) reduces blue light by shifting display colors toward warmer tones during specified hours or manually. Night Shift doesn’t control brightness but works alongside automatic brightness to reduce eye strain. Furthermore, True Tone (Settings > Display & Brightness > True Tone) adjusts display color temperature based on ambient lighting rather than brightness, providing environmental adaptation without brightness change. You can enable or disable True Tone independently of automatic brightness. These alternative features provide customization beyond automatic brightness’s all-or-nothing approach. For many users, disabling automatic brightness while enabling Night Shift and True Tone provides optimal balance between convenience and control. Additionally, iOS 15 and later introduced the Focus feature (Settings > Focus) allowing custom brightness and notification settings for specific situations, enabling different brightness behaviors for work, sleep, or personal time.
6. Understanding True Tone and Its Relationship to Automatic Brightness
True Tone is a separate feature from automatic brightness that’s sometimes confused with it, though they serve different purposes. True Tone adjusts display color temperature (warm to cool) based on ambient lighting conditions, attempting to make screen colors appear consistent regardless of surrounding lighting. It doesn’t change brightness but rather shifts color balance. True Tone’s purpose is maintaining color accuracy and reducing eye strain by preventing stark color shifts as your environment changes.
You can have automatic brightness enabled with True Tone disabled, or vice versa. They operate independently. True Tone is beneficial for most users because it naturally adjusts display colors matching your environment without the frustration sometimes associated with brightness-only adjustment. Many users find that disabling automatic brightness while keeping True Tone enabled provides optimal display behavior—color adapts to environment while brightness stays under manual control. Additionally, iPhones with ProMotion displays (iPad Pro, iPhone 14 Pro) include additional adaptive features like adaptive refresh rates that automatically adjust based on content and usage, separate from brightness adjustment. Understanding these features as independent systems rather than bundled functionality helps you configure each appropriately for your preferences.
7. Manual Brightness Control Methods and Accessibility Features
After disabling automatic brightness, you’ll adjust brightness manually using several available methods. The Control Center provides the quickest brightness adjustment—swipe down from the upper-right corner (iPhone X and later) or up from the bottom (earlier iPhones) to open Control Center. You’ll see a brightness slider allowing adjustment by dragging. This method works immediately without accessing Settings, making it ideal for quick adjustments throughout the day.
Additionally, Settings > Display & Brightness displays a brightness slider you can adjust and see persist across sessions. Some users set their preferred brightness here and rarely adjust it. Furthermore, Siri allows brightness adjustment through voice commands—say “Hey Siri, set brightness to 50 percent” to adjust brightness without touching your phone. For accessibility, iOS includes brightness adjustment in Accessibility Shortcuts, allowing quick adjustment through 3D Touch or Back Tap on newer iPhones. Additionally, iOS includes per-app brightness preferences (limited on standard iOS but available through certain accessibility settings), allowing specific brightness for particular applications. Understanding these multiple adjustment methods helps you establish brightness control routines matching your workflow and preferences.
8. Practical Brightness Optimization Strategies Without Automatic Brightness
After disabling automatic brightness, establishing brightness adjustment routines prevents the display from feeling either too bright or too dim. Many users adjust brightness based on environment—maximum brightness outdoors, moderate brightness indoors, lower brightness at night. You might set one brightness level for daytime work and another for evening viewing. Quick Control Center access makes these adjustments seamless once you develop the habit.
Additionally, combine manual brightness control with Night Shift to optimize for different times of day and activities. Enable Night Shift for evening and nighttime viewing, reducing blue light and eye strain while keeping brightness manually adjustable. Disable Night Shift during daytime work when color accuracy matters. Some users schedule Night Shift to automatically enable at sunset and disable at sunrise through Settings > Display & Brightness > Night Shift > Scheduled. This combines automatic color adjustment with manual brightness control, providing automation for color while preserving manual brightness control.
Furthermore, using iOS’s Focus features allows associating different brightness preferences with specific situations. Create a Work Focus where brightness is set higher for focus and visibility, a Sleep Focus with lower brightness and Night Shift enabled, and a Personal Focus with moderate settings. When activating each Focus, associated settings apply automatically. This approach provides situation-based automation without relying on automatic brightness’s environmental sensors, allowing you to explicitly control brightness through conscious Focus selection.
9. Troubleshooting Brightness Issues After Disabling Automatic Brightness
Sometimes after disabling automatic brightness, unexpected brightness issues arise. The most common problem is the screen appearing dimmer than expected despite setting higher brightness manually. This sometimes results from maximum brightness being insufficient for your preference—older iPhones or devices with reduced brightness capability might not achieve the brightness you want. Additionally, if you notice the screen remaining consistently dim despite adjusting the slider, Low Power Mode might be limiting brightness to conserve battery. Check Settings > Battery > Low Power Mode and ensure it’s disabled if maximum brightness is needed.
Additionally, if brightness seems inconsistent between what the slider shows and actual display brightness, the display might have hardware issues requiring professional repair. Furthermore, if Night Shift is enabled, it reduces brightness and shifts colors; temporarily disabling Night Shift helps determine whether it’s affecting brightness more than expected. Additionally, closing and reopening Settings sometimes resolves temporary brightness control glitches. If brightness continues behaving erratically despite disabling automatic brightness, you might consider re-enabling automatic brightness to see if the issue was specific to manual control. Additionally, updating to the latest iOS version sometimes resolves display-related bugs. Most brightness issues resolve through these simple troubleshooting steps, but persistent problems warrant professional Apple Support assessment for potential hardware issues.
10. Re-enabling Automatic Brightness if You Change Your Mind
Disabling automatic brightness is completely reversible—if you decide you prefer automatic brightness, re-enabling it takes seconds and restores your iPhone to original functionality. Open Settings > Display & Brightness and toggle Auto-Brightness back ON. The toggle becomes green, and automatic brightness resumes adjusting your screen based on ambient light conditions. Your iPhone returns to automatic behavior immediately.
Re-enabling automatic brightness is worthwhile if you discover you prefer its convenience or if you traveled to different environments where automatic adjustment proves valuable. Some users disable automatic brightness temporarily for specific tasks or situations, then re-enable it when those situations end. For example, you might disable it while watching a movie or video conferencing, then re-enable afterward. This flexible approach lets you optimize brightness control for specific activities without permanently changing your default behavior.
Additionally, if your usage patterns change—perhaps you move to an environment with varying lighting or develop visual needs favoring automatic adjustment—re-enabling is simple. The feature remains available, and switching between enabling and disabling helps you determine whether automatic brightness serves your needs better than manual control. Many users experiment with both approaches, discovering whether their preferences lean toward convenience or control. Neither choice is objectively better—it entirely depends on your individual preferences and how you use your iPhone.
Disclaimer
This article provides guidance on understanding and managing iPhone automatic brightness settings. The information is intended for educational purposes to help users optimize their display settings for their specific preferences. Specific features, settings locations, and behavior may vary depending on your iPhone model, iOS version, and individual circumstances.
Important Disclaimers:
- Automatic brightness settings vary slightly across iPhone models and iOS versions; exact menu locations may differ from descriptions
- Disabling automatic brightness increases battery consumption in dim environments; battery life impact varies by typical usage patterns
- Display brightness preferences are subjective; what’s optimal for one user may not suit another
- Some iPhone models have maximum brightness limitations due to hardware constraints
- Night Shift and True Tone operate independently of automatic brightness; understanding their separate functions optimizes display customization
- Accessibility features provide additional brightness and display customization beyond standard automatic brightness controls
- Low Power Mode limits maximum brightness as an energy conservation measure regardless of automatic brightness settings
Visual Comfort and Health:
- Excessive brightness causes eye strain and sleep disruption; Night Shift helps reduce blue light exposure
- Insufficient brightness strains eyes as well; finding appropriate brightness levels benefits visual comfort
- Blue light from screens affects circadian rhythms; Night Shift helps mitigate this effect, particularly in evening hours
- Users with light sensitivity or certain visual conditions may benefit from reduced brightness or accessibility features
- Regular brightness adjustment to match environment maintains visual comfort
Battery and Power Considerations:
- Screen brightness significantly impacts battery life; automatic brightness provides modest but meaningful battery savings
- Maximum brightness in dim environments wastes battery without providing visibility benefit
- Low Power Mode reduces maximum brightness; check this setting if brightness seems limited
- Battery drain varies by brightness level and display type (OLED displays behave differently than LCD)
- Disabling automatic brightness trades convenience for battery consumption; the tradeoff varies by user
Feature Interactions:
- True Tone and automatic brightness operate independently; disabling one doesn’t affect the other
- Night Shift and automatic brightness can work together; color temperature and brightness are separate adjustments
- Focus modes can associate brightness preferences with specific situations
- Accessibility shortcuts provide alternative brightness control methods
- Multiple display customization features working together provide sophisticated control
Display Technology and Hardware:
- Different iPhone models have varying display capabilities; maximum brightness differs between models
- OLED displays (iPhone 12 Pro and later, iPhone 13 Pro and later) have different brightness behavior than LCD displays
- ProMotion displays include additional adaptive features beyond brightness adjustment
- Display hardware can affect how brightness settings appear; older phones may have different behavior
- Hardware issues can cause brightness-related problems even after adjusting all settings
Troubleshooting and Support:
- Brightness issues sometimes result from software glitches that updating iOS resolves
- Low Power Mode automatically limits brightness; this is normal power conservation behavior
- If brightness control appears unresponsive, restarting the iPhone often resolves temporary glitches
- Persistent brightness problems may indicate hardware issues requiring professional repair
- Apple Support can diagnose display-related problems if troubleshooting doesn’t resolve issues
Subjective Preferences:
- Brightness preferences vary between individuals based on visual sensitivity, environment, and personal preference
- There’s no single “correct” brightness level; optimization depends on your specific needs
- Experimenting with both automatic and manual brightness helps determine your preference
- Switching between settings is simple and reversible, enabling preference exploration
- Different brightness works for different activities; using Focus modes enables situation-specific optimization
Accessibility Considerations:
- Accessibility features provide additional customization for users with visual needs
- Reduce White Point helps users sensitive to bright displays
- Accessibility Shortcuts enable quick brightness adjustments for users with mobility limitations
- Voice control through Siri enables hands-free brightness adjustment
- Display customization should balance personal preference with visual health and comfort
When Professional Help Is Needed:
- If brightness control doesn’t respond to adjustments, hardware issues may require professional diagnosis
- Display problems affecting brightness despite correct settings warrant Apple Support assessment
- If your iPhone is under warranty, display issues may be covered by Apple Care
- Professional repair services can address hardware-related brightness limitations
Liability:
We are not responsible for any battery drain, visual discomfort, display problems, or other consequences resulting from adjusting brightness settings described in this article. Users assume full responsibility for determining appropriate brightness levels for their specific circumstances and preferences. Most brightness settings changes are immediately reversible by re-enabling automatic brightness or adjusting settings, but some hardware-related brightness issues may require professional intervention. If you’re uncomfortable with display settings or experience unexpected brightness problems, consult Apple Support rather than making additional settings changes.
About the Author
Jessica Miller is a marketing manager and iPhone user who believes you should have complete control over your device’s display behavior. With expertise in iOS settings, display optimization, and practical technology solutions, she helps busy professionals customize their iPhones for their specific preferences and needs. When she’s not writing comprehensive tech guides or managing her marketing team, she’s optimizing display settings, exploring new iOS features, and helping friends make informed decisions about their device configurations.

- How to Remotely Control Another Computer Using Windows Quick Assist
- 5 Must-Have Electronics Gadgets for a More Comfortable Living Room

- How to Create a Windows 11 System Backup on an External Hard Drive

- 10 Smart Home Ideas That Make Everyday Life Easier

- Gemini Live Avatar: How to Talk to Gemini Face-to-Face

Products
-
![Apple Watch Ultra 3 [GPS + Cellular 49mm] Running & Multisport Smartwatch w/Rugged Titanium Case w/Black Titanium Milanese Loop - M. Satellite Communications, Advanced Health & Fitness Tracking](https://bazaronweb.com/retailstores/wp-content/uploads/2025/09/apple-watch-320x320.jpg) Apple Watch Ultra 3 [GPS + Cellular 49mm] Running & Multisport Smartwatch w/Rugged Titanium Case w/Black Titanium Milanese Loop - M. Satellite Communications, Advanced Health & Fitness Tracking
Apple Watch Ultra 3 [GPS + Cellular 49mm] Running & Multisport Smartwatch w/Rugged Titanium Case w/Black Titanium Milanese Loop - M. Satellite Communications, Advanced Health & Fitness Tracking
-
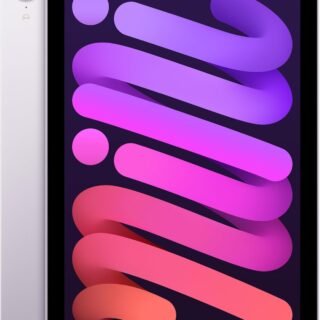 Apple iPad mini (A17 Pro): Apple Intelligence, 8.3-inch Liquid Retina Display, 256GB, Wi-Fi 6E, 12MP Front/12MP Back Camera, Touch ID, All-Day Battery Life — Purple
-
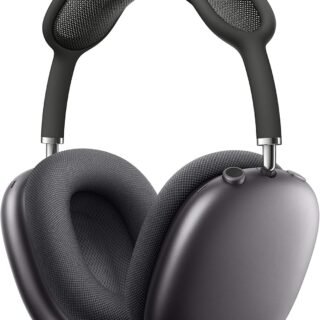 Apple AirPods Max Wireless Over-Ear Headphones, Active Noise Cancelling, Transparency Mode, Personalized Spatial Audio, Dolby Atmos, Bluetooth Headphones for iPhone – Space Gray
-
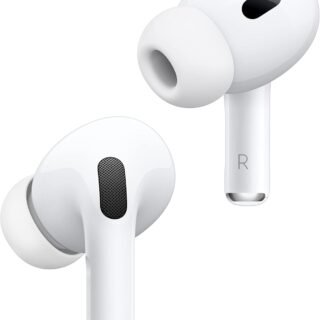 Apple AirPods Pro 2 Wireless Earbuds, Active Noise Cancellation, Hearing Aid Feature, Bluetooth Headphones, Transparency, Personalized Spatial Audio, High-Fidelity Sound, H2 Chip, USB-C Charging
-
Home Garage 210 TC Cotton King Floral Fitted (Elastic) Bedsheet(Pack of 1, Grey)
Original price was: ₹999.00.₹299.00Current price is: ₹299.00.
Leave a Reply