Discounted Products
-
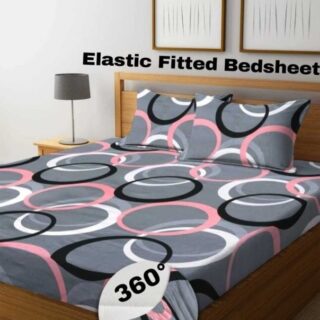 Home Garage 210 TC Cotton King Floral Fitted (Elastic) Bedsheet(Pack of 1, Grey)
Original price was: ₹999.00.₹299.00Current price is: ₹299.00.
Home Garage 210 TC Cotton King Floral Fitted (Elastic) Bedsheet(Pack of 1, Grey)
Original price was: ₹999.00.₹299.00Current price is: ₹299.00.
-
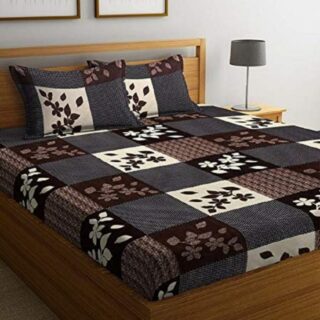 Goodrik 140 TC Cotton Double 3D Printed Flat Bedsheet(Pack of 1, Brown)
Original price was: ₹499.00.₹229.00Current price is: ₹229.00.
Goodrik 140 TC Cotton Double 3D Printed Flat Bedsheet(Pack of 1, Brown)
Original price was: ₹499.00.₹229.00Current price is: ₹229.00.
-
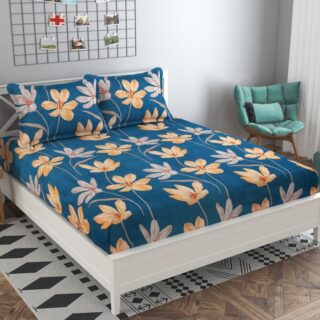 GLOBALSHOP 350 TC Microfiber Double Floral Flat Bedsheet(Pack of 1, Multicolor)
Original price was: ₹1,250.00.₹263.00Current price is: ₹263.00.
GLOBALSHOP 350 TC Microfiber Double Floral Flat Bedsheet(Pack of 1, Multicolor)
Original price was: ₹1,250.00.₹263.00Current price is: ₹263.00.
-
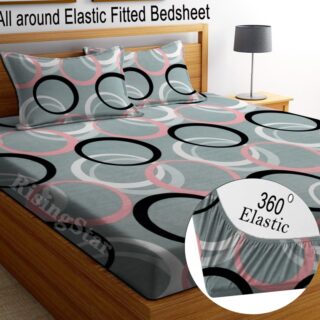 RisingStar 250 TC Microfiber King Printed Fitted (Elastic) Bedsheet(Pack of 1, FITTED-ROUND-CIRCLES-PREMIUM)
Original price was: ₹2,299.00.₹299.00Current price is: ₹299.00.
RisingStar 250 TC Microfiber King Printed Fitted (Elastic) Bedsheet(Pack of 1, FITTED-ROUND-CIRCLES-PREMIUM)
Original price was: ₹2,299.00.₹299.00Current price is: ₹299.00.
-
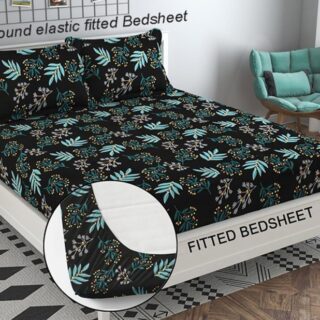 Home Garage 210 TC Cotton King Floral Fitted (Elastic) Bedsheet(Pack of 1, Fitted Black Green)
Original price was: ₹1,299.00.₹299.00Current price is: ₹299.00.
Home Garage 210 TC Cotton King Floral Fitted (Elastic) Bedsheet(Pack of 1, Fitted Black Green)
Original price was: ₹1,299.00.₹299.00Current price is: ₹299.00.
-
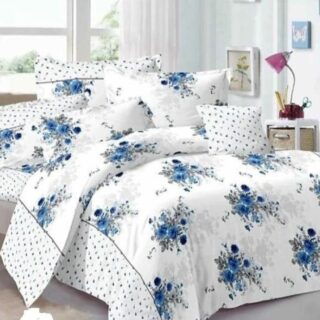 Home Garage 180 TC Cotton King 3D Printed Flat Bedsheet(Pack of 1, White)
Original price was: ₹999.00.₹229.00Current price is: ₹229.00.
Home Garage 180 TC Cotton King 3D Printed Flat Bedsheet(Pack of 1, White)
Original price was: ₹999.00.₹229.00Current price is: ₹229.00.
-
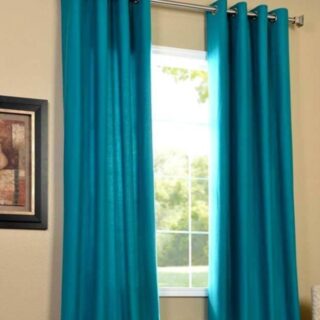 Panipat Textile Hub 152.4 cm (5 ft) Polyester Window Curtain (Pack Of 2)(Solid, Aqua)
Original price was: ₹1,899.00.₹299.00Current price is: ₹299.00.
Panipat Textile Hub 152.4 cm (5 ft) Polyester Window Curtain (Pack Of 2)(Solid, Aqua)
Original price was: ₹1,899.00.₹299.00Current price is: ₹299.00.
-
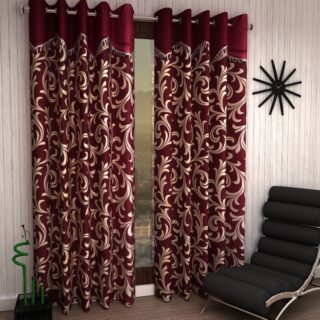 Home Sizzler 214 cm (7 ft) Polyester Semi Transparent Door Curtain (Pack Of 2)(Floral, Maroon)
Original price was: ₹1,199.00.₹399.00Current price is: ₹399.00.
Home Sizzler 214 cm (7 ft) Polyester Semi Transparent Door Curtain (Pack Of 2)(Floral, Maroon)
Original price was: ₹1,199.00.₹399.00Current price is: ₹399.00.
-
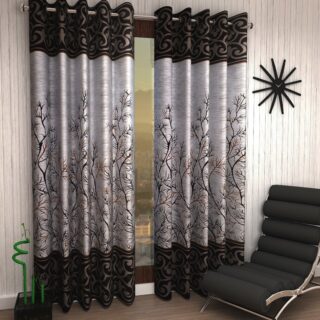 Home Sizzler 153 cm (5 ft) Polyester Room Darkening Window Curtain (Pack Of 2)(Floral, Brown)
Original price was: ₹799.00.₹299.00Current price is: ₹299.00.
Home Sizzler 153 cm (5 ft) Polyester Room Darkening Window Curtain (Pack Of 2)(Floral, Brown)
Original price was: ₹799.00.₹299.00Current price is: ₹299.00.
-
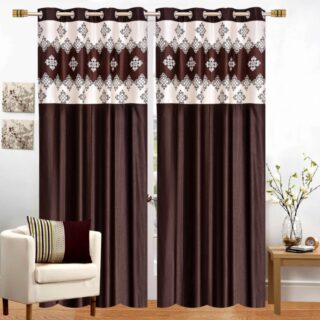 Stella Creations 214 cm (7 ft) Polyester Room Darkening Door Curtain (Pack Of 2)(Abstract, Brown)
Original price was: ₹1,299.00.₹449.00Current price is: ₹449.00.
Stella Creations 214 cm (7 ft) Polyester Room Darkening Door Curtain (Pack Of 2)(Abstract, Brown)
Original price was: ₹1,299.00.₹449.00Current price is: ₹449.00.
-
 Homefab India 152.5 cm (5 ft) Polyester Room Darkening Window Curtain (Pack Of 2)(Floral, Light Blue)
Original price was: ₹1,199.00.₹319.00Current price is: ₹319.00.
Homefab India 152.5 cm (5 ft) Polyester Room Darkening Window Curtain (Pack Of 2)(Floral, Light Blue)
Original price was: ₹1,199.00.₹319.00Current price is: ₹319.00.
-
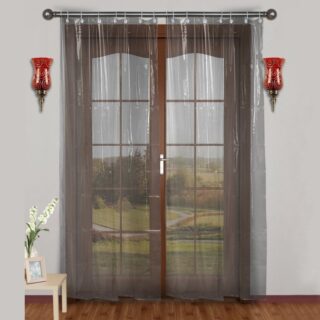 Urban Home 214 cm (7 ft) PVC Transparent Door Curtain Single Curtain(Solid, Off White)
Original price was: ₹699.00.₹203.00Current price is: ₹203.00.
Urban Home 214 cm (7 ft) PVC Transparent Door Curtain Single Curtain(Solid, Off White)
Original price was: ₹699.00.₹203.00Current price is: ₹203.00.
-
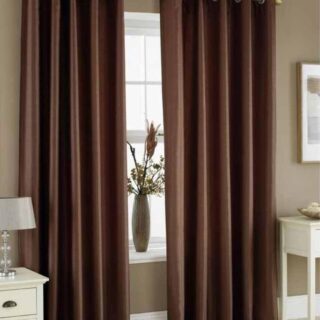 Panipat Textile Hub 213 cm (7 ft) Polyester Door Curtain (Pack Of 2)(Solid, Brown)
Original price was: ₹1,199.00.₹349.00Current price is: ₹349.00.
Panipat Textile Hub 213 cm (7 ft) Polyester Door Curtain (Pack Of 2)(Solid, Brown)
Original price was: ₹1,199.00.₹349.00Current price is: ₹349.00.
-
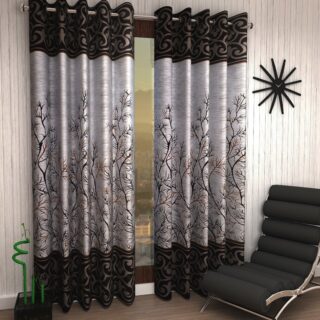 Home Sizzler 214 cm (7 ft) Polyester Semi Transparent Door Curtain (Pack Of 2)(Floral, Brown)
Original price was: ₹999.00.₹349.00Current price is: ₹349.00.
Home Sizzler 214 cm (7 ft) Polyester Semi Transparent Door Curtain (Pack Of 2)(Floral, Brown)
Original price was: ₹999.00.₹349.00Current price is: ₹349.00.
-
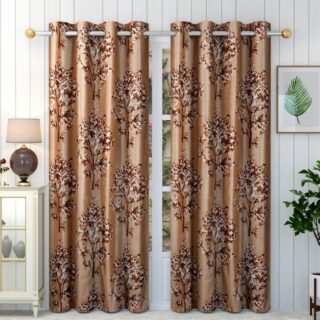 Panipat Textile Hub 213 cm (7 ft) Polyester Semi Transparent Door Curtain (Pack Of 2)(Floral, Brown)
Original price was: ₹899.00.₹299.00Current price is: ₹299.00.
Panipat Textile Hub 213 cm (7 ft) Polyester Semi Transparent Door Curtain (Pack Of 2)(Floral, Brown)
Original price was: ₹899.00.₹299.00Current price is: ₹299.00.
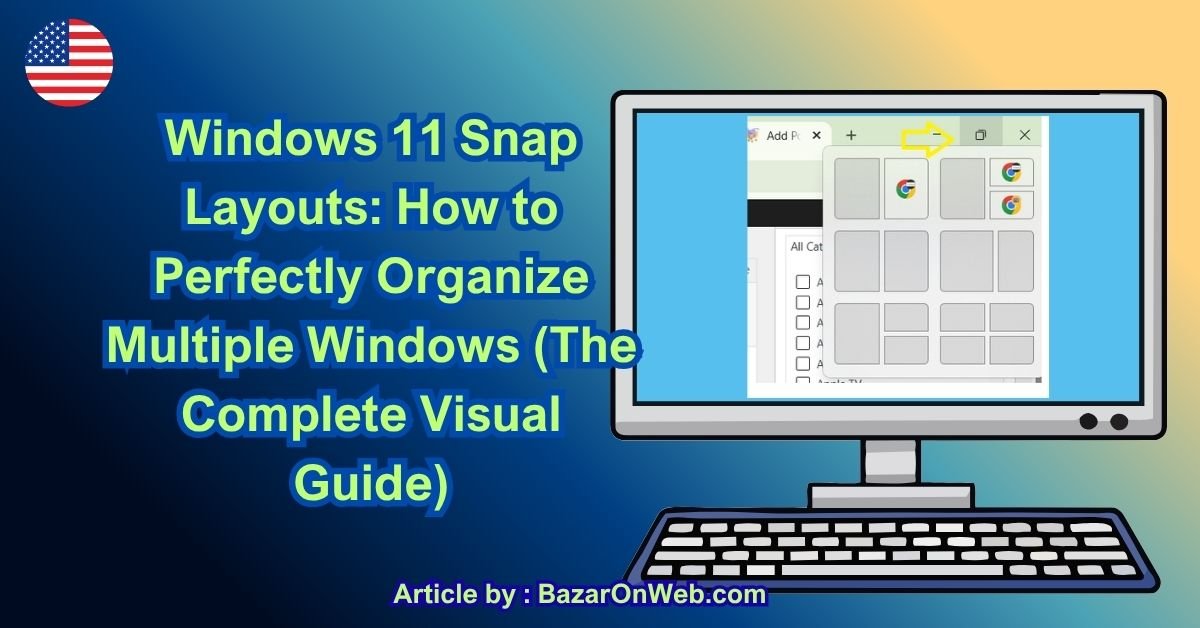
I’m constantly working with multiple windows open. Research in one browser, spreadsheet in another, email on the side, documentation, chat applications. By mid-morning, my screen looks like complete chaos. Windows are randomly positioned, overlapping, half-hidden behind each other.
I spend more time rearranging windows than actually working. Click this window, move it to the left half of screen. Click that window, position it top-right. Resize, adjust, try to get things perfect. It’s exhausting and breaks my workflow.
A colleague mentioned Windows 11 has Snap Layouts that automatically organize windows perfectly. I thought they were joking. Windows had snap-to-side for years, but it was clunky and limited.
Turns out Windows 11’s Snap Layouts are genuinely powerful. You can arrange multiple windows in predefined layouts instantly. Two windows side-by-side, three windows with one taking half the screen and two smaller ones stacked on the other half, four windows in a grid—dozens of configurations.
I was skeptical it would actually work. But after learning how, my productivity improved noticeably. Instead of spending time arranging windows, they organize themselves instantly.
Most Windows 11 users don’t even know this feature exists. They’re manually positioning windows like it’s 2005. Once you discover Snap Layouts, you wonder how you ever worked without it.
A frustrated reader emailed: “How do I get my windows to arrange nicely? I have three things I need to see simultaneously but can’t make them fit properly on screen.”
I spent 20 minutes walking them through Snap Layouts with screenshots. Their reply: “This is life-changing. Why didn’t anyone tell me about this?”
Understanding Snap Layouts: What This Feature Actually Does
Before diving into screenshots, understanding what Snap Layouts are and why they’re different from old snap features.
Windows has had window snapping for years. Click and drag a window to the left edge, it snaps to fill the left half. Drag to right edge, fills the right half. Basic but limited.
Windows 11’s Snap Layouts expand this dramatically. Instead of just left-right halves, you get multiple predefined layouts:
- 2 windows side-by-side (50/50 split)
- 3 windows (one taking 50%, two stacked at 25% each on other side)
- 4 windows (2×2 grid)
- 6 windows (multiple configurations)
- Custom arrangements
Each layout automatically sizes and positions windows perfectly. No manual resizing. No dragging. One click and your windows organize exactly as needed.
The layouts also remember your preference. If you regularly use the 3-window layout (research on left, spreadsheet top-right, chat bottom-right), Windows remembers that you like that arrangement.
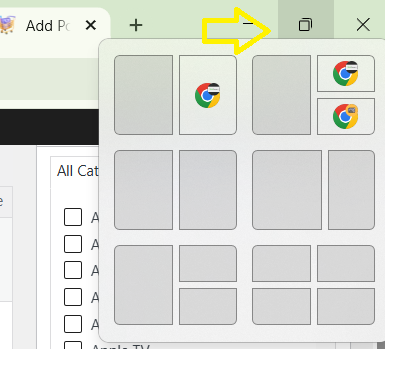
The first step is accessing Snap Layouts. This is where most people get confused because the button isn’t obvious.
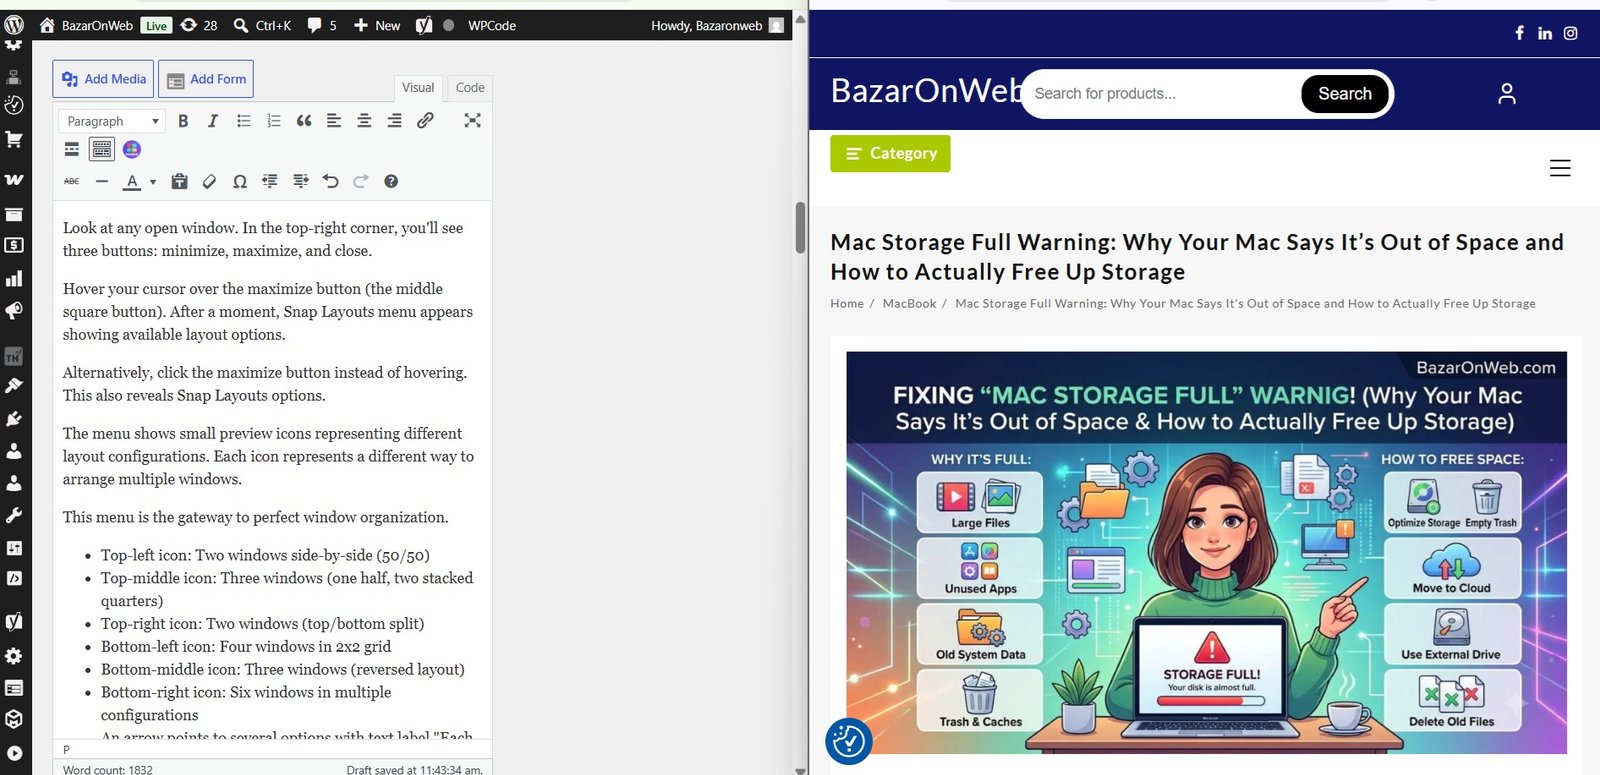
Look at any open window. In the top-right corner, you’ll see three buttons: minimize, maximize, and close.
Hover your cursor over the maximize button (the middle square button). After a moment, Snap Layouts menu appears showing available layout options.
Alternatively, click the maximize button instead of hovering. This also reveals Snap Layouts options.
The menu shows small preview icons representing different layout configurations. Each icon represents a different way to arrange multiple windows.
This menu is the gateway to perfect window organization.
- Top-left icon: Two windows side-by-side (50/50)
- Top-middle icon: Three windows (one half, two stacked quarters)
- Top-right icon: Two windows (top/bottom split)
- Bottom-left icon: Four windows in 2×2 grid
- Bottom-middle icon: Three windows (reversed layout)
- Bottom-right icon: Six windows in multiple configurations
An arrow points to several options with text label “Each icon represents a different window arrangement. Click the layout you need. Windows automatically organize into that configuration.”]
This screenshot shows all available Snap Layout options.
You’ll see multiple layout previews, each showing a different configuration:
Common layouts:
- 2 windows left/right: Window takes left half, one takes right half
- 3 windows (L+R): Left side full height, right side has two windows stacked
- 3 windows (R+L): Reversed—right side full height, left has two stacked
- 2 windows top/bottom: Top window takes top half, bottom window takes bottom half
- 4 windows grid: 2×2 configuration with four equal-sized windows
- 6 windows: Complex layout accommodating six windows simultaneously
Different Windows 11 builds might show different layout options. Newer builds add more variations.
Each layout preview is clickable. Click the layout you want to use.
After selecting a layout, your current window automatically fills one position (usually the largest section).
On the remaining empty space, you’ll see highlighted zones where other windows will go.
Click on these empty zones. A preview of open windows appears, letting you select which window fills that position.
For example, if you selected the 3-window layout:
- Your current window fills the left side (full height)
- Right side shows two empty zones
- Click top-right empty zone, select which window goes there
- Click bottom-right empty zone, select which window goes there
Windows immediately snap into their designated positions and sizes perfectly.
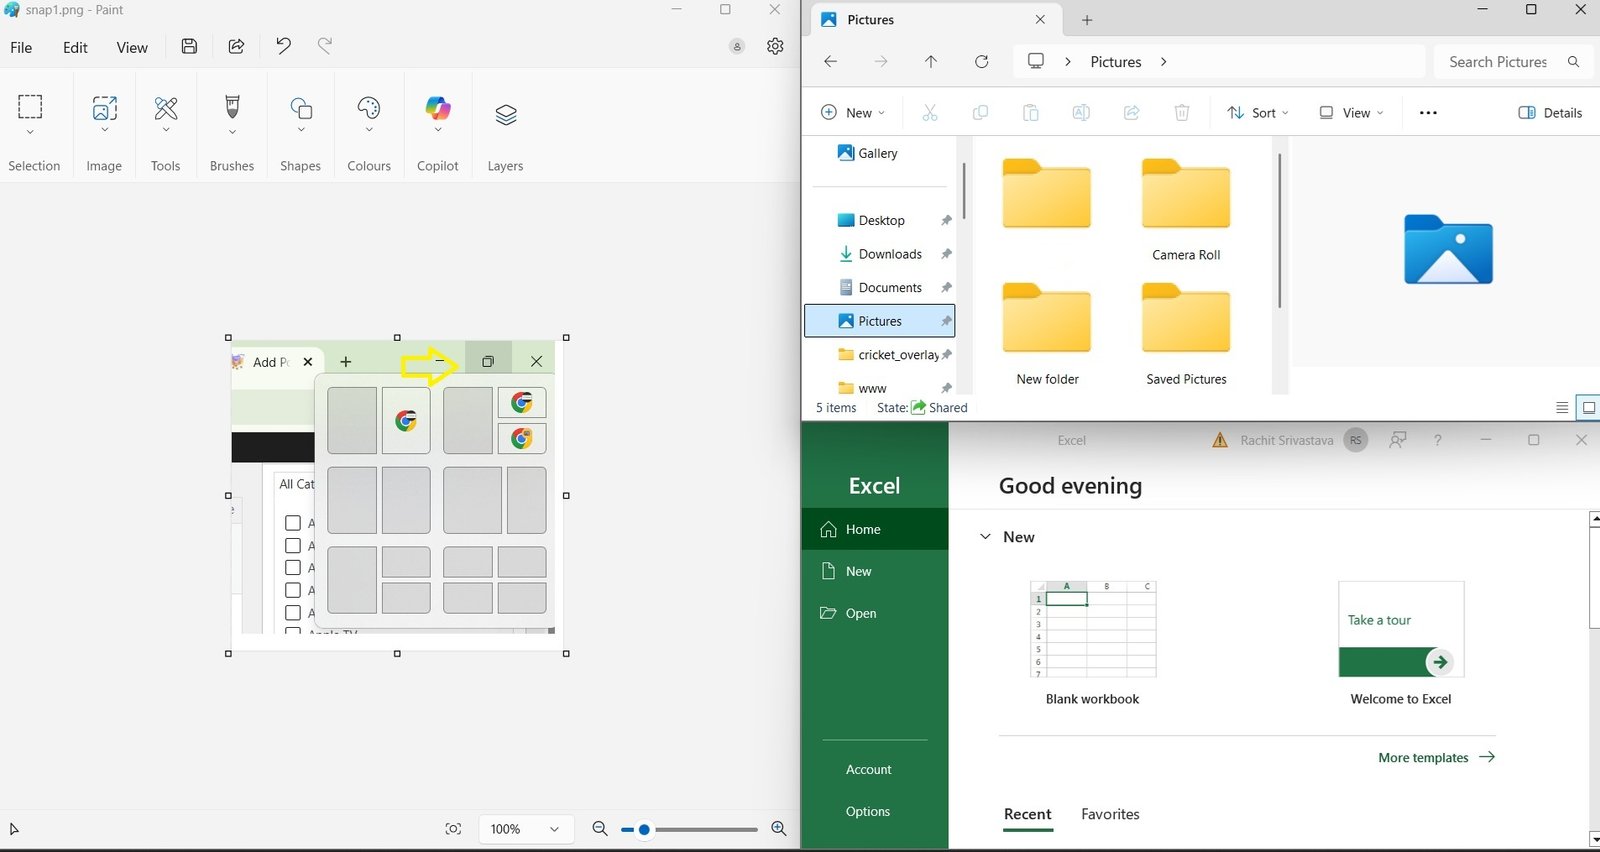
This final screenshot shows the completed arrangement.
Your screen is now perfectly organized with multiple windows visible simultaneously. Everything has space. Nothing overlaps. You can see exactly what you need.
In this example:
-
LEFT SIDE (Full Height – 50% of screen):
Paint application (snap1.png – Paint) showing image editing interface with tools, layers, brushes visible. Takes up entire left half of screen. -
TOP-RIGHT (25% of screen):
Pictures/File Explorer window showing folders and image files. Perfectly sized to fit top-right quadrant without overlap. -
BOTTOM-RIGHT (25% of screen):
Excel application showing “Good evening” welcome screen with templates and options. Perfectly sized to fit bottom-right quadrant.
All windows are sized automatically. No manual resizing. No dragging. Perfect organization instantly.
The layout persists. You can click between windows, minimize/maximize applications, and the arrangement maintains itself.
When you close a window, the others stay in their positions. Open a new window, it fills the vacant space.
Step-by-Step Implementation for Different Scenarios
Let me walk through practical scenarios using Snap Layouts.
Scenario 1: Researcher Comparing Multiple Sources
You’re researching and need to see three sources simultaneously: research paper on left, note-taking app top-right, reference material bottom-right.
- Open your primary research window (left side)
- Open your note-taking app
- Open reference material
- Hover maximize button on research window
- Select the 3-window layout (left + stacked right)
- Click top-right zone, select note-taking app
- Click bottom-right zone, select reference material
- Done. All three visible, perfectly organized
Scenario 2: Developer Working With Multiple Tools
You need your code editor visible alongside documentation, terminal, and chat.
- Open code editor
- Open documentation
- Open terminal window
- Open chat application
- Hover maximize on code editor
- Select 4-window grid layout
- Click each empty zone, select windows to fill them
- Perfect development workspace with everything visible
Scenario 3: Data Entry With Multiple References
You’re entering data from multiple sources into a spreadsheet.
- Open spreadsheet (your data entry tool)
- Open source material 1
- Open source material 2
- Hover maximize on spreadsheet
- Select 3-window layout (spreadsheet takes 50%, sources split the other 50%)
- Organize sources in remaining zones
- Enter data while viewing all sources simultaneously
Real User Scenario: The Complete Solution
A reader named Sarah emailed: “I’m a project manager coordinating with my team. I need to see my project management software, email, Slack chat, and Google Calendar simultaneously. My screen is a mess trying to fit everything. I resize windows constantly. How do I organize this properly?”
Using Snap Layouts, Sarah’s solution:
- Opened her project management software
- Opened email
- Opened Slack
- Opened Google Calendar
- Selected the 4-window grid layout
- Positioned each application in its designated zone
Result: All four applications perfectly organized in a 2×2 grid. Sarah can see project updates, emails, team messages, and calendar events without any overlapping or resizing.
She replied: “This saves me so much time every day. I’m not constantly moving windows around anymore. This is exactly what I needed.”
Troubleshooting: When Snap Layouts Don’t Work
Issue: Maximize button doesn’t show Snap Layouts menu
Your Windows 11 build might not have the feature enabled yet. Update Windows: Settings > System > Windows Update > Check for updates.
Issue: Layout doesn’t work as expected
Make sure you have enough windows open for the layout. A 4-window layout needs 4 open windows to function properly.
Issue: Windows don’t snap to positions
Some windows (especially older applications) don’t support snapping. Try with standard Windows applications first (File Explorer, Notepad, Settings).
Issue: Layout keeps rearranging
This usually indicates an application is opening in unexpected positions. Try disabling auto-opening features in that application.
Advanced Tips
Save Your Preferred Layout:
Windows 11 remembers which layout you use most with specific applications. Use your preferred layout consistently and Windows learns your workflow.
Keyboard Shortcut:
Windows Key + Z opens Snap Layouts menu without hovering.
Tablet Mode:
Snap Layouts work even better on tablets where screen space is limited. Perfect for Surface devices.
Virtual Desktops:
Combine Snap Layouts with Virtual Desktops. Use different layouts on different virtual desktops for different work contexts.
The Reality
Snap Layouts transforms how you work with multiple windows. Instead of manually arranging, click a layout and everything organizes perfectly.
Most Windows 11 users don’t know this exists. They’re spending time positioning windows manually. Once you try Snap Layouts, you can’t imagine working without it.
Try it today. Hover over the maximize button. Click a layout. Experience instant perfect window organization.
Your productivity will improve noticeably. Your desktop will be organized. Your workflow will be cleaner.
Quick Priority List: Using Snap Layouts
Need to organize multiple windows?
- Open all windows you need visible
- Click maximize button (or Windows Key + Z) on one window
- Select the layout matching your needs
- Click empty zones to assign windows to each position
- Done—perfectly organized workspace
One minute. That’s all it takes.
Disclaimer: This article provides guidance on using Windows 11 Snap Layouts. Snap Layouts availability varies by Windows 11 build and version. Some applications may not support snapping due to their design or age. Layout configurations vary by screen resolution and monitor setup. Multiple monitor setups have different Snap Layouts behavior. Some professional or specialized software may have conflicts with snapping. Users assume responsibility for understanding their specific application compatibility. Snap Layouts work best with modern applications designed for Windows 11. Older applications may not snap predictably. Screen resolution affects available layout options. Users with ultra-wide monitors may see additional layout configurations. Accessibility features may affect how Snap Layouts function. Seek technical support if snapping fails consistently across multiple applications.

- Killer Network Service: Is It a Virus or Safe to Disable?

- How to Set Up Parental Controls on Windows 11: A Step-by-Step Guide

- How to Extract Audio From a Video: Easy Ways to Save Audio

- How to Set a Photo Album as Your Wallpaper on iPhone: Step-by-Step Guide

- How to Convert a Bootable USB Drive to an ISO File in Windows

Products
-
![Apple Watch Ultra 3 [GPS + Cellular 49mm] Running & Multisport Smartwatch w/Rugged Titanium Case w/Black Titanium Milanese Loop - M. Satellite Communications, Advanced Health & Fitness Tracking](https://bazaronweb.com/retailstores/wp-content/uploads/2025/09/apple-watch-320x320.jpg) Apple Watch Ultra 3 [GPS + Cellular 49mm] Running & Multisport Smartwatch w/Rugged Titanium Case w/Black Titanium Milanese Loop - M. Satellite Communications, Advanced Health & Fitness Tracking
Apple Watch Ultra 3 [GPS + Cellular 49mm] Running & Multisport Smartwatch w/Rugged Titanium Case w/Black Titanium Milanese Loop - M. Satellite Communications, Advanced Health & Fitness Tracking
-
 Apple iPad mini (A17 Pro): Apple Intelligence, 8.3-inch Liquid Retina Display, 256GB, Wi-Fi 6E, 12MP Front/12MP Back Camera, Touch ID, All-Day Battery Life — Purple
-
 Apple AirPods Max Wireless Over-Ear Headphones, Active Noise Cancelling, Transparency Mode, Personalized Spatial Audio, Dolby Atmos, Bluetooth Headphones for iPhone – Space Gray
-
 Apple AirPods Pro 2 Wireless Earbuds, Active Noise Cancellation, Hearing Aid Feature, Bluetooth Headphones, Transparency, Personalized Spatial Audio, High-Fidelity Sound, H2 Chip, USB-C Charging
-
Home Garage 210 TC Cotton King Floral Fitted (Elastic) Bedsheet(Pack of 1, Grey)
Original price was: ₹999.00.₹299.00Current price is: ₹299.00.
Leave a Reply