Discounted Products
-
 Home Garage 210 TC Cotton King Floral Fitted (Elastic) Bedsheet(Pack of 1, Grey)
Original price was: ₹999.00.₹299.00Current price is: ₹299.00.
-
 Goodrik 140 TC Cotton Double 3D Printed Flat Bedsheet(Pack of 1, Brown)
Original price was: ₹499.00.₹229.00Current price is: ₹229.00.
-
 GLOBALSHOP 350 TC Microfiber Double Floral Flat Bedsheet(Pack of 1, Multicolor)
Original price was: ₹1,250.00.₹263.00Current price is: ₹263.00.
-
 RisingStar 250 TC Microfiber King Printed Fitted (Elastic) Bedsheet(Pack of 1, FITTED-ROUND-CIRCLES-PREMIUM)
Original price was: ₹2,299.00.₹299.00Current price is: ₹299.00.
-
 Home Garage 210 TC Cotton King Floral Fitted (Elastic) Bedsheet(Pack of 1, Fitted Black Green)
Original price was: ₹1,299.00.₹299.00Current price is: ₹299.00.
-
 Home Garage 180 TC Cotton King 3D Printed Flat Bedsheet(Pack of 1, White)
Original price was: ₹999.00.₹229.00Current price is: ₹229.00.
-
 Panipat Textile Hub 152.4 cm (5 ft) Polyester Window Curtain (Pack Of 2)(Solid, Aqua)
Original price was: ₹1,899.00.₹299.00Current price is: ₹299.00.
-
 Home Sizzler 214 cm (7 ft) Polyester Semi Transparent Door Curtain (Pack Of 2)(Floral, Maroon)
Original price was: ₹1,199.00.₹399.00Current price is: ₹399.00.
-
 Home Sizzler 153 cm (5 ft) Polyester Room Darkening Window Curtain (Pack Of 2)(Floral, Brown)
Original price was: ₹799.00.₹299.00Current price is: ₹299.00.
-
 Stella Creations 214 cm (7 ft) Polyester Room Darkening Door Curtain (Pack Of 2)(Abstract, Brown)
Original price was: ₹1,299.00.₹449.00Current price is: ₹449.00.
-
 Homefab India 152.5 cm (5 ft) Polyester Room Darkening Window Curtain (Pack Of 2)(Floral, Light Blue)
Original price was: ₹1,199.00.₹319.00Current price is: ₹319.00.
-
 Urban Home 214 cm (7 ft) PVC Transparent Door Curtain Single Curtain(Solid, Off White)
Original price was: ₹699.00.₹203.00Current price is: ₹203.00.
-
 Panipat Textile Hub 213 cm (7 ft) Polyester Door Curtain (Pack Of 2)(Solid, Brown)
Original price was: ₹1,199.00.₹349.00Current price is: ₹349.00.
-
 Home Sizzler 214 cm (7 ft) Polyester Semi Transparent Door Curtain (Pack Of 2)(Floral, Brown)
Original price was: ₹999.00.₹349.00Current price is: ₹349.00.
-
 Panipat Textile Hub 213 cm (7 ft) Polyester Semi Transparent Door Curtain (Pack Of 2)(Floral, Brown)
Original price was: ₹899.00.₹299.00Current price is: ₹299.00.
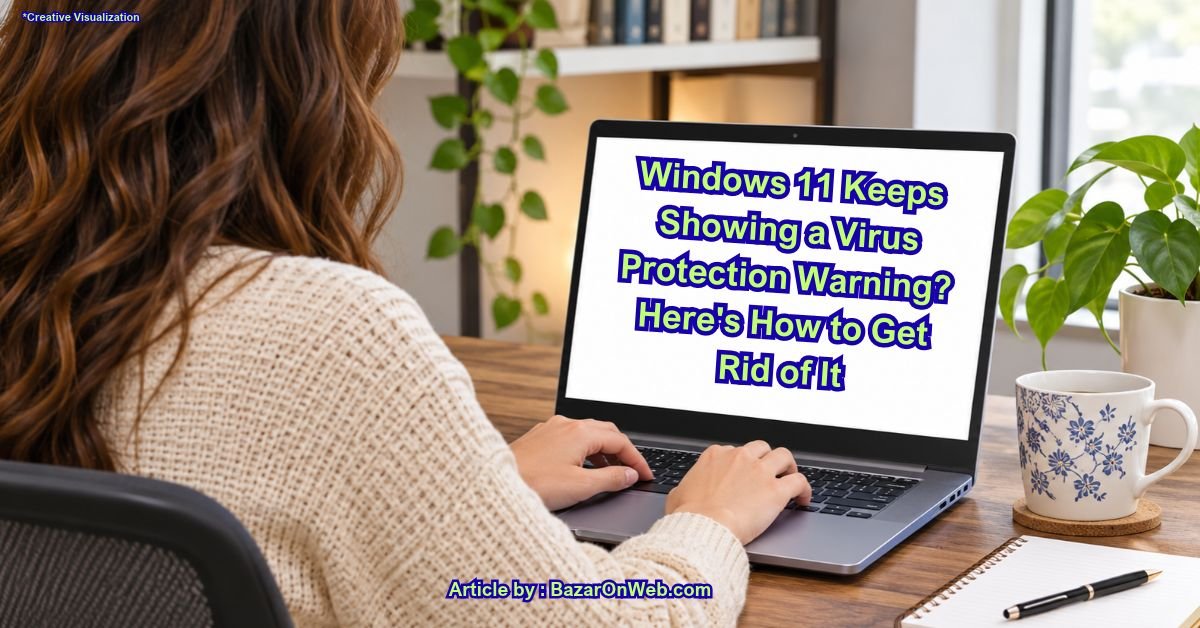
Have you recently started seeing a warning on your Windows 11 computer telling you to update virus protection? You are not alone. Several Windows users encounter this notification even when Microsoft Defender Antivirus appears to be working normally.
The notification usually appears in the Windows Security section and displays a message such as, “Virus protection is out of date. Tap or click to update Microsoft Defender Antivirus.”
Naturally, seeing this message can be concerning. After all, antivirus protection is one of the most important security features on your computer. You don’t want to continue using your PC if Windows believes your virus protection is outdated.
However, there is one important thing to understand. Sometimes, Microsoft Defender genuinely needs new security intelligence updates. In other situations, Windows Security may display an outdated notification because its status information has not refreshed correctly.
The good news is that you can usually resolve this issue without installing another antivirus program or resetting Windows.
In this guide, I’ll explain how to fix the Windows 11 Update Virus Protection notification using several straightforward methods. Let’s get started!
Why Does Windows 11 Show the Update Virus Protection Notification?
Before trying different solutions, it helps to understand why this notification appears.
Microsoft Defender Antivirus regularly downloads security intelligence updates. These updates contain information that helps Defender recognise newly discovered viruses, malware, spyware, and other security threats.
If these definitions become outdated, Windows Security displays a warning asking you to update virus protection.
However, the notification can sometimes remain visible even after an update has been installed.
Here are some common reasons behind this problem:
- Outdated security intelligence: Microsoft Defender has not downloaded the latest virus definitions.
- Windows Update problems: Your computer is experiencing difficulties downloading security updates.
- Microsoft Defender service issues: One or more antivirus services are not running correctly.
- Windows Security notification glitches: The application is displaying an incorrect or outdated protection status.
- Corrupted update components: Some Windows Update files may be damaged.
- Third-party antivirus software: Another antivirus application may have changed how Microsoft Defender operates.
Now that you understand the possible causes, let’s look at the solutions.
1. Manually Update Microsoft Defender Antivirus
The first thing I recommend is manually updating Microsoft Defender Antivirus.
Windows normally downloads security intelligence updates automatically. However, if an update fails or gets delayed, you can initiate the process yourself.
Follow these steps:
- Press Windows + I to open Settings.
- Select Privacy & security from the left sidebar.
- Click Windows Security.
- Select Virus & threat protection.
- Scroll down and find the Virus & threat protection updates section.
- Click Protection updates.
- Select Check for updates.
Windows will now check whether newer security intelligence updates are available.
If an update is available, allow Windows to download and install it. Once the process finishes, restart your computer and check whether the warning has disappeared.
This is one of the simplest ways to resolve the notification, particularly when the problem is caused by outdated antivirus definitions.
2. Run Windows Update
Sometimes, the problem isn’t directly related to Microsoft Defender. Windows Update itself may be preventing your computer from receiving the latest security components.
Therefore, checking for pending Windows updates is another useful troubleshooting step.
Here’s how to do it:
- Press Windows + I to open Settings.
- Click Windows Update in the left sidebar.
- Select Check for updates.
- Allow Windows to search for available updates.
- If updates are available, click Download & install.
- Restart your computer if Windows requests it.
After restarting, open Windows Security and check the virus protection status again.
One thing to keep in mind: Windows security intelligence updates and regular Windows updates are not exactly the same. Checking Windows Update is an additional troubleshooting step, not a replacement for manually updating Microsoft Defender.
3. Check Whether Microsoft Defender Antivirus Is Running
If the warning continues appearing, you should check whether Microsoft Defender Antivirus services are running correctly.
These background services help Windows maintain real-time antivirus protection and manage security intelligence updates.
Follow these instructions:
- Press Windows + R on your keyboard.
- Type
services.msc. - Press Enter.
- The Services window will open.
- Look for Microsoft Defender Antivirus Service.
- Double-click the service to open its properties.
- Check its current status.
If the service is stopped and Windows allows you to start it, select Start.
You can also check the following related services:
- Microsoft Defender Antivirus Network Inspection Service.
- Microsoft Defender Core Service, where available.
Some services may be configured to start automatically when required. Their startup settings can vary depending on your Windows version and security configuration.
If you are using another antivirus application, Microsoft Defender services may behave differently because Windows can automatically adjust its antivirus configuration.
Avoid forcing disabled services to run if another antivirus product is managing your protection.
4. Restart Your Computer and Refresh Windows Security
This might sound like a basic suggestion, but restarting Windows can resolve several temporary problems.
For example, Windows Security may not immediately refresh its displayed protection status after downloading new virus definitions.
A simple restart can help reload the relevant background services and update the security dashboard.
Here’s what you should do:
- Save your open documents and close running applications.
- Click the Start button.
- Select the Power icon.
- Choose Restart.
- Wait for Windows to boot completely.
- Open Windows Security.
- Select Virus & threat protection.
Check whether the outdated protection warning is still visible.
If the warning disappears, the issue was likely related to a temporary service or notification problem.
However, if it remains, continue with the next solution.
5. Reset the Windows Security Application
Windows Security is responsible for displaying antivirus information, firewall settings, account protection, and other security features.
If its application data becomes corrupted, you may experience unusual notifications or incorrect security information.
Fortunately, Windows 11 provides an option to repair or reset supported applications.
Follow these steps:
- Press Windows + I.
- Select Apps.
- Click Installed apps.
- Search for Windows Security.
- Click the three-dot menu next to the application, if available.
- Select Advanced options.
- First, click Repair.
- Once the repair process finishes, check whether the notification disappears.
If repairing doesn’t help, you can try the Reset option.
Remember that resetting an application clears its local application data and settings. It does not reinstall Windows or remove your personal files.
After resetting Windows Security, restart your computer and check the protection status again.
If the Repair or Reset options are unavailable on your Windows installation, skip this method.
6. Run the Windows Security Troubleshooter
Windows includes built-in troubleshooting options that can help identify and resolve certain system-related problems.
Although there isn’t a dedicated troubleshooter for every Microsoft Defender notification, you can use Windows’ troubleshooting tools to check for related issues.
Here’s how:
- Open Settings using Windows + I.
- Select System.
- Click Troubleshoot.
- Select Other troubleshooters.
- Look for the available Windows Update troubleshooter.
- Click Run next to it.
Follow the instructions displayed on your screen.
The troubleshooter may identify problems related to Windows Update components, pending updates, or update services.
Once the process finishes, restart your PC and try updating Microsoft Defender again.
7. Update Microsoft Defender Using PowerShell
If the standard Windows Security interface isn’t downloading the latest definitions, you can try updating Microsoft Defender through PowerShell.
This method is particularly useful when the graphical interface is experiencing problems.
However, make sure you follow the commands carefully.
- Click the Start button.
- Search for Windows PowerShell.
- Right-click the result.
- Select Run as administrator.
- Click Yes if the User Account Control prompt appears.
- Enter the following command:
Update-MpSignature
- Press Enter.
This command asks Microsoft Defender to check for and download the latest available security intelligence updates.
Wait for the command to finish.
You can also check the current antivirus status by running:
Get-MpComputerStatus
This command displays information about Microsoft Defender, including its antivirus and security intelligence status.
Look for the following properties:
- AntivirusEnabled
- RealTimeProtectionEnabled
- AntivirusSignatureLastUpdated
- AntivirusSignatureVersion
If the antivirus is enabled and the security intelligence update date is recent, Defender may already be functioning correctly.
Close PowerShell and restart your computer to check whether the notification has been removed.
8. Run System File Checker and DISM
If none of the previous methods work, damaged Windows system files could be contributing to the problem.
Windows includes two useful command-line utilities: System File Checker (SFC) and Deployment Image Servicing and Management (DISM).
SFC checks protected Windows system files and attempts to repair corrupted files. DISM can repair the Windows component store used by system maintenance tools.
Let’s run both.
Step 1: Open Command Prompt as Administrator
- Click Start.
- Search for Command Prompt.
- Right-click it.
- Select Run as administrator.
Step 2: Run the DISM command
Enter the following command:
DISM /Online /Cleanup-Image /RestoreHealth
Press Enter and wait for the process to complete.
This operation may take several minutes, depending on your computer.
Step 3: Run System File Checker
Once DISM finishes, enter:
sfc /scannow
Press Enter.
Windows will now scan protected system files and attempt to repair any problems it discovers.
Step 4: Restart your computer
After both operations finish, restart Windows 11.
Open Windows Security and check whether the Update Virus Protection notification is still appearing.
9. Check Whether Another Antivirus Is Installed
There is one more thing worth checking before moving towards advanced troubleshooting.
Are you using a third-party antivirus application such as Norton, McAfee, Avast, or another security program?
Windows 11 can automatically adjust Microsoft Defender’s antivirus activity when another compatible antivirus application is installed and registered with Windows Security.
This means that Microsoft Defender may not be operating as your primary antivirus solution.
In some configurations, this can make the Windows Security dashboard display a protection status that differs from what you expect.
To check:
- Open Windows Security.
- Select Virus & threat protection.
- Look for the antivirus provider information.
- Check whether another security application is managing antivirus protection.
If you have a third-party antivirus installed, open its dashboard and check whether its virus definitions and real-time protection are up to date.
Important: Don’t uninstall your existing antivirus simply to remove the notification. First confirm which security application is responsible for protecting your computer.
What If the Virus Protection Notification Still Appears?
If you have followed all the methods above and the warning is still visible, don’t immediately assume that your computer is infected.
There are a few additional things you can investigate.
- Check the protection status: Open Windows Security and confirm whether real-time protection is enabled.
- Check the definition date: Verify whether Microsoft Defender has successfully downloaded recent security intelligence updates.
- Perform a full scan: Run a full antivirus scan to check for potential security threats.
- Check Windows Update errors: If updates repeatedly fail, investigate the specific error code.
- Restart after updating: Some security status changes may not appear until Windows restarts.
If Microsoft Defender reports that its security intelligence is current and real-time protection is enabled, but the notification remains, the problem may be with the Windows Security dashboard rather than the antivirus engine itself.
Don’t ignore the warning until you have verified that another active antivirus solution is protecting your computer.
Final Thoughts
The Update Virus Protection notification in Windows 11 can be frustrating, especially when it continues appearing after you have already updated Microsoft Defender.
Fortunately, you don’t need to reinstall Windows or immediately purchase another antivirus program to troubleshoot it.
Start by manually updating Microsoft Defender, checking Windows Update, and restarting your computer. If that doesn’t work, try repairing Windows Security, updating Defender through PowerShell, and running the built-in Windows repair commands.
Most importantly, verify that your computer has active antivirus protection before dismissing the warning.
With a little troubleshooting, you should be able to identify whether the problem is caused by outdated virus definitions, a Windows Security notification glitch, or an issue with the underlying Windows components.
Disclaimer: This article is intended for general troubleshooting purposes. Windows Security options and Microsoft Defender behaviour may vary depending on your Windows 11 version, installed antivirus software, and system configuration. Always ensure that at least one trusted antivirus solution is actively protecting your computer.

- Windows 11 Keeps Showing a Virus Protection Warning? Here’s How to Get Rid of It
- How to Disable Visual Effects in Windows 11 to Improve Performance
- How to Record Conversations and Automatically Convert Them into Text on iPhone

- How to Add Multiple Email Accounts on Windows 11

- How to Fix Wi-Fi Disconnecting Automatically on Windows 11
Products
-
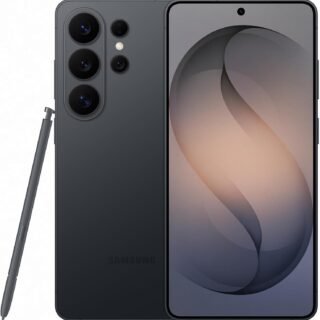 Samsung Galaxy S26 Ultra Unlocked Android Smartphone, 256GB, Black, Privacy Display, 200MP Camera, 5000mAh Battery, US 1 Year Warranty
-
 Apple Watch Ultra 3 [GPS + Cellular 49mm] Running & Multisport Smartwatch w/Rugged Titanium Case w/Black Titanium Milanese Loop - M. Satellite Communications, Advanced Health & Fitness Tracking
-
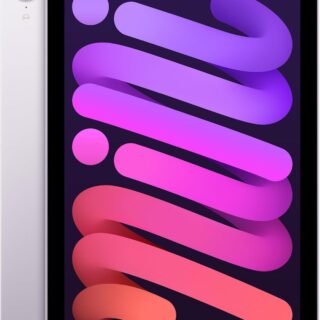 Apple iPad mini (A17 Pro): Apple Intelligence, 8.3-inch Liquid Retina Display, 256GB, Wi-Fi 6E, 12MP Front/12MP Back Camera, Touch ID, All-Day Battery Life — Purple
-
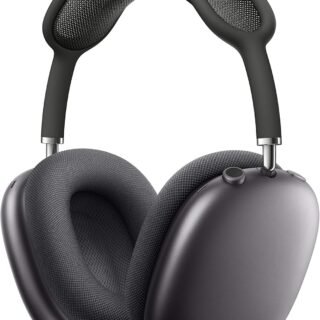 Apple AirPods Max Wireless Over-Ear Headphones, Active Noise Cancelling, Transparency Mode, Personalized Spatial Audio, Dolby Atmos, Bluetooth Headphones for iPhone – Space Gray
-
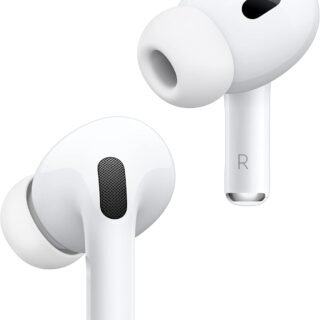 Apple AirPods Pro 2 Wireless Earbuds, Active Noise Cancellation, Hearing Aid Feature, Bluetooth Headphones, Transparency, Personalized Spatial Audio, High-Fidelity Sound, H2 Chip, USB-C Charging
Leave a Reply