Discounted Products
-
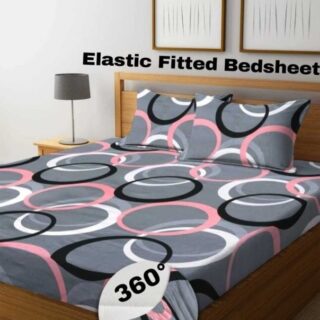 Home Garage 210 TC Cotton King Floral Fitted (Elastic) Bedsheet(Pack of 1, Grey)
Original price was: ₹999.00.₹299.00Current price is: ₹299.00.
Home Garage 210 TC Cotton King Floral Fitted (Elastic) Bedsheet(Pack of 1, Grey)
Original price was: ₹999.00.₹299.00Current price is: ₹299.00.
-
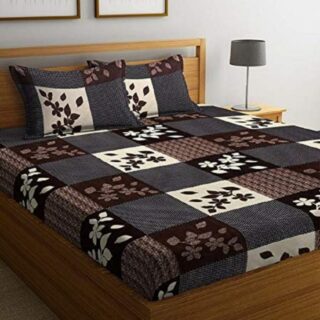 Goodrik 140 TC Cotton Double 3D Printed Flat Bedsheet(Pack of 1, Brown)
Original price was: ₹499.00.₹229.00Current price is: ₹229.00.
Goodrik 140 TC Cotton Double 3D Printed Flat Bedsheet(Pack of 1, Brown)
Original price was: ₹499.00.₹229.00Current price is: ₹229.00.
-
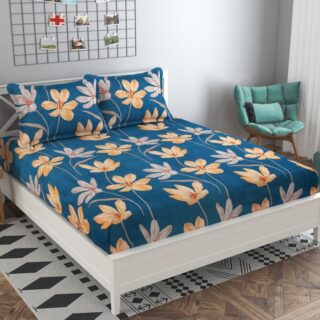 GLOBALSHOP 350 TC Microfiber Double Floral Flat Bedsheet(Pack of 1, Multicolor)
Original price was: ₹1,250.00.₹263.00Current price is: ₹263.00.
GLOBALSHOP 350 TC Microfiber Double Floral Flat Bedsheet(Pack of 1, Multicolor)
Original price was: ₹1,250.00.₹263.00Current price is: ₹263.00.
-
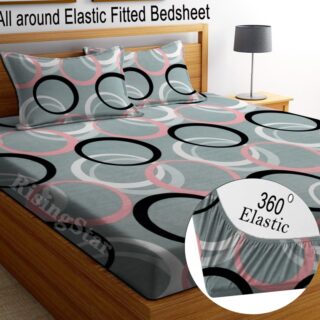 RisingStar 250 TC Microfiber King Printed Fitted (Elastic) Bedsheet(Pack of 1, FITTED-ROUND-CIRCLES-PREMIUM)
Original price was: ₹2,299.00.₹299.00Current price is: ₹299.00.
RisingStar 250 TC Microfiber King Printed Fitted (Elastic) Bedsheet(Pack of 1, FITTED-ROUND-CIRCLES-PREMIUM)
Original price was: ₹2,299.00.₹299.00Current price is: ₹299.00.
-
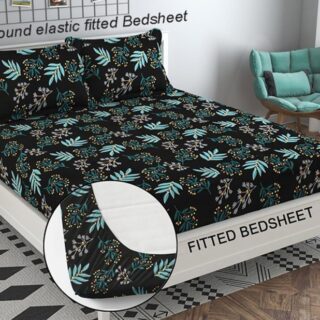 Home Garage 210 TC Cotton King Floral Fitted (Elastic) Bedsheet(Pack of 1, Fitted Black Green)
Original price was: ₹1,299.00.₹299.00Current price is: ₹299.00.
Home Garage 210 TC Cotton King Floral Fitted (Elastic) Bedsheet(Pack of 1, Fitted Black Green)
Original price was: ₹1,299.00.₹299.00Current price is: ₹299.00.
-
 Home Garage 180 TC Cotton King 3D Printed Flat Bedsheet(Pack of 1, White)
Original price was: ₹999.00.₹229.00Current price is: ₹229.00.
Home Garage 180 TC Cotton King 3D Printed Flat Bedsheet(Pack of 1, White)
Original price was: ₹999.00.₹229.00Current price is: ₹229.00.
-
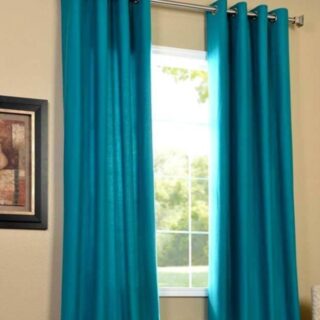 Panipat Textile Hub 152.4 cm (5 ft) Polyester Window Curtain (Pack Of 2)(Solid, Aqua)
Original price was: ₹1,899.00.₹299.00Current price is: ₹299.00.
Panipat Textile Hub 152.4 cm (5 ft) Polyester Window Curtain (Pack Of 2)(Solid, Aqua)
Original price was: ₹1,899.00.₹299.00Current price is: ₹299.00.
-
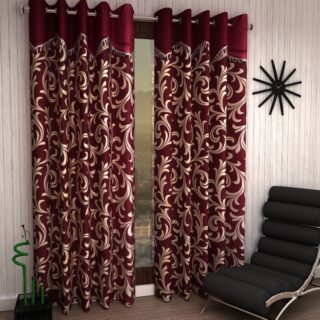 Home Sizzler 214 cm (7 ft) Polyester Semi Transparent Door Curtain (Pack Of 2)(Floral, Maroon)
Original price was: ₹1,199.00.₹399.00Current price is: ₹399.00.
Home Sizzler 214 cm (7 ft) Polyester Semi Transparent Door Curtain (Pack Of 2)(Floral, Maroon)
Original price was: ₹1,199.00.₹399.00Current price is: ₹399.00.
-
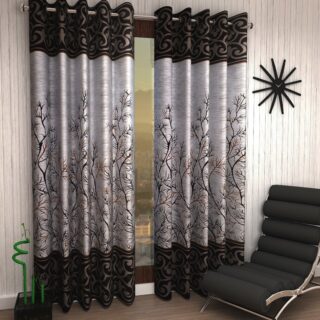 Home Sizzler 153 cm (5 ft) Polyester Room Darkening Window Curtain (Pack Of 2)(Floral, Brown)
Original price was: ₹799.00.₹299.00Current price is: ₹299.00.
Home Sizzler 153 cm (5 ft) Polyester Room Darkening Window Curtain (Pack Of 2)(Floral, Brown)
Original price was: ₹799.00.₹299.00Current price is: ₹299.00.
-
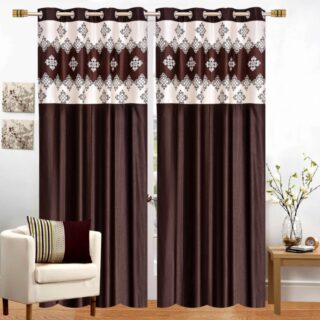 Stella Creations 214 cm (7 ft) Polyester Room Darkening Door Curtain (Pack Of 2)(Abstract, Brown)
Original price was: ₹1,299.00.₹449.00Current price is: ₹449.00.
Stella Creations 214 cm (7 ft) Polyester Room Darkening Door Curtain (Pack Of 2)(Abstract, Brown)
Original price was: ₹1,299.00.₹449.00Current price is: ₹449.00.
-
 Homefab India 152.5 cm (5 ft) Polyester Room Darkening Window Curtain (Pack Of 2)(Floral, Light Blue)
Original price was: ₹1,199.00.₹319.00Current price is: ₹319.00.
Homefab India 152.5 cm (5 ft) Polyester Room Darkening Window Curtain (Pack Of 2)(Floral, Light Blue)
Original price was: ₹1,199.00.₹319.00Current price is: ₹319.00.
-
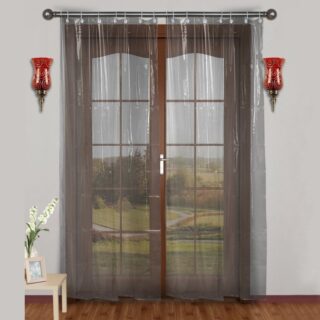 Urban Home 214 cm (7 ft) PVC Transparent Door Curtain Single Curtain(Solid, Off White)
Original price was: ₹699.00.₹203.00Current price is: ₹203.00.
Urban Home 214 cm (7 ft) PVC Transparent Door Curtain Single Curtain(Solid, Off White)
Original price was: ₹699.00.₹203.00Current price is: ₹203.00.
-
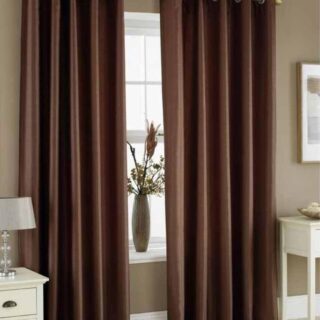 Panipat Textile Hub 213 cm (7 ft) Polyester Door Curtain (Pack Of 2)(Solid, Brown)
Original price was: ₹1,199.00.₹349.00Current price is: ₹349.00.
Panipat Textile Hub 213 cm (7 ft) Polyester Door Curtain (Pack Of 2)(Solid, Brown)
Original price was: ₹1,199.00.₹349.00Current price is: ₹349.00.
-
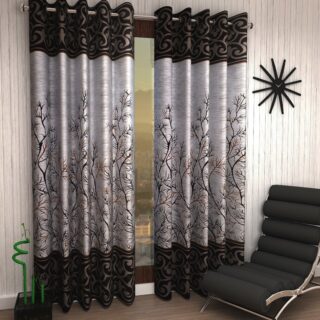 Home Sizzler 214 cm (7 ft) Polyester Semi Transparent Door Curtain (Pack Of 2)(Floral, Brown)
Original price was: ₹999.00.₹349.00Current price is: ₹349.00.
Home Sizzler 214 cm (7 ft) Polyester Semi Transparent Door Curtain (Pack Of 2)(Floral, Brown)
Original price was: ₹999.00.₹349.00Current price is: ₹349.00.
-
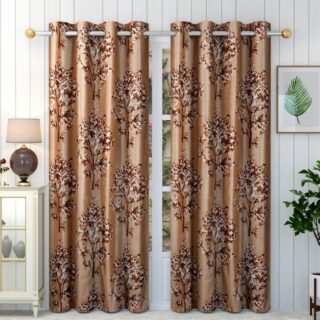 Panipat Textile Hub 213 cm (7 ft) Polyester Semi Transparent Door Curtain (Pack Of 2)(Floral, Brown)
Original price was: ₹899.00.₹299.00Current price is: ₹299.00.
Panipat Textile Hub 213 cm (7 ft) Polyester Semi Transparent Door Curtain (Pack Of 2)(Floral, Brown)
Original price was: ₹899.00.₹299.00Current price is: ₹299.00.
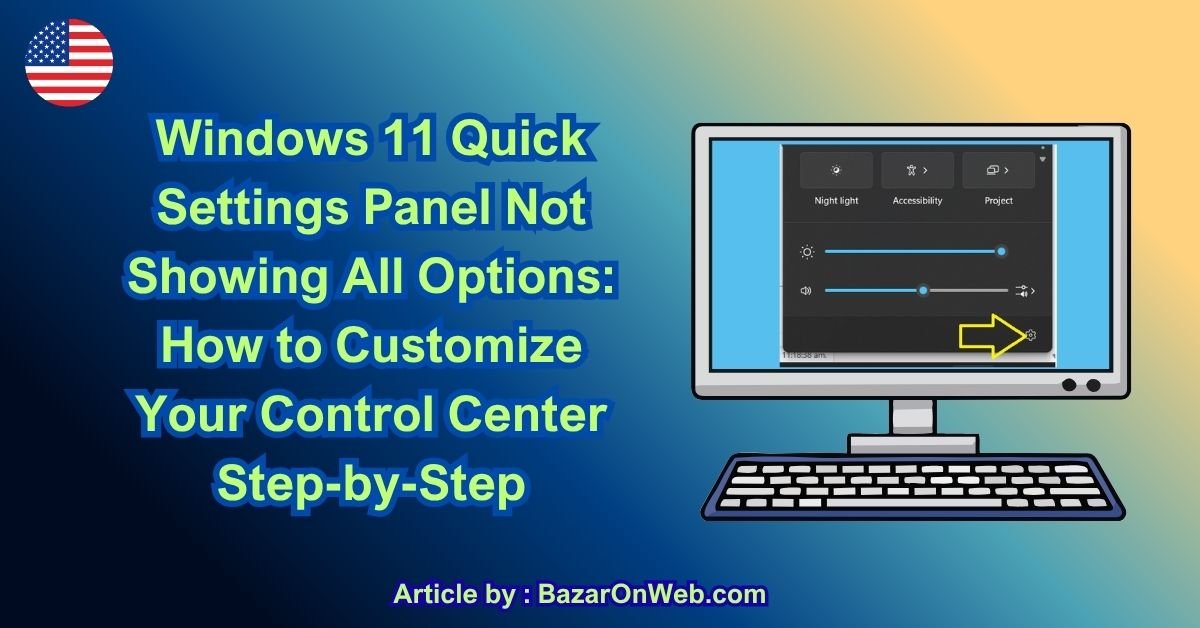
I swiped down from the top-right corner of my Windows 11 taskbar expecting to see my Quick Settings panel. You know, that convenient menu with brightness, volume, WiFi, and other shortcuts you can toggle instantly.
What I got was a bare-bones panel showing maybe 6 options. Where was my VPN toggle? Where was my Bluetooth option? Why was I seeing options I never use while missing ones I use constantly?
I wasted time every day clicking through multiple menus to find settings I needed. Simple things like toggling WiFi or Bluetooth required going into full Settings instead of using Quick Settings.
Turns out my Quick Settings panel was customizable, but Windows 11 doesn’t make this obvious. Most people don’t even realize you can change which options appear in Quick Settings.
A frustrated reader emailed asking the exact same question: “Why can’t I find Bluetooth in my Quick Settings? How do I add it?”
I spent 20 minutes using screenshots to walk them through the process. They replied back: “Oh my god, this changes everything. I didn’t know I could customize this.”
Most Windows 11 users are dealing with default Quick Settings configuration that might not match their actual needs. Once you understand how to customize it, you get a genuinely useful control center instead of a frustrating limitation.
Understanding Windows 11 Quick Settings
Before customizing, understanding what Quick Settings actually is and does.
Quick Settings is the panel that appears when you click or swipe the system tray area (bottom-right corner). It’s designed for fast access to common toggles and settings without opening the full Settings application.
It defaults to showing a specific set of options that Microsoft thinks most users need. Volume, brightness, WiFi, Bluetooth, battery saver, airplane mode, etc.
But different users have different needs. A creator might need quick access to recording features. A mobile user might constantly toggle airplane mode. A developer might need quick VPN access.
The problem is that Quick Settings doesn’t automatically adapt to your usage. It shows Microsoft’s default configuration. If you need different options, you need to customize it yourself.
Most people don’t even realize customization is possible. They just accept the default panel as fixed.
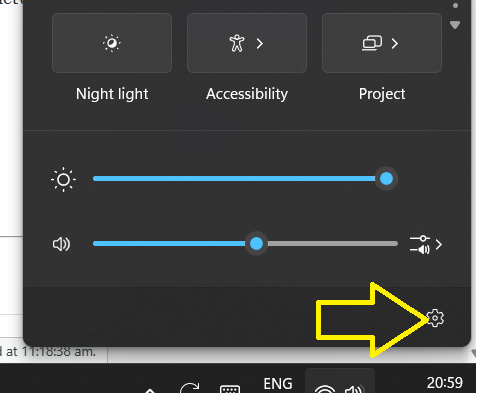
The first step is accessing Quick Settings. This is obvious once you know where it is, but confusing if you’ve never found it.
Look at the bottom-right corner of your Windows 11 screen. You’ll see the time and date. To the left of the time is the system tray showing various icons (network, sound, battery, etc.).
Click on the date/time area or swipe from the bottom-right corner toward the center of your screen.
The Quick Settings panel slides in from the right side. It shows your current configuration of toggles and options.
If Quick Settings isn’t opening, try clicking the WiFi or sound icon specifically. These are direct access points to Quick Settings.
The panel that appears is what we’re going to customize to match your actual needs.
Now that Quick Settings is open, you need to access the customization menu.
Look at the top-right corner of the Quick Settings panel. You’ll see a small pencil icon or “Edit” button (appears as a pencil next to a checkbox or similar icon).
Click this edit button. The panel transforms into customization mode.
You’ll now see a list of available options you can add or remove from Quick Settings. Some will have toggles next to them showing they’re currently enabled. Others will be available but disabled.
This is where the magic happens. This is your control panel for Quick Settings configuration.
Different Windows 11 builds might show the edit button in slightly different locations, but it’s always in the top area of the Quick Settings panel.
You’ll see dozens of possible toggles and settings you can add to your Quick Settings panel:
Network options: WiFi, Bluetooth, Airplane Mode, Mobile Hotspot, VPN, Nearby Sharing, Ethernet
System options: Battery Saver, Brightness, Volume, Night Light
Accessibility: Focus Mode, Accessibility, Screen Magnifier
Features: Gaming Bar, Recording, Cast, Project
And more depending on your Windows build and installed software
Each option has a toggle button. Blue/enabled means that option will appear in your Quick Settings. Gray/disabled means it won’t appear.
The beauty is that you control exactly which options you see. You’re not limited to Microsoft’s default configuration.
Your Quick Settings panel now displays only the options you actually use. Instead of cluttered defaults you don’t need, you see quick access to exactly what you use most.
In this example, someone who works with video recording might add the Recording toggle prominently. Someone who travels might prioritize Airplane Mode and VPN options. A developer might want both Recording and Gaming Bar toggles.
Your configuration is now personalized to your workflow instead of generic default.
The customized panel is much more useful because every toggle serves a purpose. You’re not scrolling through irrelevant options to find what you need.
Step-by-Step Implementation Guide
Let me walk through this process in detail for someone reading without screenshots.
Step 1: Open Quick Settings
Click the date/time in bottom-right corner or swipe from bottom-right corner toward center. Quick Settings panel appears.
Step 2: Enter Customization Mode
Look for the pencil/edit icon in the top-right area of Quick Settings. Click it.
The panel transforms into customization mode showing all available options.
Step 3: Enable Options You Use
Scan through the list. For each option you want quick access to, toggle it ON (blue).
Common options people enable:
- Bluetooth (if you use wireless devices)
- VPN (if you use VPN for privacy)
- Recording (if you create video content)
- Mobile Hotspot (if you tether internet)
- Gaming Bar (if you game)
- Focus Mode (if you need distraction-free work)
- Night Light (if you work evenings)
Step 4: Disable Options You Don’t Use
For options you never toggle, turn them OFF (gray).
If you never use Nearby Sharing, disable it. If Airplane Mode isn’t relevant to you, disable it. The fewer unnecessary options, the cleaner your panel.
Step 5: Close and Verify
Click outside the customization panel or press Escape to close customization mode.
The Quick Settings panel now displays your customized configuration.
Test by closing and reopening Quick Settings to confirm your changes persist.
Real User Scenario: The Complete Solution
A reader named Marcus emailed: “My Quick Settings is useless. I work from home with my laptop connected to my home WiFi. I constantly switch between my desktop monitor setup and working in different rooms with my laptop. I use Bluetooth headphones I switch between my phone and laptop. I take screenshots constantly for documentation. I need quick access to Bluetooth, Recording, and WiFi. Everything else just clutters my Quick Settings.”
Using the screenshot walkthrough above, Marcus customized his Quick Settings to show only:
- WiFi (for connectivity)
- Bluetooth (for headphones)
- Recording (for documentation)
- Brightness (his laptop screen adjustment)
- Volume (audio control)
He disabled everything else. His Quick Settings panel became actually useful instead of overwhelming.
He replied: “This is so much better. I don’t understand why Windows doesn’t make this more obvious. Now my Quick Settings has exactly what I need.”
Troubleshooting: When Customization Doesn’t Work
Issue: Edit button doesn’t appear
Some Windows 11 builds don’t show customization options. Update Windows: Settings > System > Windows Update > Check for updates.
After updating, the edit button should appear.
Issue: Changes don’t save
Close and reopen Quick Settings. Changes sometimes take a moment to apply.
If they still don’t save, restart your computer.
Issue: Options are grayed out and can’t be toggled
Some options are locked by administrator settings or organization policy (common on work computers).
Contact your IT department if on a work device.
Advanced Customization Options
Beyond just toggling options on/off, some users want to reorder their Quick Settings tiles.
Some Windows 11 builds allow dragging tiles to reorder them. Try clicking and dragging tiles within the Quick Settings panel to rearrange order.
Not all builds support this yet, but newer builds increasingly allow ordering customization.
The Reality
Windows 11 Quick Settings is genuinely useful when customized for your needs. The default configuration is generic because Microsoft can’t know what every user needs.
Most people never discover customization because it’s not obvious. They just suffer through a cluttered default panel.
Once you customize it, Quick Settings becomes what it should be: actually quick access to what you use.
Take 30 seconds to customize your Quick Settings. Toggle on what you use. Toggle off what you don’t.
Your Windows 11 workflow will improve noticeably.
Disclaimer: This article provides guidance on customizing Windows 11 Quick Settings. Customization options vary by Windows 11 build version. Some organizations restrict Quick Settings customization through group policy. Some options may not be available depending on your hardware (e.g., Mobile Hotspot requires capable hardware). Changes apply immediately and persist after restart. Users assume responsibility for understanding which settings to enable/disable. Enabling numerous options may increase Quick Settings panel size. Some third-party software may add additional Quick Settings options. Seek IT support if on a work device and customization options are restricted.

- Killer Network Service: Is It a Virus or Safe to Disable?

- How to Set Up Parental Controls on Windows 11: A Step-by-Step Guide

- How to Extract Audio From a Video: Easy Ways to Save Audio

- How to Set a Photo Album as Your Wallpaper on iPhone: Step-by-Step Guide
- How to Convert a Bootable USB Drive to an ISO File in Windows

Products
-
![Apple Watch Ultra 3 [GPS + Cellular 49mm] Running & Multisport Smartwatch w/Rugged Titanium Case w/Black Titanium Milanese Loop - M. Satellite Communications, Advanced Health & Fitness Tracking](https://bazaronweb.com/retailstores/wp-content/uploads/2025/09/apple-watch-320x320.jpg) Apple Watch Ultra 3 [GPS + Cellular 49mm] Running & Multisport Smartwatch w/Rugged Titanium Case w/Black Titanium Milanese Loop - M. Satellite Communications, Advanced Health & Fitness Tracking
Apple Watch Ultra 3 [GPS + Cellular 49mm] Running & Multisport Smartwatch w/Rugged Titanium Case w/Black Titanium Milanese Loop - M. Satellite Communications, Advanced Health & Fitness Tracking
-
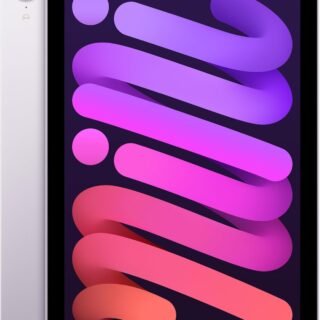 Apple iPad mini (A17 Pro): Apple Intelligence, 8.3-inch Liquid Retina Display, 256GB, Wi-Fi 6E, 12MP Front/12MP Back Camera, Touch ID, All-Day Battery Life — Purple
-
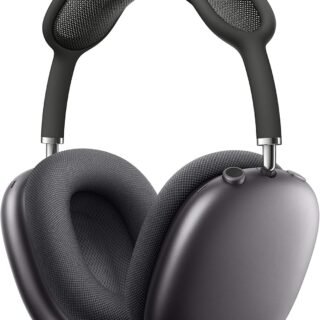 Apple AirPods Max Wireless Over-Ear Headphones, Active Noise Cancelling, Transparency Mode, Personalized Spatial Audio, Dolby Atmos, Bluetooth Headphones for iPhone – Space Gray
-
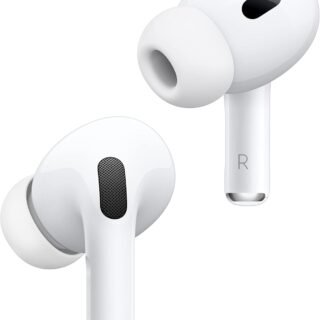 Apple AirPods Pro 2 Wireless Earbuds, Active Noise Cancellation, Hearing Aid Feature, Bluetooth Headphones, Transparency, Personalized Spatial Audio, High-Fidelity Sound, H2 Chip, USB-C Charging
-
Home Garage 210 TC Cotton King Floral Fitted (Elastic) Bedsheet(Pack of 1, Grey)
Original price was: ₹999.00.₹299.00Current price is: ₹299.00.
Leave a Reply