Discounted Products
-
 Home Garage 210 TC Cotton King Floral Fitted (Elastic) Bedsheet(Pack of 1, Grey)
Original price was: ₹999.00.₹299.00Current price is: ₹299.00.
Home Garage 210 TC Cotton King Floral Fitted (Elastic) Bedsheet(Pack of 1, Grey)
Original price was: ₹999.00.₹299.00Current price is: ₹299.00.
-
 Goodrik 140 TC Cotton Double 3D Printed Flat Bedsheet(Pack of 1, Brown)
Original price was: ₹499.00.₹229.00Current price is: ₹229.00.
Goodrik 140 TC Cotton Double 3D Printed Flat Bedsheet(Pack of 1, Brown)
Original price was: ₹499.00.₹229.00Current price is: ₹229.00.
-
 GLOBALSHOP 350 TC Microfiber Double Floral Flat Bedsheet(Pack of 1, Multicolor)
Original price was: ₹1,250.00.₹263.00Current price is: ₹263.00.
GLOBALSHOP 350 TC Microfiber Double Floral Flat Bedsheet(Pack of 1, Multicolor)
Original price was: ₹1,250.00.₹263.00Current price is: ₹263.00.
-
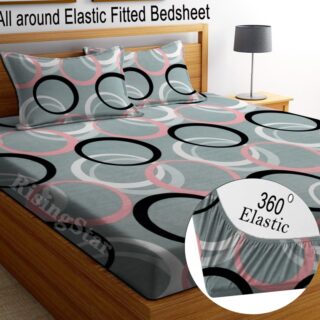 RisingStar 250 TC Microfiber King Printed Fitted (Elastic) Bedsheet(Pack of 1, FITTED-ROUND-CIRCLES-PREMIUM)
Original price was: ₹2,299.00.₹299.00Current price is: ₹299.00.
RisingStar 250 TC Microfiber King Printed Fitted (Elastic) Bedsheet(Pack of 1, FITTED-ROUND-CIRCLES-PREMIUM)
Original price was: ₹2,299.00.₹299.00Current price is: ₹299.00.
-
 Home Garage 210 TC Cotton King Floral Fitted (Elastic) Bedsheet(Pack of 1, Fitted Black Green)
Original price was: ₹1,299.00.₹299.00Current price is: ₹299.00.
Home Garage 210 TC Cotton King Floral Fitted (Elastic) Bedsheet(Pack of 1, Fitted Black Green)
Original price was: ₹1,299.00.₹299.00Current price is: ₹299.00.
-
 Home Garage 180 TC Cotton King 3D Printed Flat Bedsheet(Pack of 1, White)
Original price was: ₹999.00.₹229.00Current price is: ₹229.00.
Home Garage 180 TC Cotton King 3D Printed Flat Bedsheet(Pack of 1, White)
Original price was: ₹999.00.₹229.00Current price is: ₹229.00.
-
 Panipat Textile Hub 152.4 cm (5 ft) Polyester Window Curtain (Pack Of 2)(Solid, Aqua)
Original price was: ₹1,899.00.₹299.00Current price is: ₹299.00.
Panipat Textile Hub 152.4 cm (5 ft) Polyester Window Curtain (Pack Of 2)(Solid, Aqua)
Original price was: ₹1,899.00.₹299.00Current price is: ₹299.00.
-
 Home Sizzler 214 cm (7 ft) Polyester Semi Transparent Door Curtain (Pack Of 2)(Floral, Maroon)
Original price was: ₹1,199.00.₹399.00Current price is: ₹399.00.
Home Sizzler 214 cm (7 ft) Polyester Semi Transparent Door Curtain (Pack Of 2)(Floral, Maroon)
Original price was: ₹1,199.00.₹399.00Current price is: ₹399.00.
-
 Home Sizzler 153 cm (5 ft) Polyester Room Darkening Window Curtain (Pack Of 2)(Floral, Brown)
Original price was: ₹799.00.₹299.00Current price is: ₹299.00.
Home Sizzler 153 cm (5 ft) Polyester Room Darkening Window Curtain (Pack Of 2)(Floral, Brown)
Original price was: ₹799.00.₹299.00Current price is: ₹299.00.
-
 Stella Creations 214 cm (7 ft) Polyester Room Darkening Door Curtain (Pack Of 2)(Abstract, Brown)
Original price was: ₹1,299.00.₹449.00Current price is: ₹449.00.
Stella Creations 214 cm (7 ft) Polyester Room Darkening Door Curtain (Pack Of 2)(Abstract, Brown)
Original price was: ₹1,299.00.₹449.00Current price is: ₹449.00.
-
 Homefab India 152.5 cm (5 ft) Polyester Room Darkening Window Curtain (Pack Of 2)(Floral, Light Blue)
Original price was: ₹1,199.00.₹319.00Current price is: ₹319.00.
Homefab India 152.5 cm (5 ft) Polyester Room Darkening Window Curtain (Pack Of 2)(Floral, Light Blue)
Original price was: ₹1,199.00.₹319.00Current price is: ₹319.00.
-
 Urban Home 214 cm (7 ft) PVC Transparent Door Curtain Single Curtain(Solid, Off White)
Original price was: ₹699.00.₹203.00Current price is: ₹203.00.
Urban Home 214 cm (7 ft) PVC Transparent Door Curtain Single Curtain(Solid, Off White)
Original price was: ₹699.00.₹203.00Current price is: ₹203.00.
-
 Panipat Textile Hub 213 cm (7 ft) Polyester Door Curtain (Pack Of 2)(Solid, Brown)
Original price was: ₹1,199.00.₹349.00Current price is: ₹349.00.
Panipat Textile Hub 213 cm (7 ft) Polyester Door Curtain (Pack Of 2)(Solid, Brown)
Original price was: ₹1,199.00.₹349.00Current price is: ₹349.00.
-
 Home Sizzler 214 cm (7 ft) Polyester Semi Transparent Door Curtain (Pack Of 2)(Floral, Brown)
Original price was: ₹999.00.₹349.00Current price is: ₹349.00.
Home Sizzler 214 cm (7 ft) Polyester Semi Transparent Door Curtain (Pack Of 2)(Floral, Brown)
Original price was: ₹999.00.₹349.00Current price is: ₹349.00.
-
 Panipat Textile Hub 213 cm (7 ft) Polyester Semi Transparent Door Curtain (Pack Of 2)(Floral, Brown)
Original price was: ₹899.00.₹299.00Current price is: ₹299.00.
Panipat Textile Hub 213 cm (7 ft) Polyester Semi Transparent Door Curtain (Pack Of 2)(Floral, Brown)
Original price was: ₹899.00.₹299.00Current price is: ₹299.00.
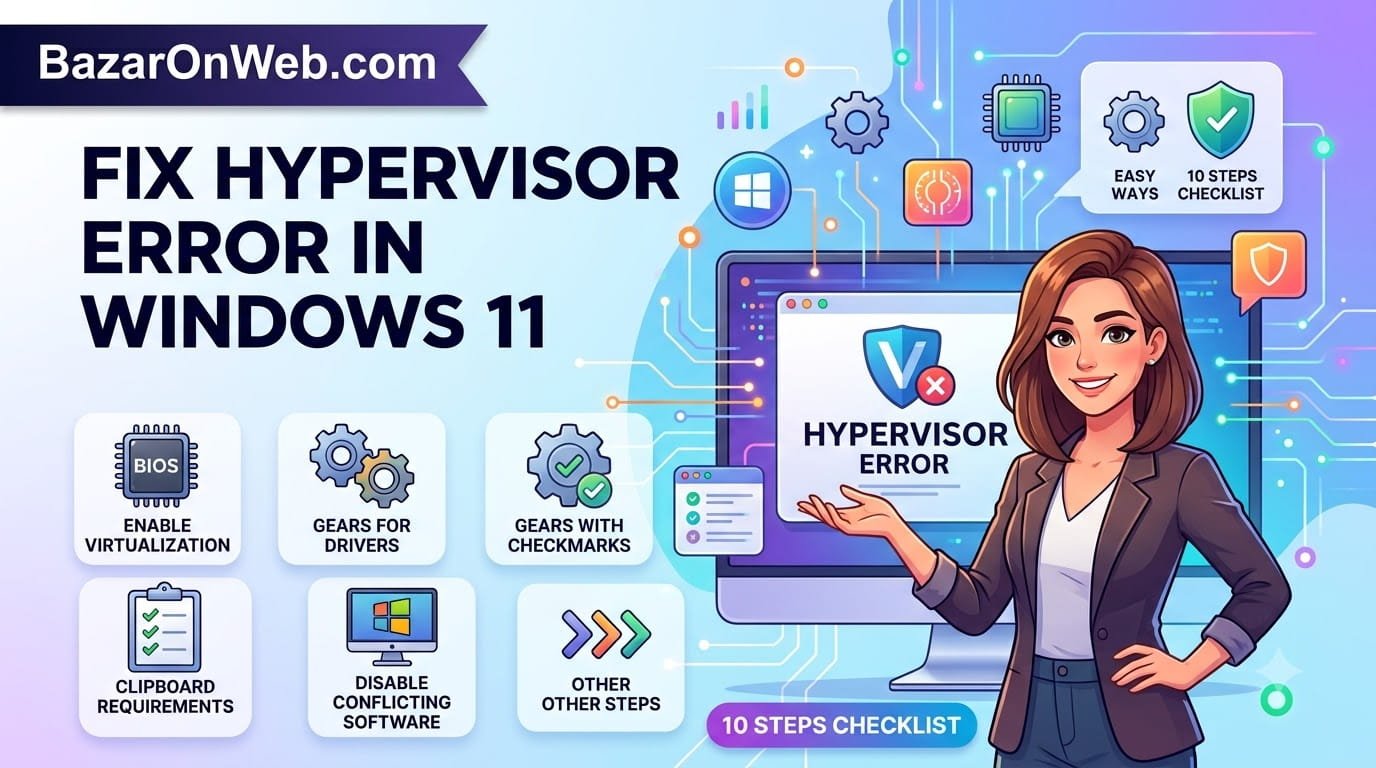
If you are seeing this error and want o learn how to fix it, you are at the correct article page.
The Hypervisor Error in Windows 11 can be frustrating, especially when it appears unexpectedly and prevents your computer from starting normally. In many cases, the error is associated with virtualization technologies such as Hyper-V, Windows Hypervisor Platform, or Virtual Machine Platform. However, the underlying cause may not always be the hypervisor itself.
A problem with Windows system files, outdated device drivers, incompatible software, incorrect BIOS virtualization settings, memory problems, or damaged Hyper-V components can also trigger the error.
If you recently enabled virtualization, installed a virtual machine application, updated Windows, or changed BIOS settings, those changes may provide an important clue. At the same time, you should not assume that Hyper-V is always responsible simply because the error mentions a hypervisor.
Fortunately, Windows 11 includes several built-in tools that can help identify and resolve these problems. You can check virtualization settings, repair corrupted system files, update drivers, disable conflicting features, test your RAM, and restore Windows components without immediately resetting your entire PC.
Below are the most useful solutions you can try, starting with the easiest ones.
1. Restart Your Computer
Before changing advanced Windows or BIOS settings, restart your computer.
A temporary system glitch can sometimes cause virtualization components or drivers to behave incorrectly. Restarting Windows forces many system services and drivers to initialize again, which may resolve a temporary problem.
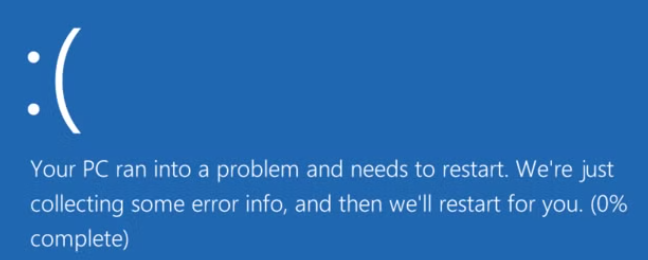
If your computer is stuck on a blue screen showing a Hypervisor-related error, press and hold the power button until the computer shuts down. Wait for a few seconds and turn it back on.
If Windows starts normally after the restart, monitor the system for a while.
If the Hypervisor Error returns, continue with the following solutions.
2. Check Whether Virtualization Is Enabled
Windows virtualization features depend on hardware virtualization support being enabled in your computer’s firmware.
Depending on your processor and motherboard, the setting may be called Intel VT-x, Intel Virtualization Technology, AMD-V, or SVM Mode.
You can check whether virtualization is enabled through Task Manager.
Press Ctrl + Shift + Esc to open Task Manager. Select Performance from the left sidebar and choose CPU.
Look for Virtualization on the CPU information screen.
If it says Enabled, your processor’s virtualization capability is available to Windows.
If it says Disabled, you may need to enable virtualization through your computer’s UEFI or BIOS settings.
Restart your computer and enter the firmware setup screen. The key varies between manufacturers but is commonly F2, Delete, F10, or F12.
Look under sections such as Advanced, Security, CPU Configuration, or System Configuration. Find the virtualization option and enable it.
Save your changes and restart Windows.
Do not randomly change other BIOS settings while looking for virtualization. Incorrect firmware settings can affect how your computer operates.
3. Disable Hyper-V Temporarily
If you don’t use virtual machines, Hyper-V may not be necessary for your everyday Windows installation.
A corrupted or incompatible Hyper-V configuration can potentially contribute to virtualization-related problems. You can temporarily disable it to determine whether it is involved.
Press Windows + R, type:
optionalfeatures
and press Enter.
The Windows Features window will open.
Look for Hyper-V and expand it if necessary. Uncheck Hyper-V and its related components.
You may also see features such as Windows Hypervisor Platform and Virtual Machine Platform.
Restart your computer after making the change.
If the Hypervisor Error disappears, virtualization components may have been contributing to the problem.
However, keep in mind that disabling these features can affect applications that depend on virtualization, including some virtual machines, Android emulators, and other development tools.
4. Use DISM to Repair Windows Components
Windows includes a Deployment Image Servicing and Management tool, commonly known as DISM, that can repair problems with the Windows component store.
If the Hypervisor Error is caused by damaged Windows components, DISM may help.
Search for Command Prompt in Windows Search.
Right-click Command Prompt and select Run as administrator.
Enter the following command:
DISM /Online /Cleanup-Image /RestoreHealth
Press Enter.
The scan can take some time. Don’t close Command Prompt while the process is running.
When it finishes, restart your computer.
DISM is particularly useful when Windows has corrupted components that prevent other repair tools from working correctly.
5. Run System File Checker
After running DISM, use System File Checker (SFC) to check protected Windows system files.
Open Command Prompt as administrator again.
Enter:
sfc /scannow
Press Enter.
Windows will scan system files and attempt to replace damaged files with healthy versions.
Wait until the scan reaches 100 percent.
You may see one of several results. Windows could report that it found no integrity violations, found corrupted files and repaired them, or found corrupted files that it could not repair.
If SFC successfully repairs files, restart your PC and check whether the Hypervisor Error has disappeared.
Running DISM first and SFC afterward is generally a sensible sequence when you suspect Windows system corruption.
6. Update Your Device Drivers
Outdated or incompatible drivers can cause serious Windows stability problems.
This is particularly important after a major Windows update or hardware change.
Open Settings > Windows Update > Advanced options > Optional updates and check whether driver updates are available.
You can also open Device Manager.
Pay particular attention to categories such as:
- Display adapters
- Network adapters
- System devices
- Storage controllers
- Processors
Right-click a device and select Update driver when appropriate.
You should also check your computer manufacturer’s official support website for BIOS, chipset, storage, and other driver updates.
Avoid downloading drivers from random websites. Incorrect or modified drivers can create additional system problems.
If the Hypervisor Error started immediately after a driver update, rolling back that particular driver may be more appropriate than installing another version.
7. Check for Windows Updates
Microsoft regularly releases Windows updates that include security patches, bug fixes, driver improvements, and compatibility changes.
A virtualization-related problem may already have a fix available.
Open Settings and go to:
Windows Update
Select Check for updates.
Install available updates and restart your computer if Windows asks you to.
You should also check the Optional updates section because hardware-related driver updates can sometimes appear there rather than under the main Windows Update section.
If the error began immediately after installing a particular Windows update, don’t automatically remove the update. First check whether a newer update is available, because Microsoft may have already addressed the issue.
8. Test Your RAM
Faulty RAM can cause seemingly unrelated Windows errors, crashes, and blue screens.
If the Hypervisor Error keeps appearing despite repairing Windows files and checking virtualization settings, testing your memory is worth considering.
Windows includes a built-in tool called Windows Memory Diagnostic.
Press Windows + R, type:
mdsched.exe
and press Enter.
Windows will give you options to restart immediately and check for memory problems or schedule the test for the next restart.
Save your work before starting the test.
Your computer will restart and perform a memory check. Once Windows starts again, you can review the results.
If memory errors are detected, the problem may be physical RAM rather than Hyper-V itself.
If your computer contains multiple RAM modules, diagnosing faulty hardware may require testing the modules individually or using a more comprehensive memory-testing utility.
Hardware work should be performed carefully, particularly on laptops where components may be difficult to access.
9. Check Hypervisor Configuration Using Command Prompt
Windows provides another way to control whether the hypervisor launches during system startup.
Open Command Prompt as administrator.
Run:
bcdedit /enum
Look through the displayed configuration for the hypervisor launch setting.
You can also disable the hypervisor launch with:
bcdedit /set hypervisorlaunchtype off
Restart your computer afterward.
If you need Hyper-V again, you can restore the setting with:
bcdedit /set hypervisorlaunchtype auto
Restart Windows after making the change.
This approach can help determine whether the Windows hypervisor is involved in the startup problem.
However, don’t change additional Boot Configuration Data settings unless you understand what they do. BCDEdit controls important Windows startup parameters, and incorrect changes can prevent Windows from starting correctly.
10. Check Recently Installed Virtualization Software
Think about what you installed or changed before the Hypervisor Error started.
For example, you may have recently installed:
- VMware
- VirtualBox
- Android emulators
- Windows Subsystem for Linux
- Windows Subsystem for Android
- Docker
- Other virtualization or development software
Some applications depend on Windows virtualization features, while others can interact differently with Hyper-V and the Windows hypervisor.
If the error started immediately after installing or updating virtualization software, temporarily uninstalling or disabling the software can help identify whether it is contributing to the problem.
Don’t remove software permanently if you need it. The goal is simply to determine whether there is a compatibility issue.
11. Perform a Clean Boot
A third-party application or service can sometimes interfere with Windows components.
A clean boot starts Windows with a minimal set of drivers and startup programs.
Press Windows + R, type:
msconfig
and press Enter.
Open the Services tab and select Hide all Microsoft services.
Then click Disable all.
Next, open the Startup tab and select Open Task Manager.
Disable unnecessary startup applications.
Restart your PC.
If the Hypervisor Error doesn’t occur after the clean boot, a third-party application or service could be responsible.
You can then gradually re-enable services and startup applications to identify the problematic software.
Remember to return Windows to its normal startup configuration after troubleshooting.
12. Use System Restore
If the problem started recently and you have a suitable restore point, System Restore may provide another option.
System Restore can return certain Windows system settings, drivers, and installed software changes to an earlier state.
Search for Create a restore point and open the result.
Select System Restore and follow the instructions.
Choose a restore point created before the Hypervisor Error started appearing.
System Restore does not normally remove personal files such as documents and photos, but applications and drivers installed after the selected restore point may be affected.
Review the changes before confirming the restoration.
13. Reset Windows Only as a Last Resort
If you’ve tried the previous troubleshooting methods and the error continues, Windows 11’s reset options may be worth considering.
Go to:
Settings > System > Recovery
and select Reset this PC.
Windows provides options that can preserve personal files or remove everything.
Before choosing either option, make sure your important documents, photos, project files, browser data, and other information are backed up.
A Windows reset is a major troubleshooting step. It should not be your first response to a single Hypervisor Error, particularly when simpler solutions such as driver updates or system-file repairs haven’t yet been attempted.
What Causes the Hypervisor Error?
There isn’t always one single cause.
Common possibilities include:
Corrupted system files: Damaged Windows components can interfere with virtualization and other low-level system functions.
Incorrect virtualization settings: Virtualization may be disabled in BIOS/UEFI or configured differently than Windows expects.
Driver problems: Incompatible chipset, storage, graphics, or other system drivers can contribute to blue-screen errors.
Hyper-V conflicts: Virtualization features and third-party virtualization applications can sometimes interact in unexpected ways.
Faulty RAM: Memory problems can produce recurring crashes that appear to be related to completely different Windows components.
Recent system changes: Windows updates, driver updates, firmware changes, or newly installed software can sometimes trigger compatibility problems.
For this reason, troubleshooting should focus on identifying what changed and then testing the most likely cause.
Final Thoughts
The Windows 11 Hypervisor Error can look like a complicated virtualization problem, but you don’t necessarily need advanced technical knowledge to troubleshoot it.
Start with the simple solutions. Restart Windows, check whether hardware virtualization is enabled, install available Windows and driver updates, and repair system files using DISM and SFC.
If the error continues, investigate Hyper-V and other virtualization features. Temporarily disabling Hyper-V or changing the hypervisor launch setting can help determine whether virtualization is involved.
Don’t overlook hardware. A memory test is useful when Windows continues to crash despite software repairs.
If the problem started after installing a particular program, driver, or update, that change is also worth investigating. System Restore can be useful when you have a suitable restore point.
Finally, avoid changing BIOS or boot configuration settings randomly. Virtualization and boot settings are powerful system controls, and incorrect changes can create additional problems.
In most cases, the best approach is to work through the solutions one at a time rather than making several changes simultaneously. That makes it much easier to determine what actually fixed the problem and reduces the chance of creating another issue while troubleshooting.

- How to Remotely Control Another Computer Using Windows Quick Assist
- 5 Must-Have Electronics Gadgets for a More Comfortable Living Room

- How to Create a Windows 11 System Backup on an External Hard Drive

- 10 Smart Home Ideas That Make Everyday Life Easier

- Gemini Live Avatar: How to Talk to Gemini Face-to-Face

Products
-
![Apple Watch Ultra 3 [GPS + Cellular 49mm] Running & Multisport Smartwatch w/Rugged Titanium Case w/Black Titanium Milanese Loop - M. Satellite Communications, Advanced Health & Fitness Tracking](https://bazaronweb.com/retailstores/wp-content/uploads/2025/09/apple-watch-320x320.jpg) Apple Watch Ultra 3 [GPS + Cellular 49mm] Running & Multisport Smartwatch w/Rugged Titanium Case w/Black Titanium Milanese Loop - M. Satellite Communications, Advanced Health & Fitness Tracking
Apple Watch Ultra 3 [GPS + Cellular 49mm] Running & Multisport Smartwatch w/Rugged Titanium Case w/Black Titanium Milanese Loop - M. Satellite Communications, Advanced Health & Fitness Tracking
-
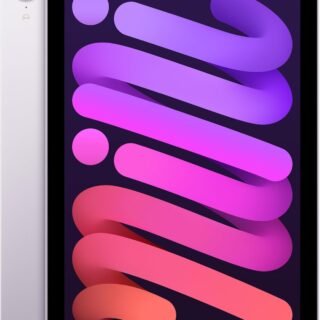 Apple iPad mini (A17 Pro): Apple Intelligence, 8.3-inch Liquid Retina Display, 256GB, Wi-Fi 6E, 12MP Front/12MP Back Camera, Touch ID, All-Day Battery Life — Purple
-
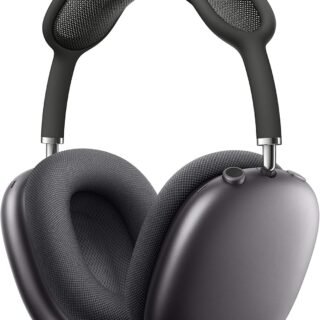 Apple AirPods Max Wireless Over-Ear Headphones, Active Noise Cancelling, Transparency Mode, Personalized Spatial Audio, Dolby Atmos, Bluetooth Headphones for iPhone – Space Gray
-
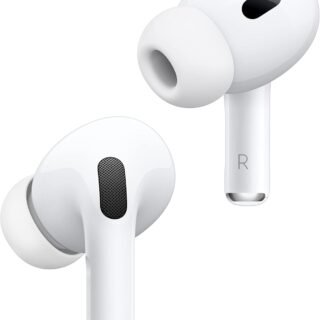 Apple AirPods Pro 2 Wireless Earbuds, Active Noise Cancellation, Hearing Aid Feature, Bluetooth Headphones, Transparency, Personalized Spatial Audio, High-Fidelity Sound, H2 Chip, USB-C Charging
-
Home Garage 210 TC Cotton King Floral Fitted (Elastic) Bedsheet(Pack of 1, Grey)
Original price was: ₹999.00.₹299.00Current price is: ₹299.00.
Leave a Reply