Discounted Products
-
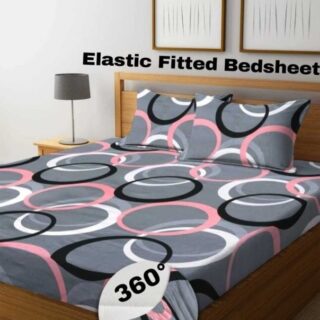 Home Garage 210 TC Cotton King Floral Fitted (Elastic) Bedsheet(Pack of 1, Grey)
Original price was: ₹999.00.₹299.00Current price is: ₹299.00.
Home Garage 210 TC Cotton King Floral Fitted (Elastic) Bedsheet(Pack of 1, Grey)
Original price was: ₹999.00.₹299.00Current price is: ₹299.00.
-
 Goodrik 140 TC Cotton Double 3D Printed Flat Bedsheet(Pack of 1, Brown)
Original price was: ₹499.00.₹229.00Current price is: ₹229.00.
Goodrik 140 TC Cotton Double 3D Printed Flat Bedsheet(Pack of 1, Brown)
Original price was: ₹499.00.₹229.00Current price is: ₹229.00.
-
 GLOBALSHOP 350 TC Microfiber Double Floral Flat Bedsheet(Pack of 1, Multicolor)
Original price was: ₹1,250.00.₹263.00Current price is: ₹263.00.
GLOBALSHOP 350 TC Microfiber Double Floral Flat Bedsheet(Pack of 1, Multicolor)
Original price was: ₹1,250.00.₹263.00Current price is: ₹263.00.
-
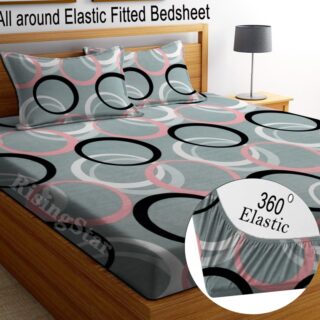 RisingStar 250 TC Microfiber King Printed Fitted (Elastic) Bedsheet(Pack of 1, FITTED-ROUND-CIRCLES-PREMIUM)
Original price was: ₹2,299.00.₹299.00Current price is: ₹299.00.
RisingStar 250 TC Microfiber King Printed Fitted (Elastic) Bedsheet(Pack of 1, FITTED-ROUND-CIRCLES-PREMIUM)
Original price was: ₹2,299.00.₹299.00Current price is: ₹299.00.
-
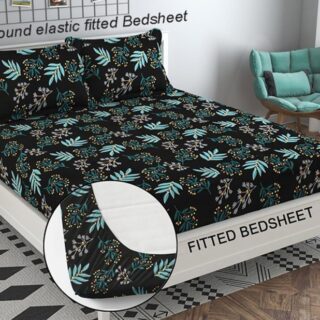 Home Garage 210 TC Cotton King Floral Fitted (Elastic) Bedsheet(Pack of 1, Fitted Black Green)
Original price was: ₹1,299.00.₹299.00Current price is: ₹299.00.
Home Garage 210 TC Cotton King Floral Fitted (Elastic) Bedsheet(Pack of 1, Fitted Black Green)
Original price was: ₹1,299.00.₹299.00Current price is: ₹299.00.
-
 Home Garage 180 TC Cotton King 3D Printed Flat Bedsheet(Pack of 1, White)
Original price was: ₹999.00.₹229.00Current price is: ₹229.00.
Home Garage 180 TC Cotton King 3D Printed Flat Bedsheet(Pack of 1, White)
Original price was: ₹999.00.₹229.00Current price is: ₹229.00.
-
 Panipat Textile Hub 152.4 cm (5 ft) Polyester Window Curtain (Pack Of 2)(Solid, Aqua)
Original price was: ₹1,899.00.₹299.00Current price is: ₹299.00.
Panipat Textile Hub 152.4 cm (5 ft) Polyester Window Curtain (Pack Of 2)(Solid, Aqua)
Original price was: ₹1,899.00.₹299.00Current price is: ₹299.00.
-
 Home Sizzler 214 cm (7 ft) Polyester Semi Transparent Door Curtain (Pack Of 2)(Floral, Maroon)
Original price was: ₹1,199.00.₹399.00Current price is: ₹399.00.
Home Sizzler 214 cm (7 ft) Polyester Semi Transparent Door Curtain (Pack Of 2)(Floral, Maroon)
Original price was: ₹1,199.00.₹399.00Current price is: ₹399.00.
-
 Home Sizzler 153 cm (5 ft) Polyester Room Darkening Window Curtain (Pack Of 2)(Floral, Brown)
Original price was: ₹799.00.₹299.00Current price is: ₹299.00.
Home Sizzler 153 cm (5 ft) Polyester Room Darkening Window Curtain (Pack Of 2)(Floral, Brown)
Original price was: ₹799.00.₹299.00Current price is: ₹299.00.
-
 Stella Creations 214 cm (7 ft) Polyester Room Darkening Door Curtain (Pack Of 2)(Abstract, Brown)
Original price was: ₹1,299.00.₹449.00Current price is: ₹449.00.
Stella Creations 214 cm (7 ft) Polyester Room Darkening Door Curtain (Pack Of 2)(Abstract, Brown)
Original price was: ₹1,299.00.₹449.00Current price is: ₹449.00.
-
 Homefab India 152.5 cm (5 ft) Polyester Room Darkening Window Curtain (Pack Of 2)(Floral, Light Blue)
Original price was: ₹1,199.00.₹319.00Current price is: ₹319.00.
Homefab India 152.5 cm (5 ft) Polyester Room Darkening Window Curtain (Pack Of 2)(Floral, Light Blue)
Original price was: ₹1,199.00.₹319.00Current price is: ₹319.00.
-
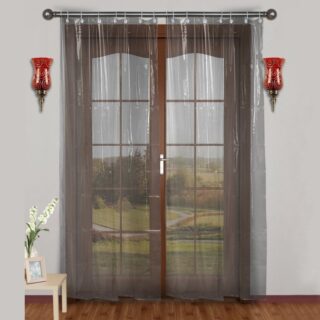 Urban Home 214 cm (7 ft) PVC Transparent Door Curtain Single Curtain(Solid, Off White)
Original price was: ₹699.00.₹203.00Current price is: ₹203.00.
Urban Home 214 cm (7 ft) PVC Transparent Door Curtain Single Curtain(Solid, Off White)
Original price was: ₹699.00.₹203.00Current price is: ₹203.00.
-
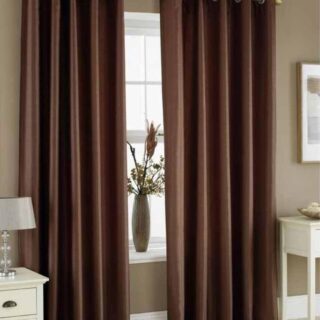 Panipat Textile Hub 213 cm (7 ft) Polyester Door Curtain (Pack Of 2)(Solid, Brown)
Original price was: ₹1,199.00.₹349.00Current price is: ₹349.00.
Panipat Textile Hub 213 cm (7 ft) Polyester Door Curtain (Pack Of 2)(Solid, Brown)
Original price was: ₹1,199.00.₹349.00Current price is: ₹349.00.
-
 Home Sizzler 214 cm (7 ft) Polyester Semi Transparent Door Curtain (Pack Of 2)(Floral, Brown)
Original price was: ₹999.00.₹349.00Current price is: ₹349.00.
Home Sizzler 214 cm (7 ft) Polyester Semi Transparent Door Curtain (Pack Of 2)(Floral, Brown)
Original price was: ₹999.00.₹349.00Current price is: ₹349.00.
-
 Panipat Textile Hub 213 cm (7 ft) Polyester Semi Transparent Door Curtain (Pack Of 2)(Floral, Brown)
Original price was: ₹899.00.₹299.00Current price is: ₹299.00.
Panipat Textile Hub 213 cm (7 ft) Polyester Semi Transparent Door Curtain (Pack Of 2)(Floral, Brown)
Original price was: ₹899.00.₹299.00Current price is: ₹299.00.
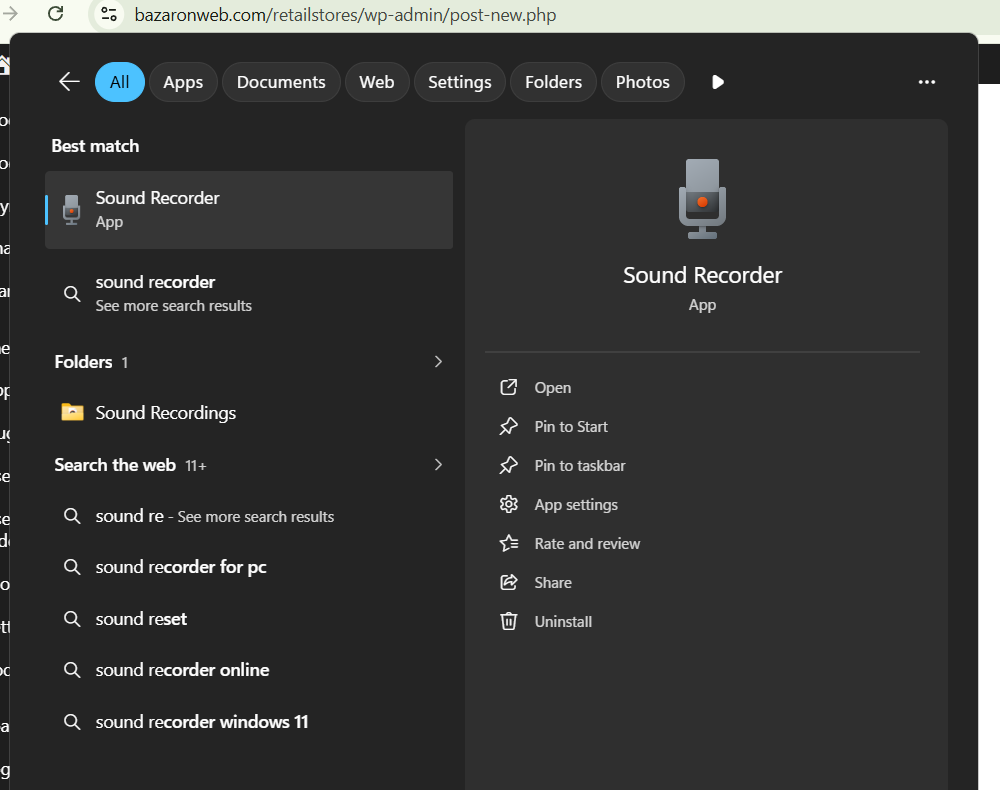
If you will search Sound Recorder in your Windows PC, you will see a Sound Recorder already installed, it can do the task but quality matters.
Recording audio on a Windows 11 PC doesn’t have to be complicated. Whether you want to record your voice for a video, capture an interview, create a podcast, save an online meeting, or simply make a quick voice note, Windows already includes tools that can get the job done.
The built-in Sound Recorder app is probably the easiest option. You don’t need to install additional software, and you can start recording within seconds. However, if you’re looking for higher-quality recordings, more control over input devices, editing options, or different audio formats, several free applications can do much more.
The quality of your recording also depends on factors beyond the software you use. Your microphone, room acoustics, Windows input settings, microphone placement, and background noise can all make a noticeable difference.
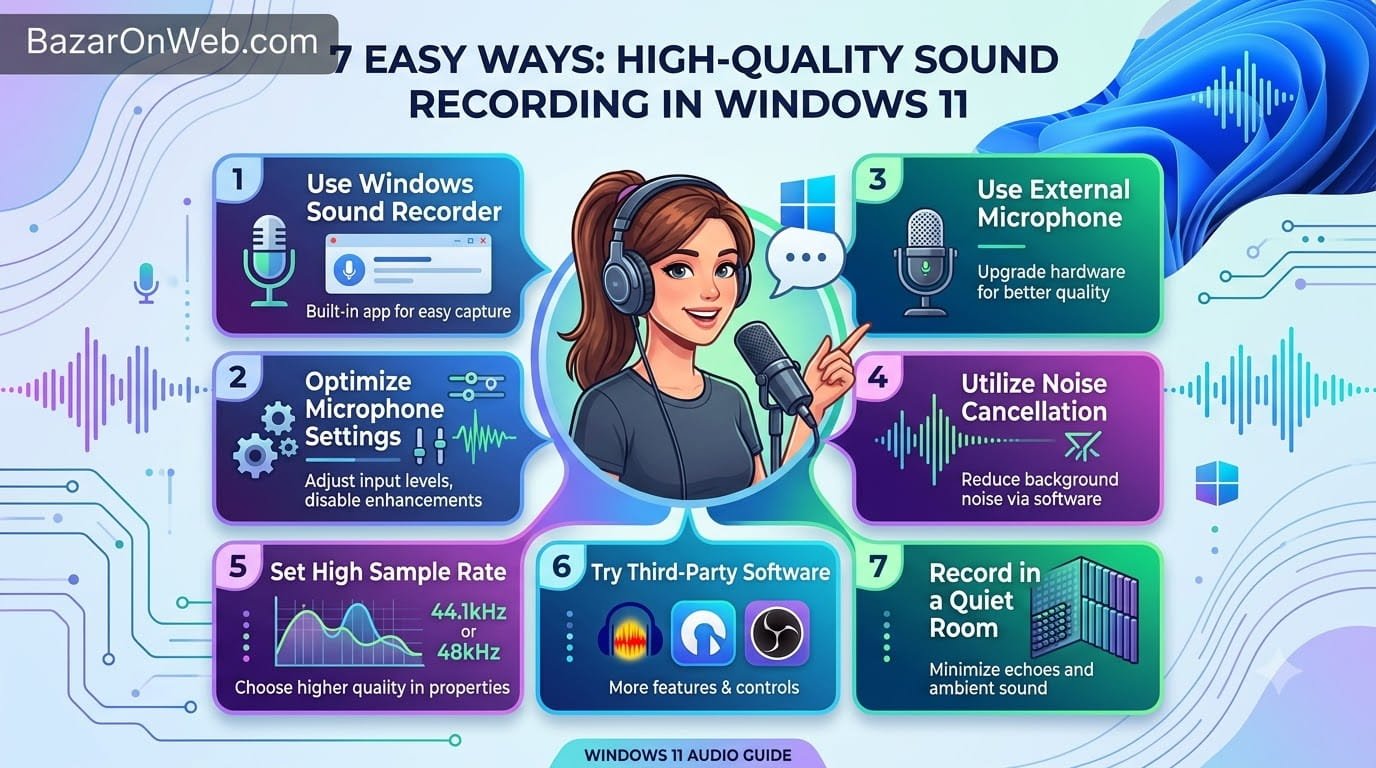
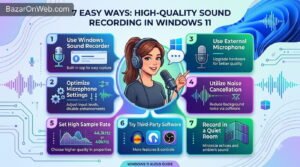
In this guide, I’ll show you several ways to record high-quality sound in Windows 11, starting with the built-in option and then moving to free tools that provide additional controls.
1. Record Audio Using Windows Sound Recorder
The simplest way to record audio in Windows 11 is with the built-in Sound Recorder application.
Open the Start menu and search for Sound Recorder. Launch the application and make sure Windows is using the microphone you want.
Before recording, speak into your microphone and check that the input level is responding.
Click the Record button to begin.
When you’re finished, click the Stop button.
Your recording will be saved automatically and will appear inside the Sound Recorder application.
This method is ideal when you want something quick and straightforward. You don’t need to configure complicated settings or learn a professional audio application.
However, Sound Recorder isn’t designed to provide the same level of control as dedicated audio-recording software.
2. Choose the Correct Microphone
One of the easiest ways to improve recording quality is to make sure Windows is using the correct microphone.
Connect your microphone and open:
Settings > System > Sound
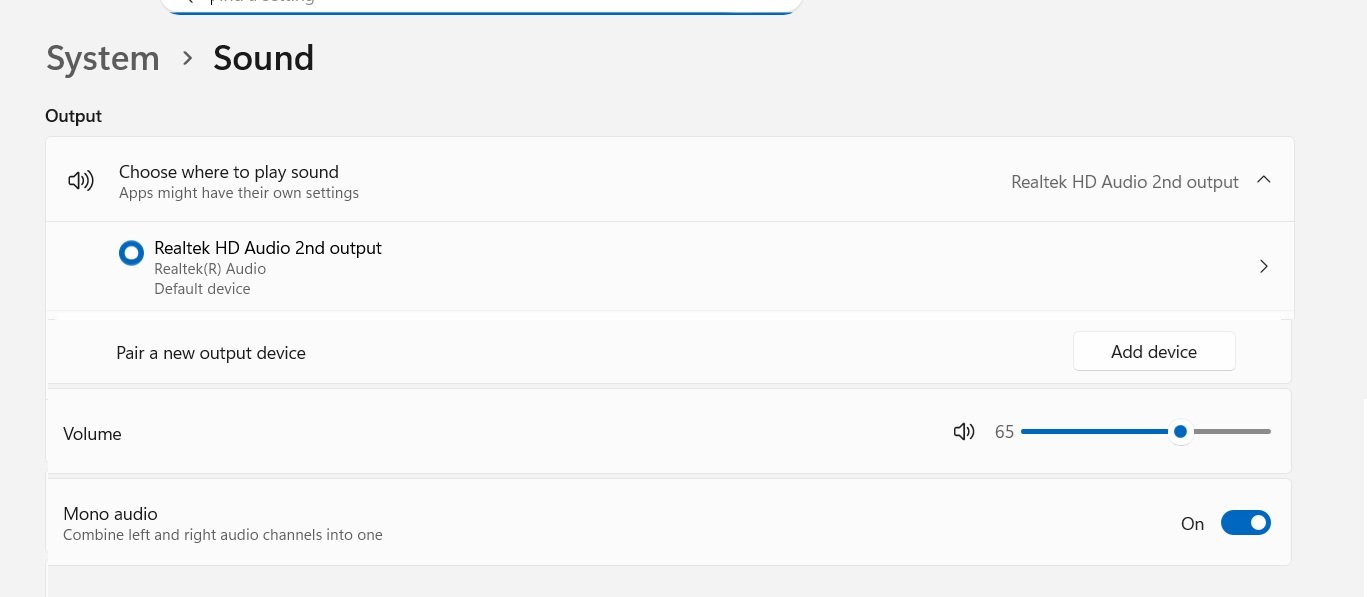
Under Input, select the microphone you want to use.
If you’re using a USB microphone, headset, webcam, or another external audio device, make sure it appears in the input device list.
You can also open the microphone’s properties and check its input volume.
If the volume is too low, you’ll have to increase it later, which can also increase background noise. If it’s too high, your voice may sound distorted when you speak loudly.
The goal is to achieve a healthy input level without constantly hitting the maximum level.
3. Record Better Audio With Audacity
If you want more control over your recordings, Audacity is one of the best free options available for Windows.
Unlike a basic voice recorder, Audacity gives you tools for recording, editing, cleaning, and exporting audio.
After installing Audacity, select your microphone as the recording input.
You can then create a new recording and press the Record button.
One major advantage is that you can visually monitor the waveform while recording. This makes it easier to identify whether your microphone is actually receiving sound.
After recording, you can remove unwanted sections, trim silence, reduce background noise, adjust volume, and apply other effects.
Audacity is especially useful if you’re creating:
- Podcasts
- YouTube videos
- Voiceovers
- Tutorials
- Interviews
- Audiobooks
- Voice recordings
It takes a little more time to learn than Sound Recorder, but the additional controls are worth it if audio quality matters to you.
4. Use OBS Studio for Audio Recording
OBS Studio is primarily known as a screen-recording and live-streaming application, but you can also use it to record high-quality audio.
This can be particularly useful if you want to record your microphone together with your screen.
After installing OBS Studio, open the application and add an Audio Input Capture source.
Select your microphone.
You can then monitor the microphone through OBS’s audio mixer.
OBS also provides filters that can improve the sound of your microphone. Depending on your setup, you can use options such as noise suppression, noise gate, compressor, and limiter.
These tools can make a significant difference when you’re recording voice content in a less-than-perfect environment.
OBS is a particularly good choice if you regularly create tutorials, demonstrations, gaming videos, presentations, or live streams.
5. Improve Windows Microphone Settings
Your recording software isn’t the only place where you can control audio quality.
Windows 11 provides several microphone-related settings.
Open:
Settings > System > Sound > Input
Select your microphone.
You may see options for input volume and other device properties depending on your hardware and drivers.
If Windows provides a microphone test, use it before recording.
Speak at your normal recording volume and check the results.
You should also make sure that applications have permission to access your microphone.
Go to:
Settings > Privacy & security > Microphone
Make sure Microphone access is enabled.
If you’re recording with a desktop application, also make sure the option allowing desktop applications to access your microphone is enabled.
If microphone access is blocked, your recording software may not receive any audio even if the microphone is connected correctly.
6. Record in a Quiet Environment
Even an expensive microphone can’t completely compensate for a noisy room.
Before recording, reduce as many sources of background noise as possible.
Turn off unnecessary fans, air conditioners, televisions, speakers, and other noisy equipment.
If you’re recording in a room with a lot of echo, try moving closer to soft furnishings such as curtains, carpets, sofas, or beds. These materials can absorb some reflected sound.
Your microphone position also matters.
For voice recording, avoid placing the microphone too far away from your mouth. The farther the microphone is from you, the more room noise it will capture.
At the same time, don’t speak directly into the microphone from extremely close range. Depending on the microphone, this can produce unpleasant popping sounds when saying words containing strong P and B sounds.
A small amount of experimentation can dramatically improve the final recording.
7. Select a Higher-Quality Audio Format
Dedicated recording applications often allow you to control the audio format and recording quality.
When available, you may be able to configure settings such as:
- Sample rate
- Bit depth
- Audio format
- Mono or stereo recording
- Compression
For voice recordings, a common choice is 44.1 kHz or 48 kHz with a suitable bit depth.
If you’re creating video content, 48 kHz is commonly used because it aligns well with many video-production workflows.
You don’t necessarily need to choose the highest available setting. Higher-quality recordings can consume more storage space, and the microphone itself may become the limiting factor.
The best setting depends on what you’re recording and how you plan to use the audio.
How to Test Your Microphone Before Recording
A short test recording can save you from discovering an audio problem after you’ve recorded an entire presentation or video.
Start your recording software and record approximately 10 to 20 seconds.
Speak at the same volume you’ll use during the actual recording.
Listen to the result carefully.
Check whether your voice is:
- Too quiet
- Distorted
- Echoing
- Full of background noise
- Cutting in and out
- Unbalanced between channels
If something sounds wrong, fix it before starting the actual recording.
This is particularly important when recording interviews, podcasts, presentations, or other content that cannot easily be recreated.
How to Reduce Background Noise
Background noise is one of the most common problems with home recordings.
Some recording applications provide noise-reduction tools that can reduce constant background sounds.
However, don’t rely entirely on software noise reduction.
Aggressive noise removal can make voices sound unnatural or robotic.
Instead, start by improving the recording environment.
Move the microphone closer to the speaker, reduce unnecessary noise sources, close windows if outside noise is a problem, and choose a quieter room.
Then use software processing to make smaller improvements.
This usually produces a more natural result than trying to remove a huge amount of noise after recording.
Should You Use a Headset or External Microphone?
The microphone built into your laptop can be perfectly adequate for basic voice notes and casual recordings.
However, if you’re regularly creating content, an external microphone can provide a noticeable improvement.
A USB microphone is often a convenient option because it connects directly to your computer without requiring a separate audio interface.
A headset microphone can also work well when you’re recording calls, gaming commentary, or online tutorials.
Whatever microphone you choose, remember that placement and the recording environment matter almost as much as the microphone itself.
What Is the Best Method for Recording Audio?
The best method depends on what you need.
If you simply want to record your voice quickly, Sound Recorder is probably enough.
If you want to edit and clean up recordings, Audacity provides much more control.
If you’re recording your microphone alongside a screen recording or live content, OBS Studio is a strong option.
For casual users, there’s no reason to install complicated software just to record a short voice note. But if you’re producing professional-looking videos, podcasts, tutorials, or other content, using dedicated recording software can give you significantly more control over the final result.
Final Thoughts
Recording high-quality audio in Windows 11 is easier than it may initially seem.
The built-in Sound Recorder app is a convenient choice for basic recordings, while free applications such as Audacity and OBS Studio provide additional controls for users who need more flexibility.
However, software isn’t everything.
Before pressing the Record button, make sure you’ve selected the correct microphone, configured an appropriate input level, and chosen a quiet recording environment. Keep the microphone at a sensible distance and perform a short test recording before starting your main project.
If you’re recording audio for videos or podcasts, consider using a dedicated microphone and recording at an appropriate sample rate and bit depth.
Most importantly, don’t assume that a more complicated setup automatically means better audio. A simple microphone placed correctly in a quiet room can often produce a cleaner recording than an expensive microphone used in a noisy, echo-filled environment.
Start with the tools you already have, test your setup, and upgrade your equipment or software only when you actually need more control.

- How to Record High-Quality Sound in Windows 11: 7 Easy Ways
- How to Stop Apps From Using Your Webcam on Windows 11

- How to Combine Multiple Images into One PDF on Windows 11

- How to Remove a Bluetooth Device That Won’t Remove in Windows 11

- Perplexity and NVIDIA launch local AI tools protecting user data privacy.

Products
-
![Apple Watch Ultra 3 [GPS + Cellular 49mm] Running & Multisport Smartwatch w/Rugged Titanium Case w/Black Titanium Milanese Loop - M. Satellite Communications, Advanced Health & Fitness Tracking](https://bazaronweb.com/retailstores/wp-content/uploads/2025/09/apple-watch-320x320.jpg) Apple Watch Ultra 3 [GPS + Cellular 49mm] Running & Multisport Smartwatch w/Rugged Titanium Case w/Black Titanium Milanese Loop - M. Satellite Communications, Advanced Health & Fitness Tracking
Apple Watch Ultra 3 [GPS + Cellular 49mm] Running & Multisport Smartwatch w/Rugged Titanium Case w/Black Titanium Milanese Loop - M. Satellite Communications, Advanced Health & Fitness Tracking
-
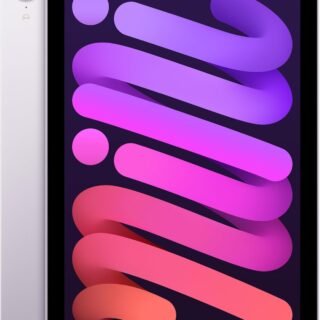 Apple iPad mini (A17 Pro): Apple Intelligence, 8.3-inch Liquid Retina Display, 256GB, Wi-Fi 6E, 12MP Front/12MP Back Camera, Touch ID, All-Day Battery Life — Purple
-
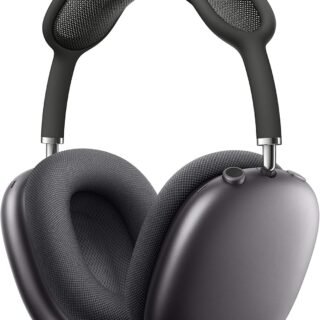 Apple AirPods Max Wireless Over-Ear Headphones, Active Noise Cancelling, Transparency Mode, Personalized Spatial Audio, Dolby Atmos, Bluetooth Headphones for iPhone – Space Gray
-
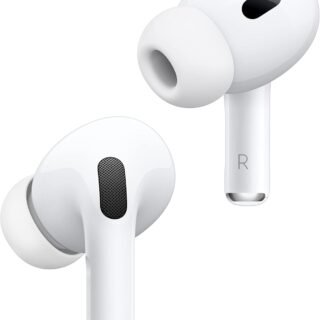 Apple AirPods Pro 2 Wireless Earbuds, Active Noise Cancellation, Hearing Aid Feature, Bluetooth Headphones, Transparency, Personalized Spatial Audio, High-Fidelity Sound, H2 Chip, USB-C Charging
-
Home Garage 210 TC Cotton King Floral Fitted (Elastic) Bedsheet(Pack of 1, Grey)
Original price was: ₹999.00.₹299.00Current price is: ₹299.00.
Leave a Reply