Discounted Products
-
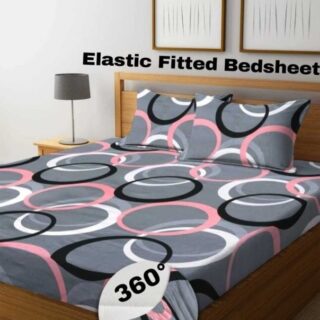 Home Garage 210 TC Cotton King Floral Fitted (Elastic) Bedsheet(Pack of 1, Grey)
Original price was: ₹999.00.₹299.00Current price is: ₹299.00.
Home Garage 210 TC Cotton King Floral Fitted (Elastic) Bedsheet(Pack of 1, Grey)
Original price was: ₹999.00.₹299.00Current price is: ₹299.00.
-
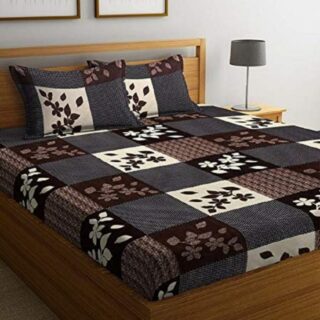 Goodrik 140 TC Cotton Double 3D Printed Flat Bedsheet(Pack of 1, Brown)
Original price was: ₹499.00.₹229.00Current price is: ₹229.00.
Goodrik 140 TC Cotton Double 3D Printed Flat Bedsheet(Pack of 1, Brown)
Original price was: ₹499.00.₹229.00Current price is: ₹229.00.
-
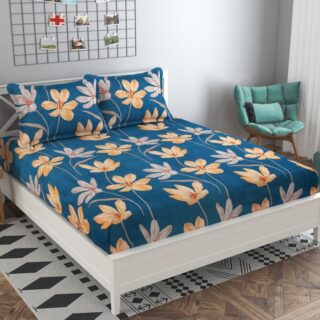 GLOBALSHOP 350 TC Microfiber Double Floral Flat Bedsheet(Pack of 1, Multicolor)
Original price was: ₹1,250.00.₹263.00Current price is: ₹263.00.
GLOBALSHOP 350 TC Microfiber Double Floral Flat Bedsheet(Pack of 1, Multicolor)
Original price was: ₹1,250.00.₹263.00Current price is: ₹263.00.
-
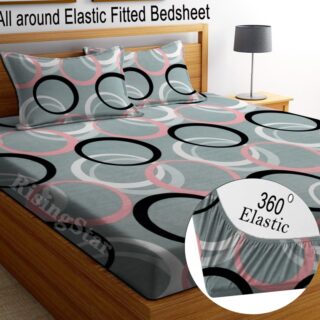 RisingStar 250 TC Microfiber King Printed Fitted (Elastic) Bedsheet(Pack of 1, FITTED-ROUND-CIRCLES-PREMIUM)
Original price was: ₹2,299.00.₹299.00Current price is: ₹299.00.
RisingStar 250 TC Microfiber King Printed Fitted (Elastic) Bedsheet(Pack of 1, FITTED-ROUND-CIRCLES-PREMIUM)
Original price was: ₹2,299.00.₹299.00Current price is: ₹299.00.
-
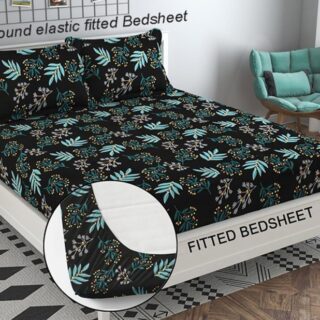 Home Garage 210 TC Cotton King Floral Fitted (Elastic) Bedsheet(Pack of 1, Fitted Black Green)
Original price was: ₹1,299.00.₹299.00Current price is: ₹299.00.
Home Garage 210 TC Cotton King Floral Fitted (Elastic) Bedsheet(Pack of 1, Fitted Black Green)
Original price was: ₹1,299.00.₹299.00Current price is: ₹299.00.
-
 Home Garage 180 TC Cotton King 3D Printed Flat Bedsheet(Pack of 1, White)
Original price was: ₹999.00.₹229.00Current price is: ₹229.00.
Home Garage 180 TC Cotton King 3D Printed Flat Bedsheet(Pack of 1, White)
Original price was: ₹999.00.₹229.00Current price is: ₹229.00.
-
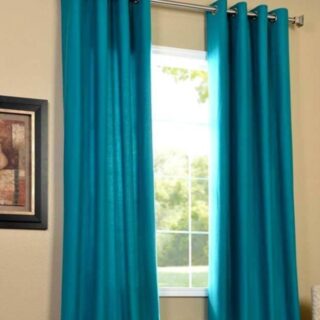 Panipat Textile Hub 152.4 cm (5 ft) Polyester Window Curtain (Pack Of 2)(Solid, Aqua)
Original price was: ₹1,899.00.₹299.00Current price is: ₹299.00.
Panipat Textile Hub 152.4 cm (5 ft) Polyester Window Curtain (Pack Of 2)(Solid, Aqua)
Original price was: ₹1,899.00.₹299.00Current price is: ₹299.00.
-
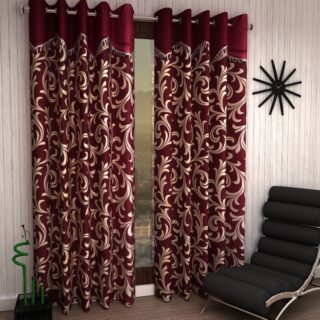 Home Sizzler 214 cm (7 ft) Polyester Semi Transparent Door Curtain (Pack Of 2)(Floral, Maroon)
Original price was: ₹1,199.00.₹399.00Current price is: ₹399.00.
Home Sizzler 214 cm (7 ft) Polyester Semi Transparent Door Curtain (Pack Of 2)(Floral, Maroon)
Original price was: ₹1,199.00.₹399.00Current price is: ₹399.00.
-
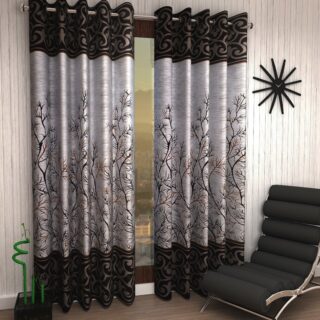 Home Sizzler 153 cm (5 ft) Polyester Room Darkening Window Curtain (Pack Of 2)(Floral, Brown)
Original price was: ₹799.00.₹299.00Current price is: ₹299.00.
Home Sizzler 153 cm (5 ft) Polyester Room Darkening Window Curtain (Pack Of 2)(Floral, Brown)
Original price was: ₹799.00.₹299.00Current price is: ₹299.00.
-
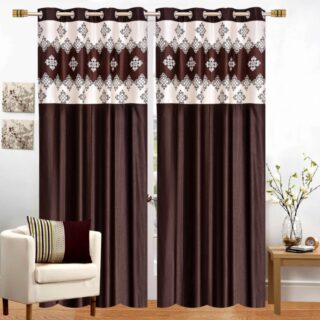 Stella Creations 214 cm (7 ft) Polyester Room Darkening Door Curtain (Pack Of 2)(Abstract, Brown)
Original price was: ₹1,299.00.₹449.00Current price is: ₹449.00.
Stella Creations 214 cm (7 ft) Polyester Room Darkening Door Curtain (Pack Of 2)(Abstract, Brown)
Original price was: ₹1,299.00.₹449.00Current price is: ₹449.00.
-
 Homefab India 152.5 cm (5 ft) Polyester Room Darkening Window Curtain (Pack Of 2)(Floral, Light Blue)
Original price was: ₹1,199.00.₹319.00Current price is: ₹319.00.
Homefab India 152.5 cm (5 ft) Polyester Room Darkening Window Curtain (Pack Of 2)(Floral, Light Blue)
Original price was: ₹1,199.00.₹319.00Current price is: ₹319.00.
-
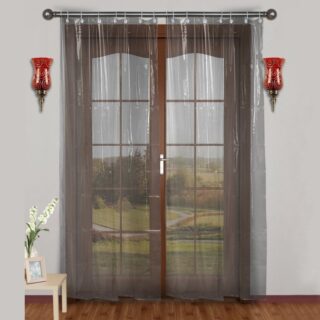 Urban Home 214 cm (7 ft) PVC Transparent Door Curtain Single Curtain(Solid, Off White)
Original price was: ₹699.00.₹203.00Current price is: ₹203.00.
Urban Home 214 cm (7 ft) PVC Transparent Door Curtain Single Curtain(Solid, Off White)
Original price was: ₹699.00.₹203.00Current price is: ₹203.00.
-
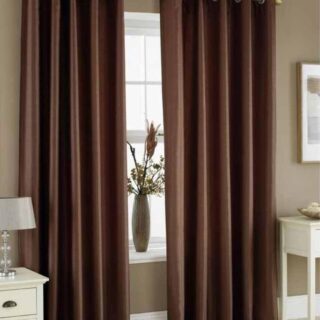 Panipat Textile Hub 213 cm (7 ft) Polyester Door Curtain (Pack Of 2)(Solid, Brown)
Original price was: ₹1,199.00.₹349.00Current price is: ₹349.00.
Panipat Textile Hub 213 cm (7 ft) Polyester Door Curtain (Pack Of 2)(Solid, Brown)
Original price was: ₹1,199.00.₹349.00Current price is: ₹349.00.
-
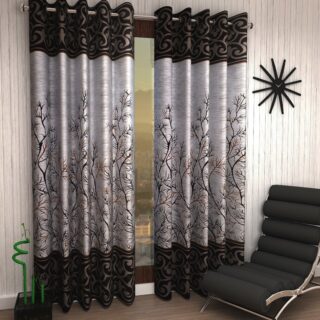 Home Sizzler 214 cm (7 ft) Polyester Semi Transparent Door Curtain (Pack Of 2)(Floral, Brown)
Original price was: ₹999.00.₹349.00Current price is: ₹349.00.
Home Sizzler 214 cm (7 ft) Polyester Semi Transparent Door Curtain (Pack Of 2)(Floral, Brown)
Original price was: ₹999.00.₹349.00Current price is: ₹349.00.
-
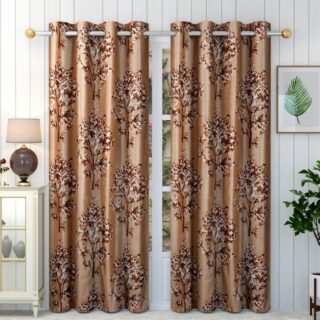 Panipat Textile Hub 213 cm (7 ft) Polyester Semi Transparent Door Curtain (Pack Of 2)(Floral, Brown)
Original price was: ₹899.00.₹299.00Current price is: ₹299.00.
Panipat Textile Hub 213 cm (7 ft) Polyester Semi Transparent Door Curtain (Pack Of 2)(Floral, Brown)
Original price was: ₹899.00.₹299.00Current price is: ₹299.00.
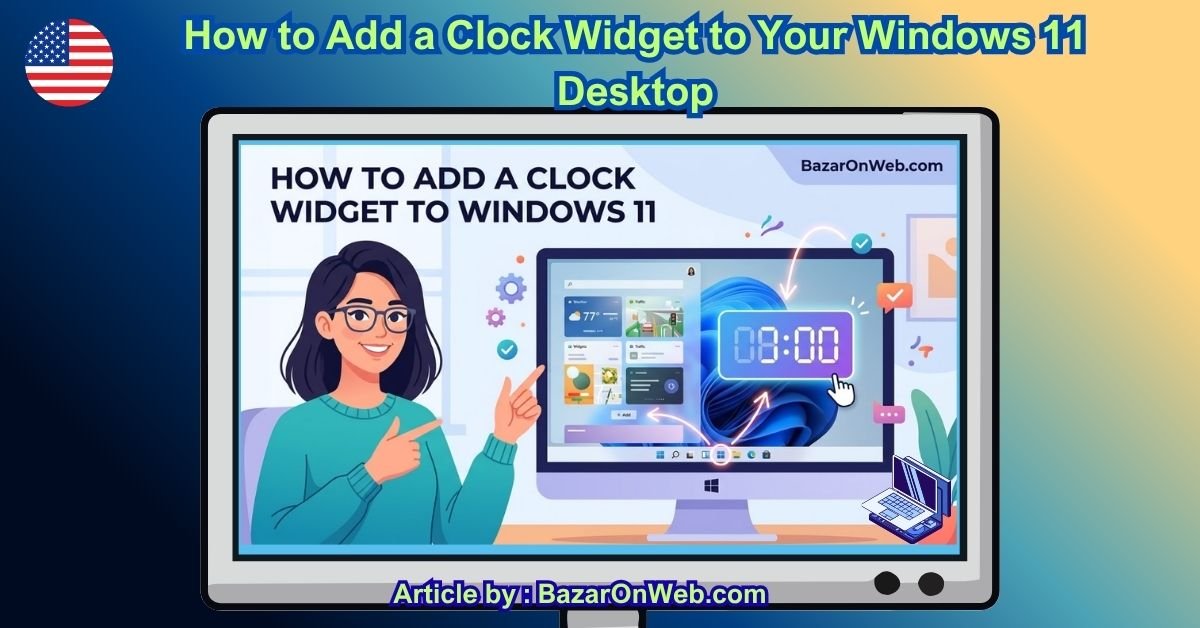
A clock is one of those small things you do not think much about until you actually need it. When you are working, attending online meetings, managing deadlines, studying, or simply trying to stay aware of how much time you have left, having a clock visible at a glance can be surprisingly useful.
Windows 11 already displays the time on the taskbar, but that is not always enough. You may want a larger clock somewhere on your desktop, perhaps in the corner of your screen, where you can see it without looking down at the taskbar.
If you have been searching for a way to add a clock widget to the Windows 11 desktop, there is one important thing to understand first: Windows 11 does not currently offer a traditional, always-visible desktop clock widget through its built-in Widgets system. The Windows Widgets Board is a separate panel that you can open from the taskbar or with Windows + W.
That does not mean you cannot have a clock on your desktop. You can use Windows’ built-in clock features for quick access, or install a desktop customization application if you want an actual clock sitting on the desktop.
Here are the options you can use.
Does Windows 11 Have a Built-In Desktop Clock Widget?
This is where things can get confusing.
Windows 11 has a Widgets Board, but it is not the same thing as the old desktop gadgets that could remain visible directly over your wallpaper. Microsoft describes the Widgets Board as a Windows 11 system component that appears when you select the Widgets icon, press Windows + W, or use the supported touch gesture.
You can add and customize supported widgets from this panel, but you cannot simply drag a clock widget onto an empty area of your Windows 11 desktop and leave it there permanently using the standard Windows Widgets interface.
So, if your goal is simply to check the time quickly, you already have a few built-in options.
If your goal is specifically to have a large clock permanently visible on your desktop, you will need another solution.
Method 1: Use the Windows 11 Taskbar Clock
Before installing anything, consider whether the clock already built into Windows is enough for you.
Windows 11 displays the current date and time in the taskbar. You can generally see it at the bottom-right corner of the screen.
This is the simplest option because it requires no additional software.
If the clock is missing or the displayed time is incorrect, check your Windows time settings.
Open:
Settings > Time & language > Date & time
From here, you can review settings such as your time zone and automatic time configuration.
If you want Windows to keep the clock synchronized automatically, make sure the relevant automatic time settings are enabled.
This option is ideal if you only need a quick glance at the current time and do not need a large clock floating on your desktop.
Method 2: Use the Windows Clock App
Windows 11 also includes the Clock app, which provides considerably more than just the current time.
Open the Start menu and search for:
Clock
Open the app and you will find features such as alarms, timers, stopwatch functionality, and World Clock.
The World Clock feature is particularly useful if you work with people in different countries. Microsoft allows you to add locations and compare their times.
For example, you could add cities representing the locations where your clients, coworkers, or family members live.
To add a location:
- Open the Clock app.
- Select World clock.
- Select Add a new city.
- Search for the city you want.
- Select the location from the results.
- Add additional cities if required.
You can then view the times for those locations from inside the Clock app.
There is one limitation, though: this does not create a permanent clock on your Windows desktop.
If you close the app, the clock is no longer sitting on the desktop.
Method 3: Use the Windows 11 Widgets Board
Another option is to use the built-in Windows Widgets experience.
Press:
Windows + W
This opens the Widgets Board.
You can also select the Widgets area on the taskbar, depending on your Windows 11 configuration.
Microsoft allows supported widgets to be added, removed, moved, resized, and customized.
To add a widget:
- Open the Widgets Board.
- Select the + button.
- Browse the available widgets.
- Select the widget you want to add.
- Customize it if customization options are available.
However, do not confuse the Widgets Board with a traditional desktop widget.
The Widgets Board appears as an interface over the desktop. It does not give you a free-floating clock that remains permanently visible while you work.
That distinction is important because many older Windows tutorials describe methods that no longer work the same way on modern Windows 11 versions.
Method 4: Add a Permanent Desktop Clock With Rainmeter
If you specifically want a clock that sits directly on your desktop, one popular option is Rainmeter.
Rainmeter is a Windows desktop customization platform that can display different types of information through customizable skins. Clock designs are among the many types of desktop layouts that can be created with it.
The advantage is flexibility.
Instead of being restricted to a small clock in the taskbar, you can use a much larger digital or analog clock and position it where you want.
Step 1: Download Rainmeter
Download Rainmeter from its official website rather than from an unknown third-party download site.
After downloading it, install the application normally.
Step 2: Launch Rainmeter
Once installation is complete, open Rainmeter.
You may initially see one or more default skins displayed on your desktop.
Do not worry if the default design is not what you want. Rainmeter is designed around customizable skins.
Step 3: Choose a Clock Skin
You can find Rainmeter skins that display clocks in different designs.
Depending on the skin, you may find:
- Digital clocks
- Analog clocks
- Minimal clocks
- Large desktop clocks
- Date-and-time combinations
- System information dashboards containing clocks
Choose a skin from a source you trust and follow the installation instructions supplied with that skin.
Step 4: Position the Clock
After installing a clock skin, Rainmeter lets you position it on your desktop.
You can usually move the clock by dragging it to the location you prefer.
For example, you could place it:
- In the top-right corner
- In the top-left corner
- Near the center
- Along the side of the screen
- Above your taskbar
This gives you much more control than the standard Windows Widgets interface.
Step 5: Adjust the Appearance
Depending on the skin, you may be able to change the size, font, transparency, colors, and other visual settings.
This is particularly useful if you want the clock to match your desktop wallpaper.
You can keep it extremely simple or create a more elaborate desktop dashboard.
Method 5: Use a Dedicated Desktop Clock App
Another option is to install a dedicated desktop clock application.
You will find several Windows applications designed specifically to display clocks over the desktop. Some are simple digital clocks, while others provide features such as multiple time zones, different clock faces, transparency controls, and customizable positioning.
When choosing one, pay attention to where you download it from.
I would strongly recommend using the Microsoft Store or the developer’s official website rather than downloading random executable files from unfamiliar websites.
A desktop clock is a small utility, so there is little reason to take unnecessary security risks by installing an unknown program.
Also check whether the application:
- Supports Windows 11
- Has good recent reviews
- Comes from a recognizable developer
- Has been updated recently
- Offers the features you actually need
- Starts automatically with Windows if you want it to
What About the Old Windows Desktop Gadgets?
If you remember using desktop gadgets in older versions of Windows, you may be wondering why you cannot simply enable them in Windows 11.
That is because the modern Windows 11 Widgets system is different from the old desktop gadget experience.
Older versions of Windows allowed small gadgets to sit directly on the desktop. Windows 11 instead uses the Widgets Board as its built-in widget environment.
This is why following an old tutorial that tells you to enable a “Desktop Gadgets” option may lead nowhere on a current Windows 11 installation.
Be especially careful with websites offering unofficial gadget packages that promise to restore the old functionality. Installing software from an untrusted source can create unnecessary security and privacy risks.
Can You Put Multiple Clocks on Windows 11?
Yes, but there is a difference between additional time zones and desktop clocks.
Windows supports viewing additional time zones in certain built-in interfaces. Microsoft also provides the World Clock feature inside the Clock app, where you can add cities and compare their times.
This can be useful if you regularly work across multiple time zones.
For example, you might want to keep track of:
- Your local time
- A client’s time
- A company’s headquarters time
- A remote team’s time
- A family member’s local time
However, adding another time zone does not necessarily mean that Windows will place another large clock directly on your desktop.
If you want several clocks permanently visible, a dedicated desktop clock application or a customizable desktop tool such as Rainmeter is more appropriate.
Which Method Should You Use?
The right option depends on what you actually mean by a “clock widget.”
If you simply want to see the time, use the Windows taskbar clock.
If you want to compare international time zones, use the Clock app’s World Clock feature.
If you want access to supported information widgets, use the Windows 11 Widgets Board.
And if you want a large clock permanently displayed on your desktop, use a third-party desktop customization application such as Rainmeter.
I would not install additional software just to solve a problem that the taskbar clock already solves. But if having a prominent clock is part of your desktop setup, a dedicated desktop clock can make sense.
How to Make Your Desktop Clock Less Distracting
Once you have added a desktop clock, resist the temptation to make it huge simply because you can.
A clock should be easy to notice without becoming the most prominent object on your screen.
A few simple adjustments can help:
Keep It Away From Important Shortcuts
Do not place the clock directly over desktop icons that you regularly use.
Choose a Readable Font
Fancy fonts can look attractive in screenshots but may be surprisingly difficult to read during everyday use.
Use a Subtle Design
A simple digital clock can often be easier to live with than an elaborate animated widget.
Consider Transparency
If your clock supports transparency, slightly reducing its visual intensity can help it blend into your wallpaper.
Check Multiple Monitors
If you use two or more displays, make sure the clock appears where you actually need it. Some desktop customization applications provide different positioning options for multiple monitors.
Don’t Forget About Time Zone Settings
If your clock displays the wrong time, adding another widget may not solve the underlying problem.
First check your Windows time and time-zone configuration.
Go to:
Settings > Time & language > Date & time
Check your current time zone and the automatic time settings.
This is especially important if you travel frequently or use a laptop in different locations.
The Clock app also uses your configured time settings, so correcting Windows itself is usually the better first step.
Final Thoughts
Adding a clock to Windows 11 is easy, but the method depends on what you want the clock to do.
Windows already gives you a clock on the taskbar, and the built-in Clock app provides alarms, timers, stopwatch functionality, and a World Clock for comparing different locations.
The Windows 11 Widgets Board provides another way to access supported widgets, but it is important to remember that it is not a traditional desktop gadget area.
If what you really want is a clock that remains visible directly on your desktop, you will need a third-party solution. A desktop customization platform such as Rainmeter gives you considerably more control over the clock’s appearance and position.
For most people, I would start with the built-in Windows clock and only install additional software if you specifically want a larger, customizable, always-visible desktop clock.
And if you do install a third-party clock, download it from the developer’s official source and avoid suspicious “gadget packs” or modified installers. A clock may look harmless, but there is no reason to compromise your PC’s security just to display the time.






Products
-
![Apple Watch Ultra 3 [GPS + Cellular 49mm] Running & Multisport Smartwatch w/Rugged Titanium Case w/Black Titanium Milanese Loop - M. Satellite Communications, Advanced Health & Fitness Tracking](https://bazaronweb.com/retailstores/wp-content/uploads/2025/09/apple-watch-320x320.jpg) Apple Watch Ultra 3 [GPS + Cellular 49mm] Running & Multisport Smartwatch w/Rugged Titanium Case w/Black Titanium Milanese Loop - M. Satellite Communications, Advanced Health & Fitness Tracking
Apple Watch Ultra 3 [GPS + Cellular 49mm] Running & Multisport Smartwatch w/Rugged Titanium Case w/Black Titanium Milanese Loop - M. Satellite Communications, Advanced Health & Fitness Tracking
-
 Apple iPad mini (A17 Pro): Apple Intelligence, 8.3-inch Liquid Retina Display, 256GB, Wi-Fi 6E, 12MP Front/12MP Back Camera, Touch ID, All-Day Battery Life — Purple
-
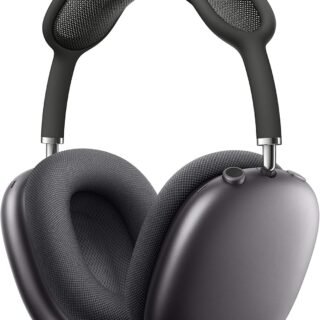 Apple AirPods Max Wireless Over-Ear Headphones, Active Noise Cancelling, Transparency Mode, Personalized Spatial Audio, Dolby Atmos, Bluetooth Headphones for iPhone – Space Gray
-
 Apple AirPods Pro 2 Wireless Earbuds, Active Noise Cancellation, Hearing Aid Feature, Bluetooth Headphones, Transparency, Personalized Spatial Audio, High-Fidelity Sound, H2 Chip, USB-C Charging
-
Home Garage 210 TC Cotton King Floral Fitted (Elastic) Bedsheet(Pack of 1, Grey)
Original price was: ₹999.00.₹299.00Current price is: ₹299.00.
Leave a Reply