Discounted Products
-
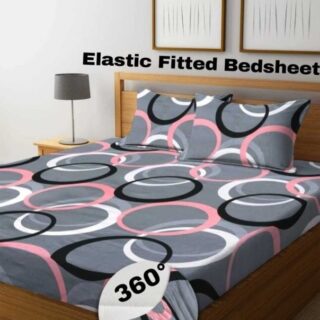 Home Garage 210 TC Cotton King Floral Fitted (Elastic) Bedsheet(Pack of 1, Grey)
Original price was: ₹999.00.₹299.00Current price is: ₹299.00.
Home Garage 210 TC Cotton King Floral Fitted (Elastic) Bedsheet(Pack of 1, Grey)
Original price was: ₹999.00.₹299.00Current price is: ₹299.00.
-
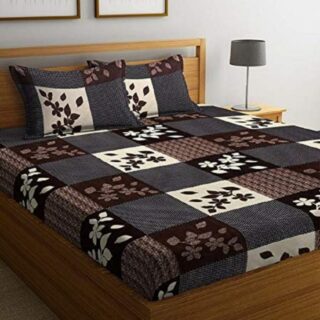 Goodrik 140 TC Cotton Double 3D Printed Flat Bedsheet(Pack of 1, Brown)
Original price was: ₹499.00.₹229.00Current price is: ₹229.00.
Goodrik 140 TC Cotton Double 3D Printed Flat Bedsheet(Pack of 1, Brown)
Original price was: ₹499.00.₹229.00Current price is: ₹229.00.
-
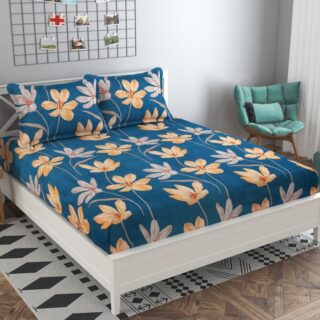 GLOBALSHOP 350 TC Microfiber Double Floral Flat Bedsheet(Pack of 1, Multicolor)
Original price was: ₹1,250.00.₹263.00Current price is: ₹263.00.
GLOBALSHOP 350 TC Microfiber Double Floral Flat Bedsheet(Pack of 1, Multicolor)
Original price was: ₹1,250.00.₹263.00Current price is: ₹263.00.
-
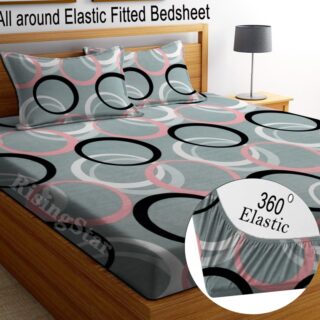 RisingStar 250 TC Microfiber King Printed Fitted (Elastic) Bedsheet(Pack of 1, FITTED-ROUND-CIRCLES-PREMIUM)
Original price was: ₹2,299.00.₹299.00Current price is: ₹299.00.
RisingStar 250 TC Microfiber King Printed Fitted (Elastic) Bedsheet(Pack of 1, FITTED-ROUND-CIRCLES-PREMIUM)
Original price was: ₹2,299.00.₹299.00Current price is: ₹299.00.
-
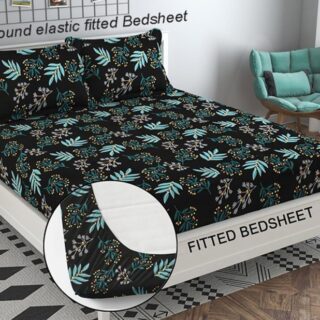 Home Garage 210 TC Cotton King Floral Fitted (Elastic) Bedsheet(Pack of 1, Fitted Black Green)
Original price was: ₹1,299.00.₹299.00Current price is: ₹299.00.
Home Garage 210 TC Cotton King Floral Fitted (Elastic) Bedsheet(Pack of 1, Fitted Black Green)
Original price was: ₹1,299.00.₹299.00Current price is: ₹299.00.
-
 Home Garage 180 TC Cotton King 3D Printed Flat Bedsheet(Pack of 1, White)
Original price was: ₹999.00.₹229.00Current price is: ₹229.00.
Home Garage 180 TC Cotton King 3D Printed Flat Bedsheet(Pack of 1, White)
Original price was: ₹999.00.₹229.00Current price is: ₹229.00.
-
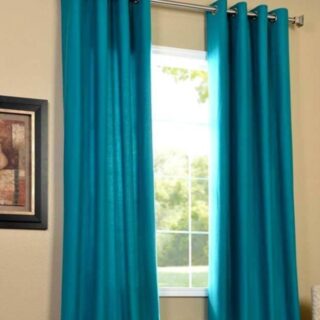 Panipat Textile Hub 152.4 cm (5 ft) Polyester Window Curtain (Pack Of 2)(Solid, Aqua)
Original price was: ₹1,899.00.₹299.00Current price is: ₹299.00.
Panipat Textile Hub 152.4 cm (5 ft) Polyester Window Curtain (Pack Of 2)(Solid, Aqua)
Original price was: ₹1,899.00.₹299.00Current price is: ₹299.00.
-
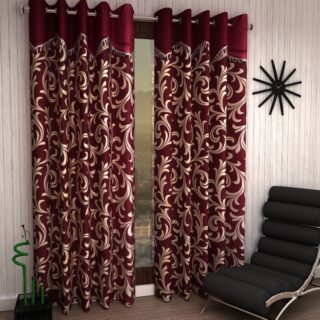 Home Sizzler 214 cm (7 ft) Polyester Semi Transparent Door Curtain (Pack Of 2)(Floral, Maroon)
Original price was: ₹1,199.00.₹399.00Current price is: ₹399.00.
Home Sizzler 214 cm (7 ft) Polyester Semi Transparent Door Curtain (Pack Of 2)(Floral, Maroon)
Original price was: ₹1,199.00.₹399.00Current price is: ₹399.00.
-
 Home Sizzler 153 cm (5 ft) Polyester Room Darkening Window Curtain (Pack Of 2)(Floral, Brown)
Original price was: ₹799.00.₹299.00Current price is: ₹299.00.
Home Sizzler 153 cm (5 ft) Polyester Room Darkening Window Curtain (Pack Of 2)(Floral, Brown)
Original price was: ₹799.00.₹299.00Current price is: ₹299.00.
-
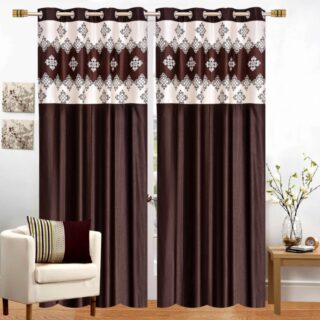 Stella Creations 214 cm (7 ft) Polyester Room Darkening Door Curtain (Pack Of 2)(Abstract, Brown)
Original price was: ₹1,299.00.₹449.00Current price is: ₹449.00.
Stella Creations 214 cm (7 ft) Polyester Room Darkening Door Curtain (Pack Of 2)(Abstract, Brown)
Original price was: ₹1,299.00.₹449.00Current price is: ₹449.00.
-
 Homefab India 152.5 cm (5 ft) Polyester Room Darkening Window Curtain (Pack Of 2)(Floral, Light Blue)
Original price was: ₹1,199.00.₹319.00Current price is: ₹319.00.
Homefab India 152.5 cm (5 ft) Polyester Room Darkening Window Curtain (Pack Of 2)(Floral, Light Blue)
Original price was: ₹1,199.00.₹319.00Current price is: ₹319.00.
-
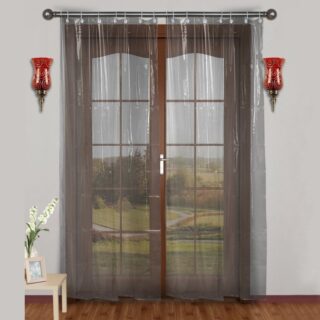 Urban Home 214 cm (7 ft) PVC Transparent Door Curtain Single Curtain(Solid, Off White)
Original price was: ₹699.00.₹203.00Current price is: ₹203.00.
Urban Home 214 cm (7 ft) PVC Transparent Door Curtain Single Curtain(Solid, Off White)
Original price was: ₹699.00.₹203.00Current price is: ₹203.00.
-
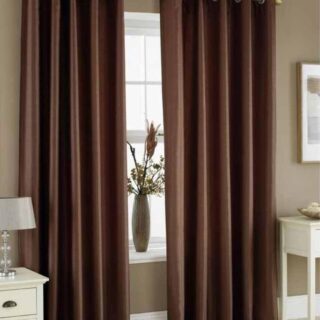 Panipat Textile Hub 213 cm (7 ft) Polyester Door Curtain (Pack Of 2)(Solid, Brown)
Original price was: ₹1,199.00.₹349.00Current price is: ₹349.00.
Panipat Textile Hub 213 cm (7 ft) Polyester Door Curtain (Pack Of 2)(Solid, Brown)
Original price was: ₹1,199.00.₹349.00Current price is: ₹349.00.
-
 Home Sizzler 214 cm (7 ft) Polyester Semi Transparent Door Curtain (Pack Of 2)(Floral, Brown)
Original price was: ₹999.00.₹349.00Current price is: ₹349.00.
Home Sizzler 214 cm (7 ft) Polyester Semi Transparent Door Curtain (Pack Of 2)(Floral, Brown)
Original price was: ₹999.00.₹349.00Current price is: ₹349.00.
-
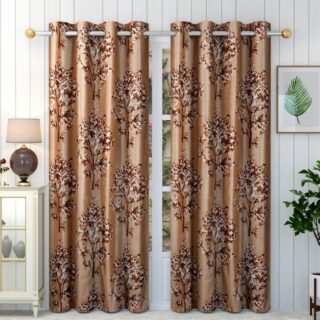 Panipat Textile Hub 213 cm (7 ft) Polyester Semi Transparent Door Curtain (Pack Of 2)(Floral, Brown)
Original price was: ₹899.00.₹299.00Current price is: ₹299.00.
Panipat Textile Hub 213 cm (7 ft) Polyester Semi Transparent Door Curtain (Pack Of 2)(Floral, Brown)
Original price was: ₹899.00.₹299.00Current price is: ₹299.00.

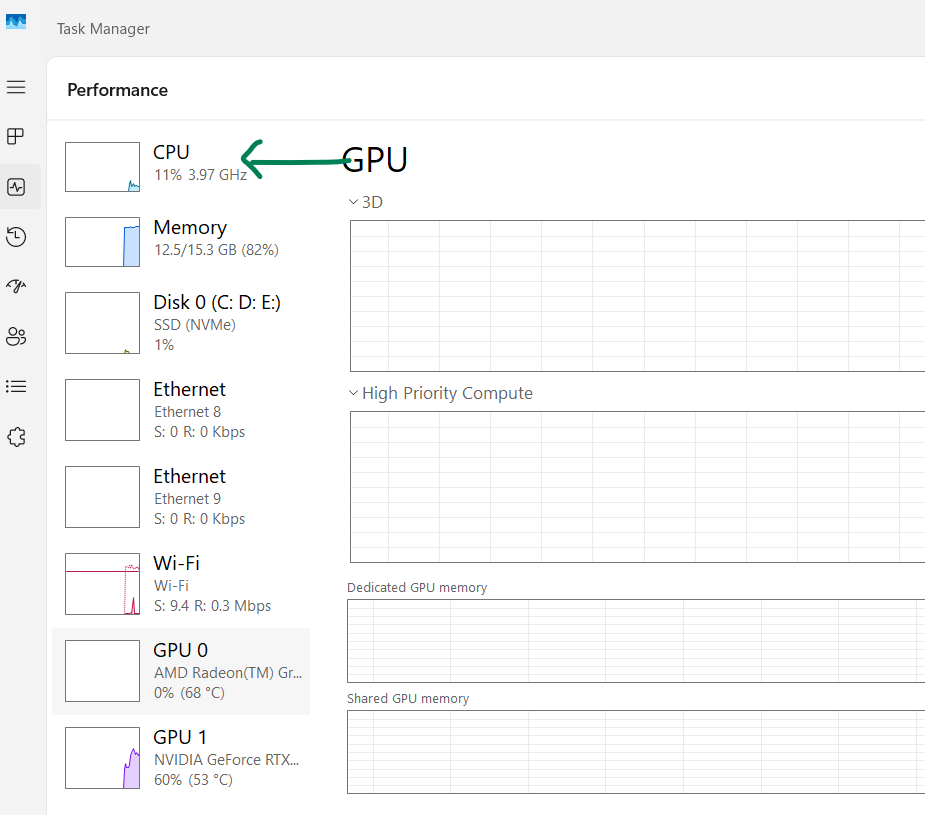

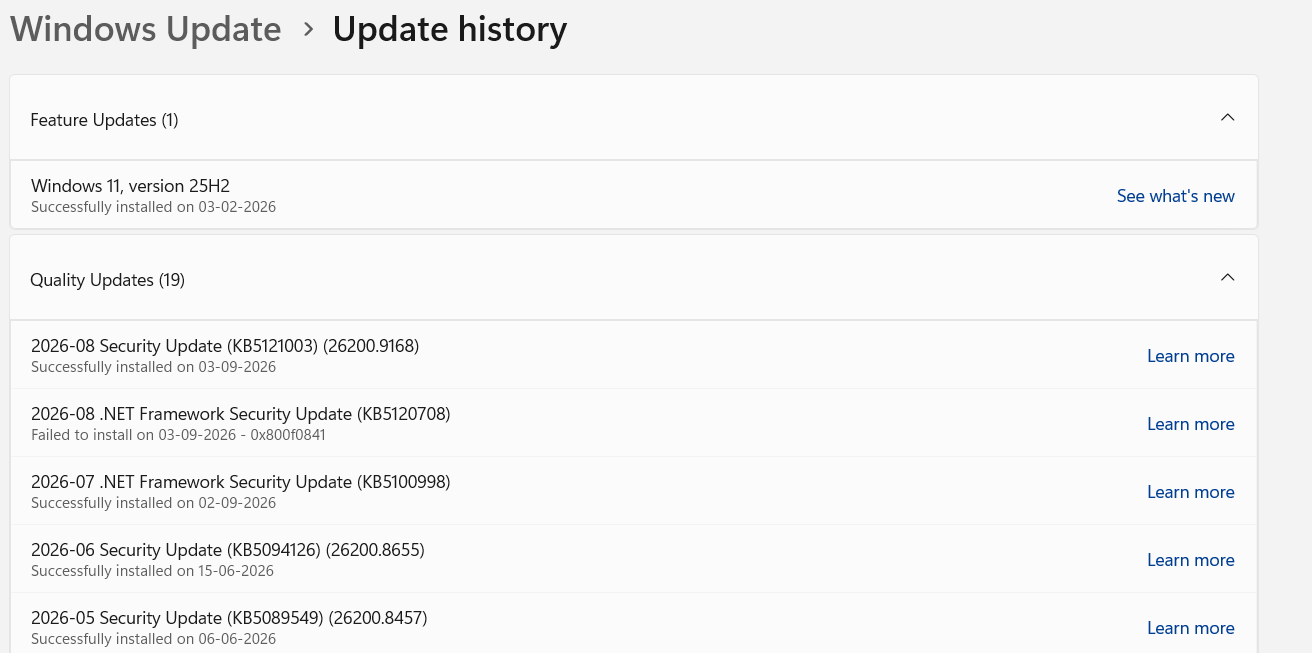

- How to Remotely Control Another Computer Using Windows Quick Assist

- 5 Must-Have Electronics Gadgets for a More Comfortable Living Room

- How to Create a Windows 11 System Backup on an External Hard Drive

- 10 Smart Home Ideas That Make Everyday Life Easier

- Gemini Live Avatar: How to Talk to Gemini Face-to-Face

Products
-
![Apple Watch Ultra 3 [GPS + Cellular 49mm] Running & Multisport Smartwatch w/Rugged Titanium Case w/Black Titanium Milanese Loop - M. Satellite Communications, Advanced Health & Fitness Tracking](https://bazaronweb.com/retailstores/wp-content/uploads/2025/09/apple-watch-320x320.jpg) Apple Watch Ultra 3 [GPS + Cellular 49mm] Running & Multisport Smartwatch w/Rugged Titanium Case w/Black Titanium Milanese Loop - M. Satellite Communications, Advanced Health & Fitness Tracking
Apple Watch Ultra 3 [GPS + Cellular 49mm] Running & Multisport Smartwatch w/Rugged Titanium Case w/Black Titanium Milanese Loop - M. Satellite Communications, Advanced Health & Fitness Tracking
-
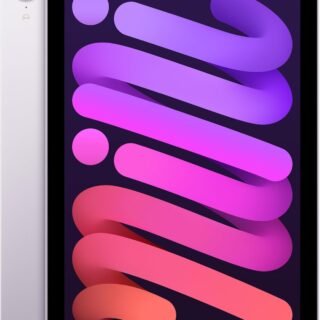 Apple iPad mini (A17 Pro): Apple Intelligence, 8.3-inch Liquid Retina Display, 256GB, Wi-Fi 6E, 12MP Front/12MP Back Camera, Touch ID, All-Day Battery Life — Purple
-
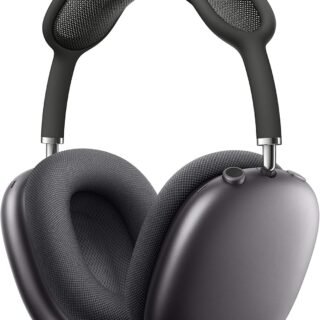 Apple AirPods Max Wireless Over-Ear Headphones, Active Noise Cancelling, Transparency Mode, Personalized Spatial Audio, Dolby Atmos, Bluetooth Headphones for iPhone – Space Gray
-
 Apple AirPods Pro 2 Wireless Earbuds, Active Noise Cancellation, Hearing Aid Feature, Bluetooth Headphones, Transparency, Personalized Spatial Audio, High-Fidelity Sound, H2 Chip, USB-C Charging
-
Home Garage 210 TC Cotton King Floral Fitted (Elastic) Bedsheet(Pack of 1, Grey)
Original price was: ₹999.00.₹299.00Current price is: ₹299.00.
Leave a Reply