Discounted Products
-
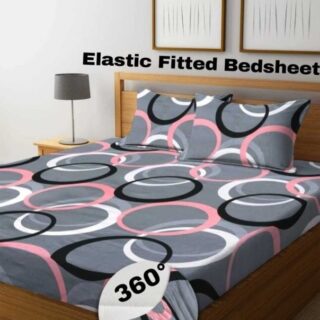 Home Garage 210 TC Cotton King Floral Fitted (Elastic) Bedsheet(Pack of 1, Grey)
Original price was: ₹999.00.₹299.00Current price is: ₹299.00.
Home Garage 210 TC Cotton King Floral Fitted (Elastic) Bedsheet(Pack of 1, Grey)
Original price was: ₹999.00.₹299.00Current price is: ₹299.00.
-
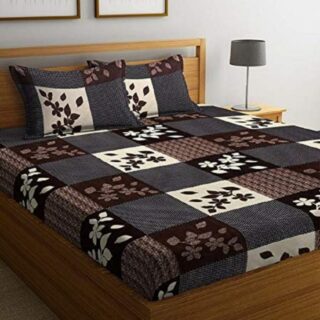 Goodrik 140 TC Cotton Double 3D Printed Flat Bedsheet(Pack of 1, Brown)
Original price was: ₹499.00.₹229.00Current price is: ₹229.00.
Goodrik 140 TC Cotton Double 3D Printed Flat Bedsheet(Pack of 1, Brown)
Original price was: ₹499.00.₹229.00Current price is: ₹229.00.
-
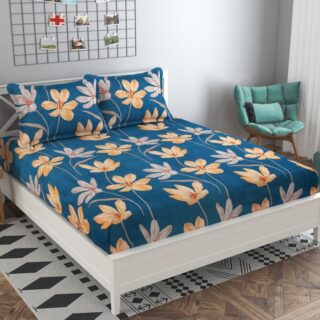 GLOBALSHOP 350 TC Microfiber Double Floral Flat Bedsheet(Pack of 1, Multicolor)
Original price was: ₹1,250.00.₹263.00Current price is: ₹263.00.
GLOBALSHOP 350 TC Microfiber Double Floral Flat Bedsheet(Pack of 1, Multicolor)
Original price was: ₹1,250.00.₹263.00Current price is: ₹263.00.
-
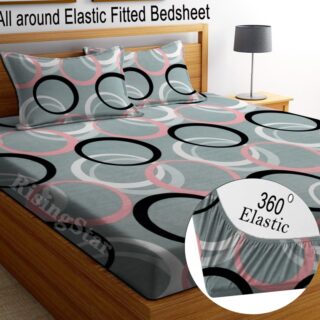 RisingStar 250 TC Microfiber King Printed Fitted (Elastic) Bedsheet(Pack of 1, FITTED-ROUND-CIRCLES-PREMIUM)
Original price was: ₹2,299.00.₹299.00Current price is: ₹299.00.
RisingStar 250 TC Microfiber King Printed Fitted (Elastic) Bedsheet(Pack of 1, FITTED-ROUND-CIRCLES-PREMIUM)
Original price was: ₹2,299.00.₹299.00Current price is: ₹299.00.
-
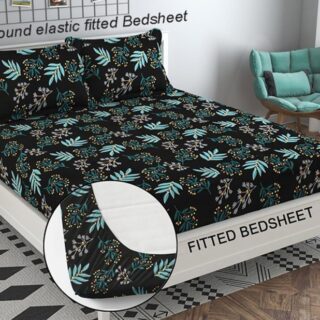 Home Garage 210 TC Cotton King Floral Fitted (Elastic) Bedsheet(Pack of 1, Fitted Black Green)
Original price was: ₹1,299.00.₹299.00Current price is: ₹299.00.
Home Garage 210 TC Cotton King Floral Fitted (Elastic) Bedsheet(Pack of 1, Fitted Black Green)
Original price was: ₹1,299.00.₹299.00Current price is: ₹299.00.
-
 Home Garage 180 TC Cotton King 3D Printed Flat Bedsheet(Pack of 1, White)
Original price was: ₹999.00.₹229.00Current price is: ₹229.00.
Home Garage 180 TC Cotton King 3D Printed Flat Bedsheet(Pack of 1, White)
Original price was: ₹999.00.₹229.00Current price is: ₹229.00.
-
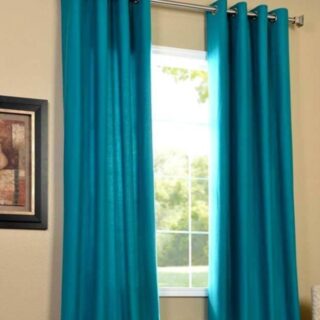 Panipat Textile Hub 152.4 cm (5 ft) Polyester Window Curtain (Pack Of 2)(Solid, Aqua)
Original price was: ₹1,899.00.₹299.00Current price is: ₹299.00.
Panipat Textile Hub 152.4 cm (5 ft) Polyester Window Curtain (Pack Of 2)(Solid, Aqua)
Original price was: ₹1,899.00.₹299.00Current price is: ₹299.00.
-
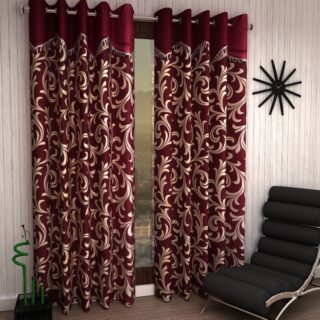 Home Sizzler 214 cm (7 ft) Polyester Semi Transparent Door Curtain (Pack Of 2)(Floral, Maroon)
Original price was: ₹1,199.00.₹399.00Current price is: ₹399.00.
Home Sizzler 214 cm (7 ft) Polyester Semi Transparent Door Curtain (Pack Of 2)(Floral, Maroon)
Original price was: ₹1,199.00.₹399.00Current price is: ₹399.00.
-
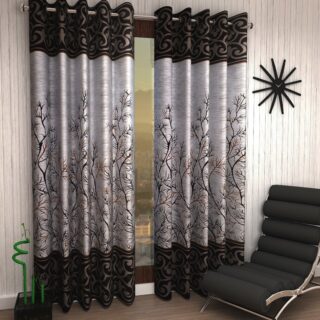 Home Sizzler 153 cm (5 ft) Polyester Room Darkening Window Curtain (Pack Of 2)(Floral, Brown)
Original price was: ₹799.00.₹299.00Current price is: ₹299.00.
Home Sizzler 153 cm (5 ft) Polyester Room Darkening Window Curtain (Pack Of 2)(Floral, Brown)
Original price was: ₹799.00.₹299.00Current price is: ₹299.00.
-
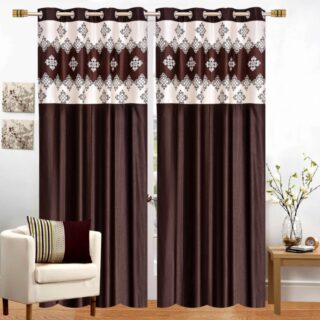 Stella Creations 214 cm (7 ft) Polyester Room Darkening Door Curtain (Pack Of 2)(Abstract, Brown)
Original price was: ₹1,299.00.₹449.00Current price is: ₹449.00.
Stella Creations 214 cm (7 ft) Polyester Room Darkening Door Curtain (Pack Of 2)(Abstract, Brown)
Original price was: ₹1,299.00.₹449.00Current price is: ₹449.00.
-
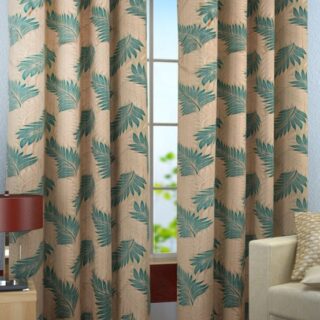 Homefab India 152.5 cm (5 ft) Polyester Room Darkening Window Curtain (Pack Of 2)(Floral, Light Blue)
Original price was: ₹1,199.00.₹319.00Current price is: ₹319.00.
Homefab India 152.5 cm (5 ft) Polyester Room Darkening Window Curtain (Pack Of 2)(Floral, Light Blue)
Original price was: ₹1,199.00.₹319.00Current price is: ₹319.00.
-
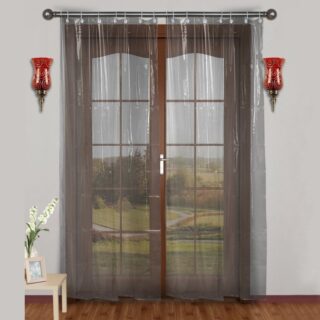 Urban Home 214 cm (7 ft) PVC Transparent Door Curtain Single Curtain(Solid, Off White)
Original price was: ₹699.00.₹203.00Current price is: ₹203.00.
Urban Home 214 cm (7 ft) PVC Transparent Door Curtain Single Curtain(Solid, Off White)
Original price was: ₹699.00.₹203.00Current price is: ₹203.00.
-
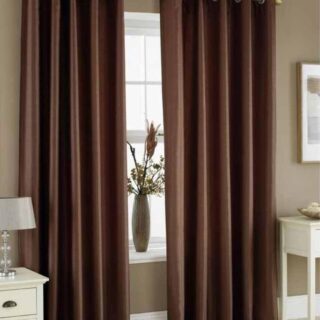 Panipat Textile Hub 213 cm (7 ft) Polyester Door Curtain (Pack Of 2)(Solid, Brown)
Original price was: ₹1,199.00.₹349.00Current price is: ₹349.00.
Panipat Textile Hub 213 cm (7 ft) Polyester Door Curtain (Pack Of 2)(Solid, Brown)
Original price was: ₹1,199.00.₹349.00Current price is: ₹349.00.
-
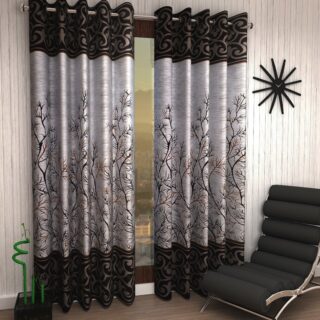 Home Sizzler 214 cm (7 ft) Polyester Semi Transparent Door Curtain (Pack Of 2)(Floral, Brown)
Original price was: ₹999.00.₹349.00Current price is: ₹349.00.
Home Sizzler 214 cm (7 ft) Polyester Semi Transparent Door Curtain (Pack Of 2)(Floral, Brown)
Original price was: ₹999.00.₹349.00Current price is: ₹349.00.
-
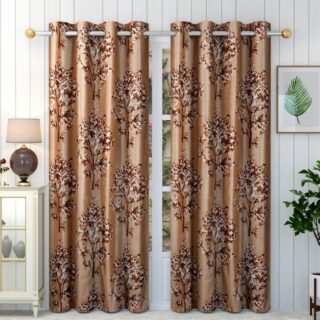 Panipat Textile Hub 213 cm (7 ft) Polyester Semi Transparent Door Curtain (Pack Of 2)(Floral, Brown)
Original price was: ₹899.00.₹299.00Current price is: ₹299.00.
Panipat Textile Hub 213 cm (7 ft) Polyester Semi Transparent Door Curtain (Pack Of 2)(Floral, Brown)
Original price was: ₹899.00.₹299.00Current price is: ₹299.00.
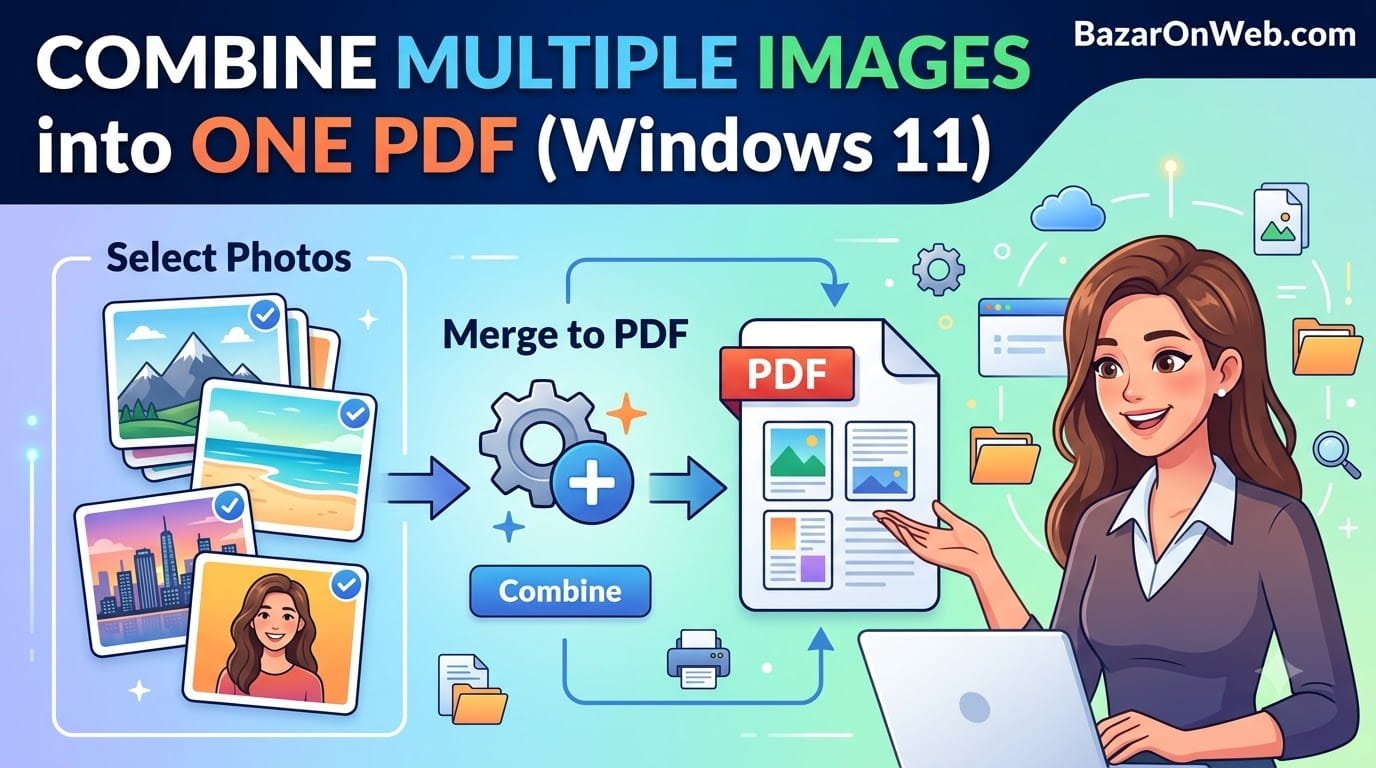
If you have several images that you want to share, archive, print, or submit together, converting them into a single PDF can make things much easier. Instead of sending multiple JPG, JPEG, or PNG files individually, you can combine them into one organized document.
The good news is that you don’t need to install a third-party PDF application to do this on Windows 11. The operating system includes a built-in Microsoft Print to PDF feature that can turn images into a PDF file.
You can select multiple images, arrange them in the order you want, choose the paper size and image layout, and then save everything as a single PDF document. This can be particularly useful when you need to submit scanned documents, create a photo collection, share screenshots, or organize receipts and other images.
In this guide, I’ll show you how to combine multiple images into one PDF on Windows 11 using the built-in tools. I’ll also cover how to arrange images correctly, choose the right layout, troubleshoot common problems, and make sure the final PDF looks the way you expect.
What You Need Before Combining Images into a PDF
Before getting started, make sure all the images you want to combine are available on your Windows 11 PC.
Windows supports several common image formats, including:
- JPG or JPEG
- PNG
- BMP
- GIF
- TIFF
For the easiest experience, I recommend putting all the images into a single folder. This makes it easier to select them together and helps you keep track of the correct order.
It is also a good idea to rename the files if their order matters.
For example, if you are combining scanned pages, you could rename them:
- Page 01.jpg
- Page 02.jpg
- Page 03.jpg
- Page 04.jpg
This helps Windows arrange the files in the intended sequence.
How to Combine Multiple Images into One PDF on Windows 11
The simplest method is to use File Explorer and the built-in Microsoft Print to PDF printer.
You don’t need Microsoft Word, Adobe Acrobat, or another PDF converter.
Step 1: Put All Images in One Folder
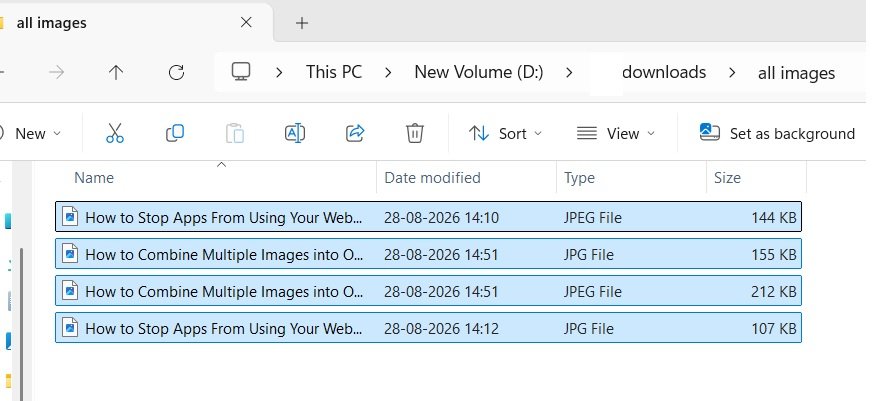
First, open File Explorer on your Windows 11 computer.
Navigate to the folder containing the images you want to combine.
If your images are stored in different locations, copy or move them into one folder temporarily. This isn’t mandatory, but it makes the process much easier.
Before proceeding, check the order of your images.
Windows generally uses the order in which the files are displayed or selected when creating the PDF. Therefore, if the order is important, sort or rename the files appropriately.
Step 2: Select the Images
Once all your images are in the same folder, select the files you want to include in the PDF.
You can hold the Ctrl key and click individual images if you only want to select specific files.
Alternatively, press Ctrl + A if the folder contains only the images you want to convert.
You can also select a range of files by clicking the first image, holding Shift, and clicking the last image.
Take a moment to make sure you’ve selected every image you need.
Step 3: Right-Click the Selected Images
After selecting your images, right-click one of the selected files.
Windows 11 may display its newer compact context menu.
Look for the option related to printing. Depending on your Windows configuration and the file types selected, you may need to click Show more options to access the traditional context menu.
Select Print.
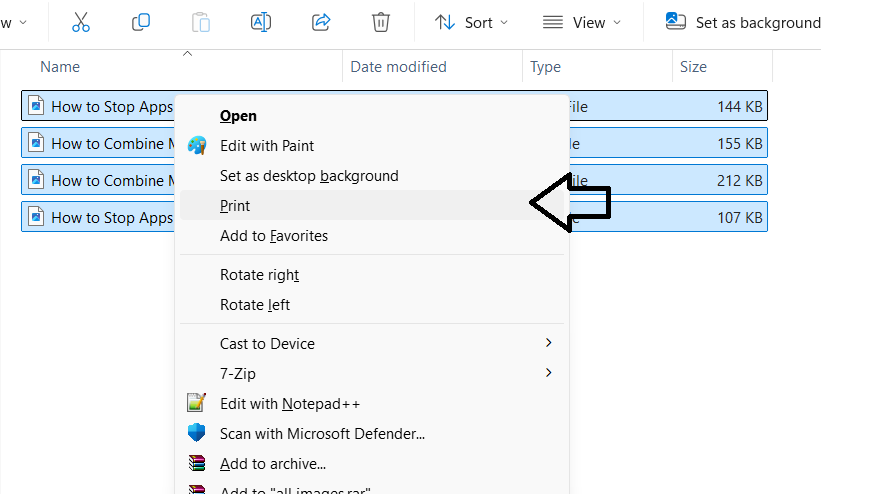
This opens the Windows image printing interface.
Step 4: Select Microsoft Print to PDF
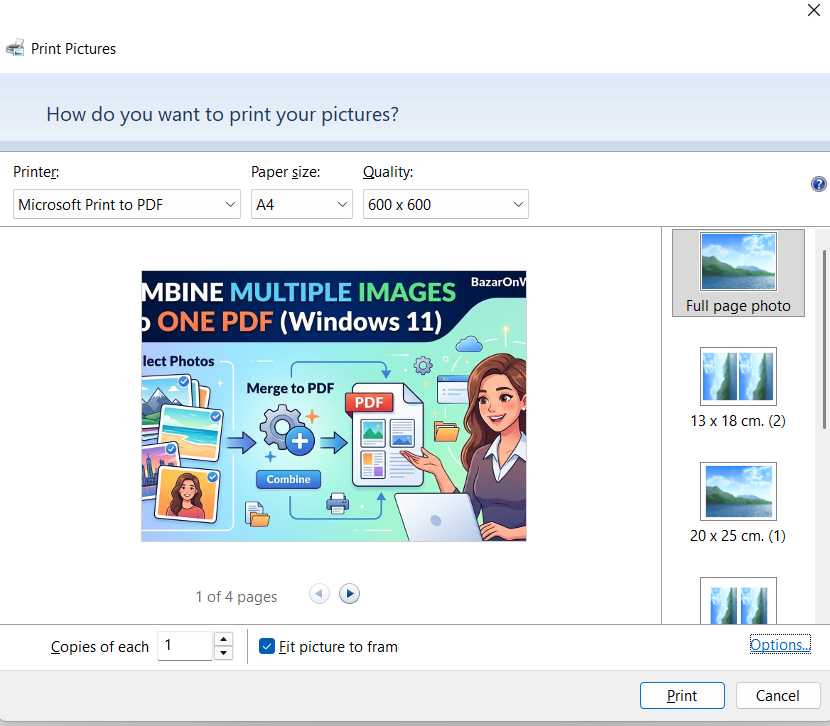
The Print Pictures window should now appear.
You will see several options that control how your images will be placed on the PDF pages.
Look for the Printer dropdown menu.
Click it and select:
Microsoft Print to PDF
This is Windows 11’s built-in virtual printer. Instead of sending your images to a physical printer, it creates a PDF file.
If you don’t see Microsoft Print to PDF, don’t worry. I’ll explain how to troubleshoot this later in the article.
Step 5: Choose the Paper Size
Next, select the paper size you want to use for the PDF.
For most documents, A4 is a practical choice, especially if you’re creating a PDF for work, school, government forms, or general document sharing.
You may also see options such as:
- Letter
- Legal
- A3
- A5
- Other available paper sizes
Choose the size that best matches your intended use.
If you’re creating a photo-focused PDF, you may want to experiment with different sizes to see which one preserves the images most effectively.
Step 6: Choose the Image Layout
The next important option is the layout.
Windows lets you place one or more images on each PDF page.
Depending on your selected images and available options, you may see layouts such as:
- Full page photo
- 2 images per page
- 4 images per page
- 9 images per page
- 35 images per page
If you’re combining scanned documents, Full page photo is usually the best option because it keeps each image on its own page.
If you’re creating a photo collection, contact sheet, or visual reference document, putting multiple images on a single page may be more useful.
Take a look at the preview before continuing.
Step 7: Adjust the Image to Fit the Page
Windows also provides an option called:
Fit picture to frame
This setting can affect how your images appear on the PDF page.
When enabled, Windows may enlarge the image to fill the available space. This can make the document look cleaner, but it can also crop parts of an image if its aspect ratio doesn’t match the selected paper size.
If you’re working with important documents, receipts, screenshots, or photographs where every part of the image needs to remain visible, pay attention to the preview.
If necessary, disable Fit picture to frame.
Step 8: Preview the PDF Layout
Before creating the PDF, review the preview shown in the Print Pictures window.
Check:
- Image order
- Number of images per page
- Image orientation
- Paper size
- Cropping
- Margins
- Overall appearance
If something looks wrong, change the layout or paper settings before proceeding.
This step is especially important if the PDF contains documents that need to remain readable.
Step 9: Click Print
Once everything looks correct, click Print.
Windows will now ask where you want to save the PDF.
Browse to the folder where you want to store the document.
Enter a suitable filename.
For example:
Combined_Images.pdf
Then click Save.
Windows will process the selected images and create a single PDF file.
Step 10: Open and Check the PDF
Navigate to the location where you saved the PDF.
Double-click the file to open it using your default PDF viewer.
Go through every page and check that:
- All images are included
- The images are in the correct order
- Nothing important has been cropped
- Text inside images is readable
- Pages are correctly oriented
- The file opens normally
If everything looks good, your combined PDF is ready to share or upload.
How to Get the Correct Image Order
One common issue when combining images into a PDF is incorrect page order.
For example, you may have:
- Page 1
- Page 2
- Page 3
- Page 4
- Page 5
but the resulting PDF may not appear in the sequence you expected.
The easiest way to avoid this is to rename the files with numbers.
Instead of:
- Scan.jpg
- Scan (1).jpg
- Scan (2).jpg
- Scan (3).jpg
use:
- 01.jpg
- 02.jpg
- 03.jpg
- 04.jpg
For documents with more than nine pages, use leading zeros:
- 01
- 02
- 03
- …
- 10
- 11
- 12
This keeps the files properly sorted.
You can then select them in File Explorer and use the Print option.
How to Put Multiple Images on One PDF Page
You don’t necessarily need one image per PDF page.
Windows 11 can place multiple images on the same page through the Print Pictures layout options.
For example, if you’re creating a photo sheet, you could choose a layout that places four images on one page.
This can significantly reduce the number of pages in your PDF.
However, keep readability in mind.
If the images contain text, placing several images on one page can make the text too small to read. For scanned documents, forms, receipts, and screenshots, one image per page is generally a better choice.
For ordinary photographs, however, multiple images per page can create a neat photo-book-style PDF.
What If Microsoft Print to PDF Is Missing?
In some cases, Microsoft Print to PDF may not appear in the printer list.
This can happen if the Windows feature has been disabled.
You can check whether the feature is enabled through Windows Features.
Press Windows + R to open the Run dialog.
Type:
optionalfeatures
and press Enter.
The Windows Features window will open.
Look for:
Microsoft Print to PDF
Make sure the checkbox next to it is enabled.
If it isn’t selected, enable it and click OK.
Windows may take a moment to apply the change.
Afterward, restart the application or File Explorer and try the printing process again.
What If the Images Are Cropped?
Cropping is another issue you may encounter.
The problem usually happens because the image’s aspect ratio doesn’t match the selected paper size.
For example, a wide photograph may not fit perfectly on an A4 portrait page.
If Windows tries to fill the entire frame, some edges may be cut off.
To avoid this, review the Fit picture to frame setting.
You can also choose a different layout or paper orientation when available.
If preserving the complete image is more important than filling the page, choose settings that leave some white space around the image rather than forcing it to fill the entire page.
What If the PDF Is Too Large?
Combining many high-resolution images can result in a very large PDF.
For example, a PDF containing dozens of original smartphone photographs could easily become hundreds of megabytes.
A large PDF can be difficult to upload or send through email.
One way to prevent this is to resize or compress your images before creating the PDF.
If the images are intended only for viewing on a computer or phone, you may not need their original camera resolution.
However, be careful when compressing scanned documents. Excessive compression can make small text blurry or unreadable.
For documents that need to be printed, submitted, or archived, keep sufficient image quality.
Can You Combine PNG and JPG Images?
Yes.
You can generally combine different supported image formats into the same PDF.
For example, your folder could contain:
- Photo1.jpg
- Screenshot1.png
- Scan1.jpg
- Diagram.png
Windows can process these images together through the Print Pictures interface.
You don’t have to convert every image to JPG first.
Can You Combine Images Without Installing Software?
Yes, and this is one of the biggest advantages of using Windows 11.
The built-in Microsoft Print to PDF functionality is enough for basic image-to-PDF tasks.
You don’t need to install a dedicated PDF editor simply to combine several images.
Third-party software can still be useful if you need advanced features such as:
- PDF compression
- OCR
- Password protection
- Digital signatures
- PDF page rearrangement
- Advanced image editing
- PDF merging after creation
But for simply turning multiple images into one PDF, Windows 11 already provides a straightforward solution.
Alternative: Use Microsoft Photos
Depending on your Windows 11 setup and installed applications, you may also be able to open and work with images through the Microsoft Photos application.
However, for creating a multi-image PDF, the File Explorer → Print → Microsoft Print to PDF method is generally more direct because it allows you to select multiple files at once and control their page layout.
Tips for Creating a Better Image PDF
Here are a few things I recommend before creating your final PDF.
Use descriptive filenames: Number your files if their order matters.
Keep similar images together: Put all the images for one PDF in a dedicated folder.
Check orientation: Rotate portrait and landscape images correctly before creating the PDF.
Use A4 for documents: It is a practical standard for many professional and administrative documents.
Don’t over-compress: Make sure text remains readable.
Review the PDF: Always open the final PDF and check every page.
Avoid unnecessary images: Removing unwanted images before printing keeps the final PDF smaller.
Use one image per page for documents: This generally provides better readability.
Why Use a PDF Instead of Sending Multiple Images?
There are several practical reasons to combine images into a PDF.
First, it keeps everything in a single file. Instead of attaching 10 separate images to an email, you can send one PDF.
Second, PDFs are widely supported across Windows, macOS, Android, iOS, and web browsers.
Third, a PDF can preserve the intended order of your images.
This can be particularly helpful when submitting documents online. For example, you might need to submit photographs of identification documents, receipts, certificates, forms, or handwritten pages.
A PDF also makes it easier for the recipient to scroll through the entire collection without opening each image individually.
Final Thoughts
Combining multiple images into one PDF on Windows 11 is much easier than it might initially seem. You don’t necessarily need a third-party PDF application or an online conversion website.
The built-in Microsoft Print to PDF feature can handle the basic process directly from File Explorer. Select your images, choose Print, select Microsoft Print to PDF, adjust the page size and layout, and save the resulting file.
The most important thing is to prepare your images properly before starting. If the order matters, rename them with numbers. If you’re working with scanned documents, use a full-page layout and make sure nothing is cropped. And if the resulting PDF is too large, consider resizing the images before converting them.
For occasional tasks, the built-in Windows 11 method is more than enough. It is quick, free, and doesn’t require you to upload private images to an online PDF conversion service.
So, the next time you have a folder full of images that needs to become a single document, you can create the PDF directly from your Windows 11 PC in just a few steps.
Disclaimer
This article is intended for general informational and educational purposes only. The Windows 11 interface, menu names, available options, and Microsoft Print to PDF functionality may vary depending on your Windows version, updates, system configuration, and installed applications. The steps described in this guide are based on commonly available Windows 11 features and may change with future updates. Always review the final PDF before sharing, submitting, printing, or using it for official purposes. We are not responsible for any data loss, formatting issues, compatibility problems, or other consequences resulting from following these instructions.

- How to Transcribe Audio Live on Your iPhone

- Killer Network Service: Is It a Virus or Safe to Disable?

- How to Set Up Parental Controls on Windows 11: A Step-by-Step Guide

- How to Extract Audio From a Video: Easy Ways to Save Audio

- How to Set a Photo Album as Your Wallpaper on iPhone: Step-by-Step Guide

Products
-
![Apple Watch Ultra 3 [GPS + Cellular 49mm] Running & Multisport Smartwatch w/Rugged Titanium Case w/Black Titanium Milanese Loop - M. Satellite Communications, Advanced Health & Fitness Tracking](https://bazaronweb.com/retailstores/wp-content/uploads/2025/09/apple-watch-320x320.jpg) Apple Watch Ultra 3 [GPS + Cellular 49mm] Running & Multisport Smartwatch w/Rugged Titanium Case w/Black Titanium Milanese Loop - M. Satellite Communications, Advanced Health & Fitness Tracking
Apple Watch Ultra 3 [GPS + Cellular 49mm] Running & Multisport Smartwatch w/Rugged Titanium Case w/Black Titanium Milanese Loop - M. Satellite Communications, Advanced Health & Fitness Tracking
-
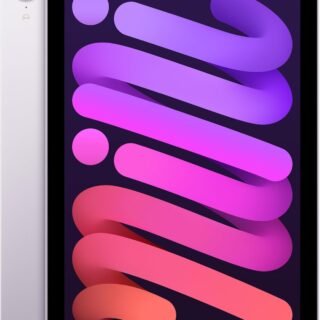 Apple iPad mini (A17 Pro): Apple Intelligence, 8.3-inch Liquid Retina Display, 256GB, Wi-Fi 6E, 12MP Front/12MP Back Camera, Touch ID, All-Day Battery Life — Purple
-
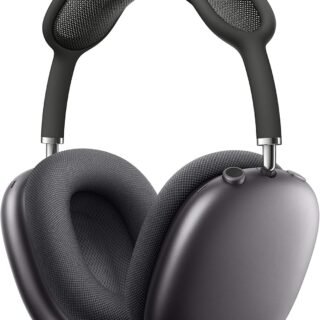 Apple AirPods Max Wireless Over-Ear Headphones, Active Noise Cancelling, Transparency Mode, Personalized Spatial Audio, Dolby Atmos, Bluetooth Headphones for iPhone – Space Gray
-
 Apple AirPods Pro 2 Wireless Earbuds, Active Noise Cancellation, Hearing Aid Feature, Bluetooth Headphones, Transparency, Personalized Spatial Audio, High-Fidelity Sound, H2 Chip, USB-C Charging
-
Home Garage 210 TC Cotton King Floral Fitted (Elastic) Bedsheet(Pack of 1, Grey)
Original price was: ₹999.00.₹299.00Current price is: ₹299.00.
Leave a Reply