Discounted Products
-
 Home Garage 210 TC Cotton King Floral Fitted (Elastic) Bedsheet(Pack of 1, Grey)
Original price was: ₹999.00.₹299.00Current price is: ₹299.00.
Home Garage 210 TC Cotton King Floral Fitted (Elastic) Bedsheet(Pack of 1, Grey)
Original price was: ₹999.00.₹299.00Current price is: ₹299.00.
-
 Goodrik 140 TC Cotton Double 3D Printed Flat Bedsheet(Pack of 1, Brown)
Original price was: ₹499.00.₹229.00Current price is: ₹229.00.
Goodrik 140 TC Cotton Double 3D Printed Flat Bedsheet(Pack of 1, Brown)
Original price was: ₹499.00.₹229.00Current price is: ₹229.00.
-
 GLOBALSHOP 350 TC Microfiber Double Floral Flat Bedsheet(Pack of 1, Multicolor)
Original price was: ₹1,250.00.₹263.00Current price is: ₹263.00.
GLOBALSHOP 350 TC Microfiber Double Floral Flat Bedsheet(Pack of 1, Multicolor)
Original price was: ₹1,250.00.₹263.00Current price is: ₹263.00.
-
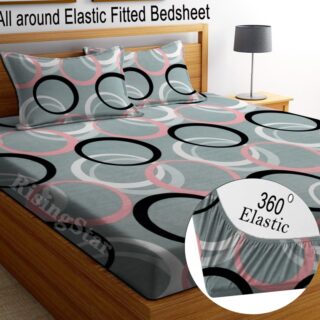 RisingStar 250 TC Microfiber King Printed Fitted (Elastic) Bedsheet(Pack of 1, FITTED-ROUND-CIRCLES-PREMIUM)
Original price was: ₹2,299.00.₹299.00Current price is: ₹299.00.
RisingStar 250 TC Microfiber King Printed Fitted (Elastic) Bedsheet(Pack of 1, FITTED-ROUND-CIRCLES-PREMIUM)
Original price was: ₹2,299.00.₹299.00Current price is: ₹299.00.
-
 Home Garage 210 TC Cotton King Floral Fitted (Elastic) Bedsheet(Pack of 1, Fitted Black Green)
Original price was: ₹1,299.00.₹299.00Current price is: ₹299.00.
Home Garage 210 TC Cotton King Floral Fitted (Elastic) Bedsheet(Pack of 1, Fitted Black Green)
Original price was: ₹1,299.00.₹299.00Current price is: ₹299.00.
-
 Home Garage 180 TC Cotton King 3D Printed Flat Bedsheet(Pack of 1, White)
Original price was: ₹999.00.₹229.00Current price is: ₹229.00.
Home Garage 180 TC Cotton King 3D Printed Flat Bedsheet(Pack of 1, White)
Original price was: ₹999.00.₹229.00Current price is: ₹229.00.
-
 Panipat Textile Hub 152.4 cm (5 ft) Polyester Window Curtain (Pack Of 2)(Solid, Aqua)
Original price was: ₹1,899.00.₹299.00Current price is: ₹299.00.
Panipat Textile Hub 152.4 cm (5 ft) Polyester Window Curtain (Pack Of 2)(Solid, Aqua)
Original price was: ₹1,899.00.₹299.00Current price is: ₹299.00.
-
 Home Sizzler 214 cm (7 ft) Polyester Semi Transparent Door Curtain (Pack Of 2)(Floral, Maroon)
Original price was: ₹1,199.00.₹399.00Current price is: ₹399.00.
Home Sizzler 214 cm (7 ft) Polyester Semi Transparent Door Curtain (Pack Of 2)(Floral, Maroon)
Original price was: ₹1,199.00.₹399.00Current price is: ₹399.00.
-
 Home Sizzler 153 cm (5 ft) Polyester Room Darkening Window Curtain (Pack Of 2)(Floral, Brown)
Original price was: ₹799.00.₹299.00Current price is: ₹299.00.
Home Sizzler 153 cm (5 ft) Polyester Room Darkening Window Curtain (Pack Of 2)(Floral, Brown)
Original price was: ₹799.00.₹299.00Current price is: ₹299.00.
-
 Stella Creations 214 cm (7 ft) Polyester Room Darkening Door Curtain (Pack Of 2)(Abstract, Brown)
Original price was: ₹1,299.00.₹449.00Current price is: ₹449.00.
Stella Creations 214 cm (7 ft) Polyester Room Darkening Door Curtain (Pack Of 2)(Abstract, Brown)
Original price was: ₹1,299.00.₹449.00Current price is: ₹449.00.
-
 Homefab India 152.5 cm (5 ft) Polyester Room Darkening Window Curtain (Pack Of 2)(Floral, Light Blue)
Original price was: ₹1,199.00.₹319.00Current price is: ₹319.00.
Homefab India 152.5 cm (5 ft) Polyester Room Darkening Window Curtain (Pack Of 2)(Floral, Light Blue)
Original price was: ₹1,199.00.₹319.00Current price is: ₹319.00.
-
 Urban Home 214 cm (7 ft) PVC Transparent Door Curtain Single Curtain(Solid, Off White)
Original price was: ₹699.00.₹203.00Current price is: ₹203.00.
Urban Home 214 cm (7 ft) PVC Transparent Door Curtain Single Curtain(Solid, Off White)
Original price was: ₹699.00.₹203.00Current price is: ₹203.00.
-
 Panipat Textile Hub 213 cm (7 ft) Polyester Door Curtain (Pack Of 2)(Solid, Brown)
Original price was: ₹1,199.00.₹349.00Current price is: ₹349.00.
Panipat Textile Hub 213 cm (7 ft) Polyester Door Curtain (Pack Of 2)(Solid, Brown)
Original price was: ₹1,199.00.₹349.00Current price is: ₹349.00.
-
 Home Sizzler 214 cm (7 ft) Polyester Semi Transparent Door Curtain (Pack Of 2)(Floral, Brown)
Original price was: ₹999.00.₹349.00Current price is: ₹349.00.
Home Sizzler 214 cm (7 ft) Polyester Semi Transparent Door Curtain (Pack Of 2)(Floral, Brown)
Original price was: ₹999.00.₹349.00Current price is: ₹349.00.
-
 Panipat Textile Hub 213 cm (7 ft) Polyester Semi Transparent Door Curtain (Pack Of 2)(Floral, Brown)
Original price was: ₹899.00.₹299.00Current price is: ₹299.00.
Panipat Textile Hub 213 cm (7 ft) Polyester Semi Transparent Door Curtain (Pack Of 2)(Floral, Brown)
Original price was: ₹899.00.₹299.00Current price is: ₹299.00.
If your MacBook is running out of storage, an external SSD can be one of the easiest ways to add more space without opening the computer or replacing its internal drive. External SSDs are also useful for storing photos, videos, documents, backups, project files, and other data that you do not want taking up space on your MacBook.
The good news is that connecting an external SSD to a MacBook is usually very simple. In most cases, you only need the SSD and a compatible cable. Once connected, macOS should recognize the drive automatically and display it in Finder.
However, things can become slightly confusing if the SSD is new, uses a Windows-compatible file system, does not appear in Finder, or requires a different cable or adapter.
In this guide, I will walk you through the complete process of connecting an external SSD to a MacBook, checking whether macOS recognizes it, formatting it when necessary, transferring files, and safely disconnecting it.
What You Need Before Connecting an External SSD
Before you start, check that you have everything required for the connection.
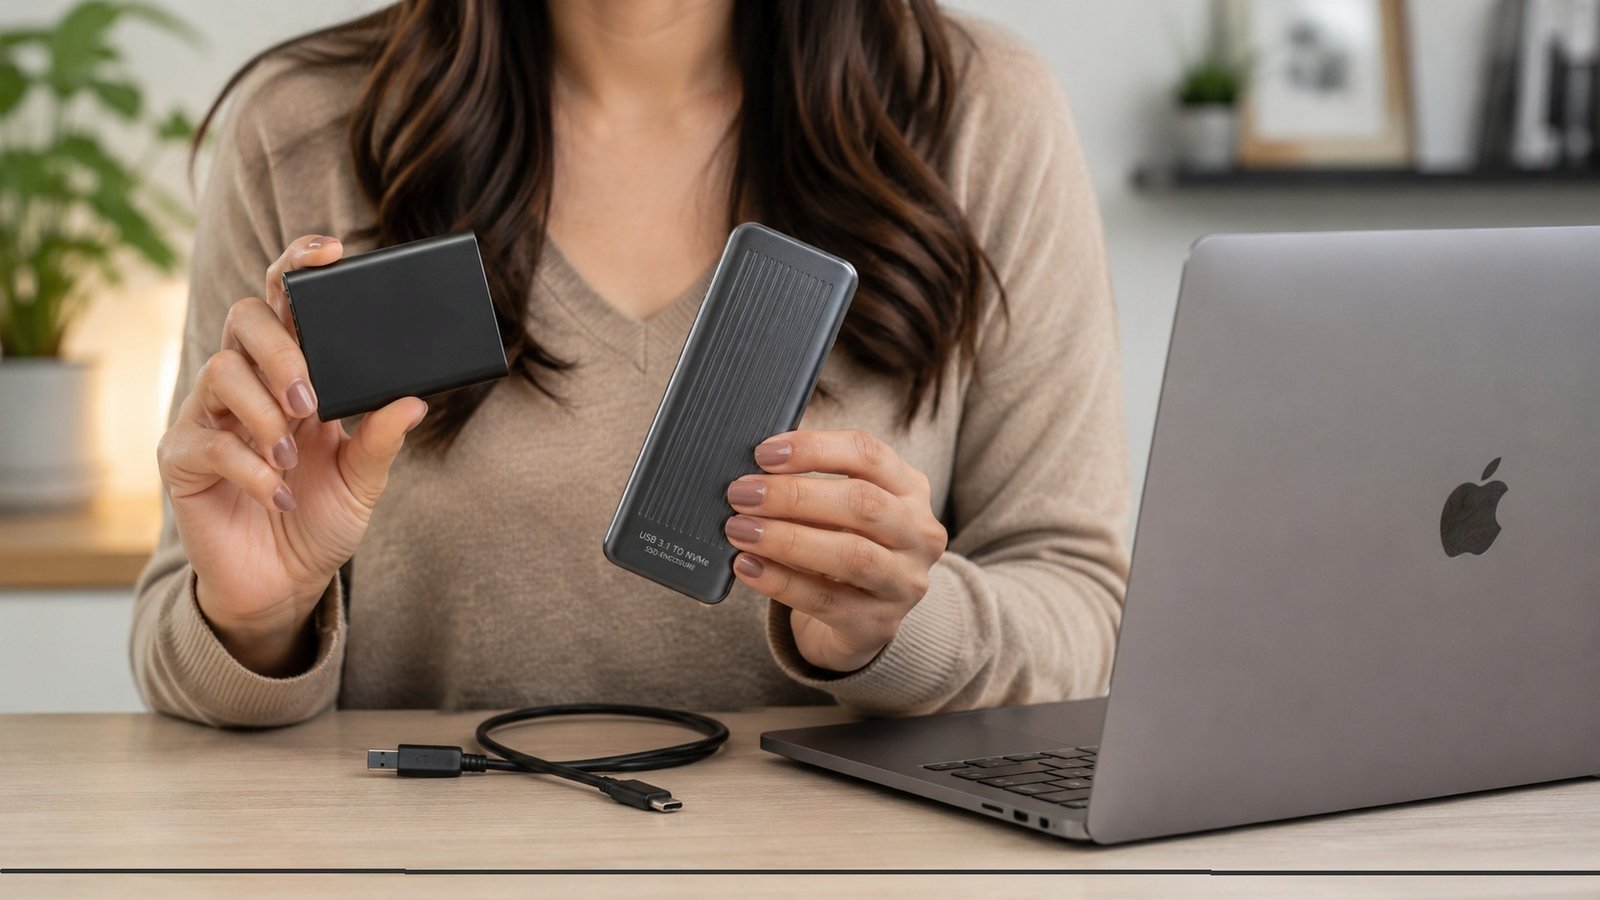
You will generally need:
- An external SSD
- A compatible USB cable
- A MacBook with a compatible port
- A USB-C adapter or hub if required
- Disk Utility, which is already included with macOS
Most newer MacBook models use USB-C or Thunderbolt ports. Older MacBooks may have USB-A ports or a combination of different connections.
The important thing is to check the connector on both the SSD and your MacBook.
For example, if your SSD has a USB-C connector and your MacBook also has USB-C ports, you can usually connect the drive directly.
If your SSD uses USB-A while your MacBook only has USB-C ports, you will need a USB-C to USB-A adapter, hub, or compatible cable.
Step 1: Check the SSD and Cable
Before plugging anything into your MacBook, check the SSD and its cable.
If you are using a portable external SSD, it may come with a USB-C cable or another type of USB cable. Make sure the cable supports data transfer. Some inexpensive USB cables are designed primarily for charging and may not work properly for storage devices.
If you are using an internal M.2 NVMe SSD inside an external enclosure, make sure the SSD is correctly installed inside the enclosure and that the enclosure supports the type and size of SSD you are using.
A properly assembled enclosure should have a USB port that can connect to your MacBook.
Step 2: Connect the External SSD to Your MacBook
Now connect the SSD to your MacBook.
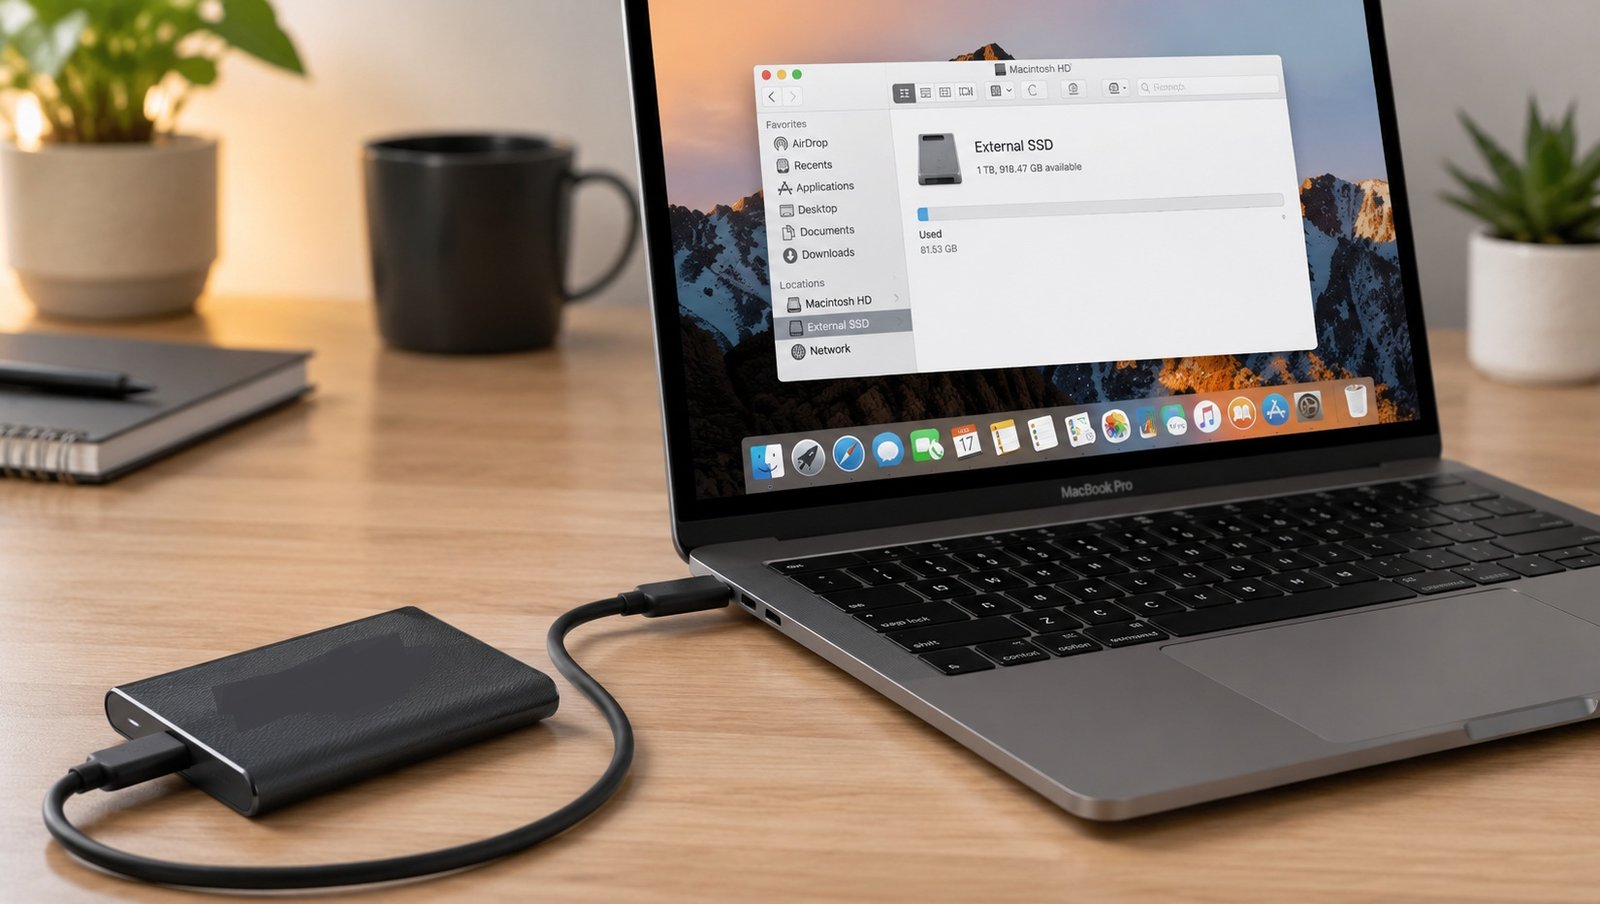
Plug one end of the cable into the SSD and the other end into the appropriate port on your MacBook.
If you are using a hub or adapter, connect the adapter to the MacBook first and then connect the SSD to the adapter.
After connecting the drive, wait a few seconds.
macOS should normally detect the external SSD automatically.
You may hear a connection sound, see activity on the SSD, or notice the drive appear in Finder.
If nothing appears immediately, do not format the drive or disconnect it repeatedly. First, check whether macOS recognizes the device using the steps below.
Step 3: Open Finder and Look for the SSD
The easiest way to check whether the SSD has been detected is through Finder.
Open Finder from the Dock.
Look at the left-hand sidebar. Under Locations, you should see the name of your external SSD.
Click the SSD to open it.
If you can see folders and files stored on the drive, the connection is working correctly.
If the SSD is new or empty, you may see an empty folder instead.
You can also change Finder settings if external drives are not appearing in the sidebar.
Open Finder > Settings and select the Sidebar tab. Make sure external disks are enabled under the Locations section.
This setting controls whether external storage devices appear in Finder’s sidebar.
Step 4: Check the SSD in Disk Utility
If the SSD does not appear in Finder, the next place to check is Disk Utility.
Open Disk Utility by pressing Command + Space, typing Disk Utility, and pressing Enter.
Alternatively, you can find it through:
Applications > Utilities > Disk Utility
Disk Utility provides information about internal and external storage devices connected to your Mac.
Look at the left side of the window.
If your external SSD is listed there, macOS can detect the physical drive even if Finder is not displaying it.
Select the SSD and check the information shown on the screen.
You may see details such as the drive capacity, partition information, connection type, and file system.
If the physical SSD appears but the volume is not mounted, you may see a Mount option. Click it and check Finder again.
Step 5: Format a New SSD if Necessary
If the SSD is brand new, it may need to be formatted before you can use it.
You should also be careful with this step because formatting erases the data on the selected drive.
If the SSD already contains important files, do not format it until you have confirmed that you have a backup.
If the drive is empty and you want to prepare it for use with your MacBook, open Disk Utility and select the appropriate external drive.
Click Erase.
You will be asked to choose a name and file system.
For a drive that will mainly be used with Macs, APFS is generally a good choice for modern macOS systems, particularly when the SSD will be used primarily for Mac storage.
If you need the SSD to work with both Mac and Windows computers, exFAT can be a practical option because it supports file transfers between the two platforms.
Choose the appropriate format and confirm the erase operation.
Once formatting finishes, the SSD should appear in Finder.
Step 6: Understand APFS, exFAT and Other Formats
Choosing the correct file system is important because it affects compatibility and how you use the drive.
APFS: Apple’s modern file system. It is a strong choice when the SSD is primarily being used with Macs.
exFAT: Useful when you regularly move files between macOS and Windows.
Mac OS Extended: An older Mac file system that may still be useful for certain older Mac workflows and drives.
NTFS: Commonly used by Windows. macOS can generally read NTFS drives but does not normally provide native full write support.
If you connect an NTFS-formatted SSD to your MacBook and cannot copy files onto it, the file system may be the reason.
Rather than immediately assuming the SSD is defective, check its format in Disk Utility.
Step 7: Transfer Files to the External SSD
Once the SSD is connected and properly formatted, you can start moving files.
Open Finder and locate the files or folders you want to transfer.
You can drag files directly onto the external SSD in Finder.
For example, you could create folders such as:
- Photos
- Videos
- Documents
- Work Projects
- Backups
- Downloads
Keeping your external SSD organized from the beginning makes it much easier to find files later.
You can also copy files instead of moving them. To copy a file, select it and use Command + C, open the SSD, and press Command + V.
This is particularly useful when you want to keep the original file on your MacBook.
Step 8: Check the Available Storage
After transferring files, you can check how much space remains on the SSD.
Right-click the SSD in Finder and select Get Info.
You should see information about the drive, including its capacity and available space.
Remember that the advertised capacity of an SSD and the usable capacity shown by macOS may differ slightly.
It is also a good idea to avoid filling the drive completely. Keeping some free space can make file management easier and leave room for temporary operations.
Step 9: Use the SSD for Photos and Videos
External SSDs are particularly useful if you work with large files.
Photos, 4K videos, screen recordings, design projects, and other media can consume hundreds of gigabytes surprisingly quickly.
Instead of storing everything on your MacBook’s internal drive, you can create dedicated folders on the external SSD.
For example, you could create:
External SSD > Photography > 2026
or
External SSD > Video Projects > Completed
This approach keeps your MacBook’s internal storage more manageable while still giving you quick access to large files.
Step 10: Safely Eject the External SSD
When you are finished using the SSD, do not immediately unplug the cable.
First, safely eject the drive.
In Finder, locate the SSD under Locations.
Click the eject icon next to its name.
You can also right-click the drive and select Eject.
Wait until the SSD disappears from Finder.
Only then disconnect the cable.
This reduces the risk of interrupting a file transfer or damaging the file system.
If macOS says that the disk cannot be ejected because an application is using it, close any files or applications that may be accessing the SSD and try again.
[Placeholder here: Finder showing an external SSD under Locations with the eject option]
What If the External SSD Does Not Appear?
If your MacBook does not recognize the external SSD, work through these checks.
First, disconnect the SSD and reconnect it.
Next, try another USB-C or USB cable if you have one available.
You should also try another port on the MacBook.
If you are using a USB hub, connect the SSD directly to the MacBook if possible. Some hubs may have compatibility, power, or bandwidth limitations.
Then open Disk Utility and check whether the SSD appears there.
If it appears in Disk Utility but not Finder, check whether the volume is mounted and whether Finder is configured to show external disks.
If the drive does not appear anywhere, the issue could involve the cable, enclosure, USB port, SSD, or power connection.
What If the SSD Is Read Only?
Another common issue is being able to open files on the SSD but not save new files.
This often happens when the drive is formatted using NTFS.
Check the drive’s file system in Disk Utility.
If you need to use the SSD with both Windows and Mac, you may want to back up the data and reformat the drive as exFAT.
Remember that reformatting erases the existing data, so always create a backup before doing this.
Can You Connect an NVMe SSD to a MacBook?
Yes. You can use an NVMe SSD with a MacBook by placing the compatible M.2 SSD inside an external NVMe enclosure.
The enclosure essentially turns the internal SSD into an external storage device.
The setup is straightforward:
- Install the compatible NVMe SSD inside the enclosure.
- Secure the SSD according to the enclosure instructions.
- Close the enclosure.
- Connect it to the MacBook using the supplied USB-C cable.
- Open Disk Utility.
- Format the drive if necessary.
- Open Finder and start using the SSD.
However, make sure the enclosure supports the specific NVMe SSD interface and physical size before purchasing one.
Tips for Getting Better Performance
If you are using an external SSD for large file transfers, a few simple practices can help.
Use a high-quality data cable that supports the required transfer speed.
Connect the SSD directly to the MacBook whenever possible.
Avoid placing the SSD somewhere that gets excessively hot.
For demanding workflows such as video editing, check the SSD’s advertised speed and the enclosure’s interface because the slowest component can limit the overall transfer rate.
Also remember that not every USB-C port or cable provides the same performance. USB-C describes the connector shape, not necessarily the exact data-transfer standard.
Final Thoughts
Connecting an external SSD to a MacBook is usually a straightforward process. Plug the SSD into a compatible port, open Finder, and look under Locations. If macOS recognizes the drive, you can immediately start accessing or transferring files.
If the SSD is new, Disk Utility can help you prepare and format it. APFS is generally suitable for Mac-focused storage, while exFAT is useful when the drive needs to move between Mac and Windows computers.
The most important thing to remember is to protect your data. Never format an SSD that contains important files unless you have a separate backup. And when you finish using the drive, eject it through Finder before disconnecting the cable.
Once everything is set up, an external SSD can be a convenient way to expand your MacBook’s storage, keep large files organized, and create a flexible workspace without replacing the MacBook’s internal drive.
Disclaimer
This guide is provided for general informational and educational purposes. Menu names, settings, supported file systems, ports, and available features may vary depending on your MacBook model, macOS version, external SSD, enclosure, cable, and adapters.
Formatting or erasing an SSD can permanently delete data. Always create a verified backup of important files before formatting, partitioning, repairing, or modifying a storage device.
The recommendations in this article are general guidance and should not be considered professional technical advice. If an SSD contains critical or irreplaceable data and is not being recognized, avoid repeated formatting or repair attempts and consider consulting a qualified data-recovery or technical-support professional.

- Killer Network Service: Is It a Virus or Safe to Disable?

- How to Set Up Parental Controls on Windows 11: A Step-by-Step Guide

- How to Extract Audio From a Video: Easy Ways to Save Audio

- How to Set a Photo Album as Your Wallpaper on iPhone: Step-by-Step Guide

- How to Convert a Bootable USB Drive to an ISO File in Windows

Products
-
![Apple Watch Ultra 3 [GPS + Cellular 49mm] Running & Multisport Smartwatch w/Rugged Titanium Case w/Black Titanium Milanese Loop - M. Satellite Communications, Advanced Health & Fitness Tracking](https://bazaronweb.com/retailstores/wp-content/uploads/2025/09/apple-watch-320x320.jpg) Apple Watch Ultra 3 [GPS + Cellular 49mm] Running & Multisport Smartwatch w/Rugged Titanium Case w/Black Titanium Milanese Loop - M. Satellite Communications, Advanced Health & Fitness Tracking
Apple Watch Ultra 3 [GPS + Cellular 49mm] Running & Multisport Smartwatch w/Rugged Titanium Case w/Black Titanium Milanese Loop - M. Satellite Communications, Advanced Health & Fitness Tracking
-
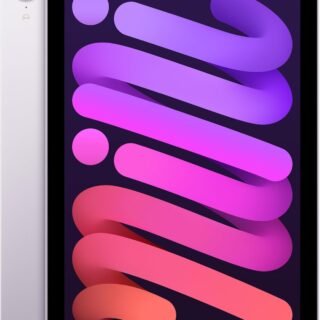 Apple iPad mini (A17 Pro): Apple Intelligence, 8.3-inch Liquid Retina Display, 256GB, Wi-Fi 6E, 12MP Front/12MP Back Camera, Touch ID, All-Day Battery Life — Purple
-
 Apple AirPods Max Wireless Over-Ear Headphones, Active Noise Cancelling, Transparency Mode, Personalized Spatial Audio, Dolby Atmos, Bluetooth Headphones for iPhone – Space Gray
-
 Apple AirPods Pro 2 Wireless Earbuds, Active Noise Cancellation, Hearing Aid Feature, Bluetooth Headphones, Transparency, Personalized Spatial Audio, High-Fidelity Sound, H2 Chip, USB-C Charging
-
Home Garage 210 TC Cotton King Floral Fitted (Elastic) Bedsheet(Pack of 1, Grey)
Original price was: ₹999.00.₹299.00Current price is: ₹299.00.
Leave a Reply